

When resizing an image, you should maintain its aspect ratio (the ratio of width to height) to avoid distortion. Dragging the corners of an image in a document editor might be tempting, but it often leads to a distorted and blurry image, so it's best to use an image editor for precise resizing that allows you to maintain the aspect ratio or crop the image if necessary. That’s what we’ll talk about in this piece and cover the best ways to reduce an image’s size on Windows, macOS, and Ubuntu.
Reduce an Image Size with the Photos App (Windows)
Windows 11 comes with a built-in Photos app that makes resizing images straightforward:
-
Right-click the image file, select Open with, and choose Photos.
-
Click the three dots icon in the top-right corner of the Photos app.
-
From the drop-down menu, select Resize.
-
A pop-up window will appear with preset sizes. You can also select Define custom dimensions for specific dimensions.
-
Check the box next to Maintain aspect ratio to ensure the image doesn't get distorted.
-
Enter the desired dimensions, then click the Save resized copy button.
Use Adobe Photoshop to Resize an Image (Windows & Mac)
For advanced users, Photoshop provides more control over image resizing:
-
Open your image in Photoshop.
-
Navigate to Image > Image Size or press Ctrl+Alt+I (Windows) or Cmd+Option+I (Mac).
-
Enter the desired width and height, ensuring that the proportions are constrained.
-
Select Bicubic Sharper to maintain image quality.
-
Click OK and then save your resized image.
Reduce an Image Size in KB or MB with 4K Image Compressor (Windows, Mac, Ubuntu)

4K Image Compressor is a desktop application that can easily and quickly optimize JPEG, PNG, HEIC, and WEBP images as well as PDF files. Besides, all file formats (except PDF) can be converted to other formats, supported by the app. In addition to compressing single images one by one, the tool can also optimize images in bulk, saving both storage space and your time.
-
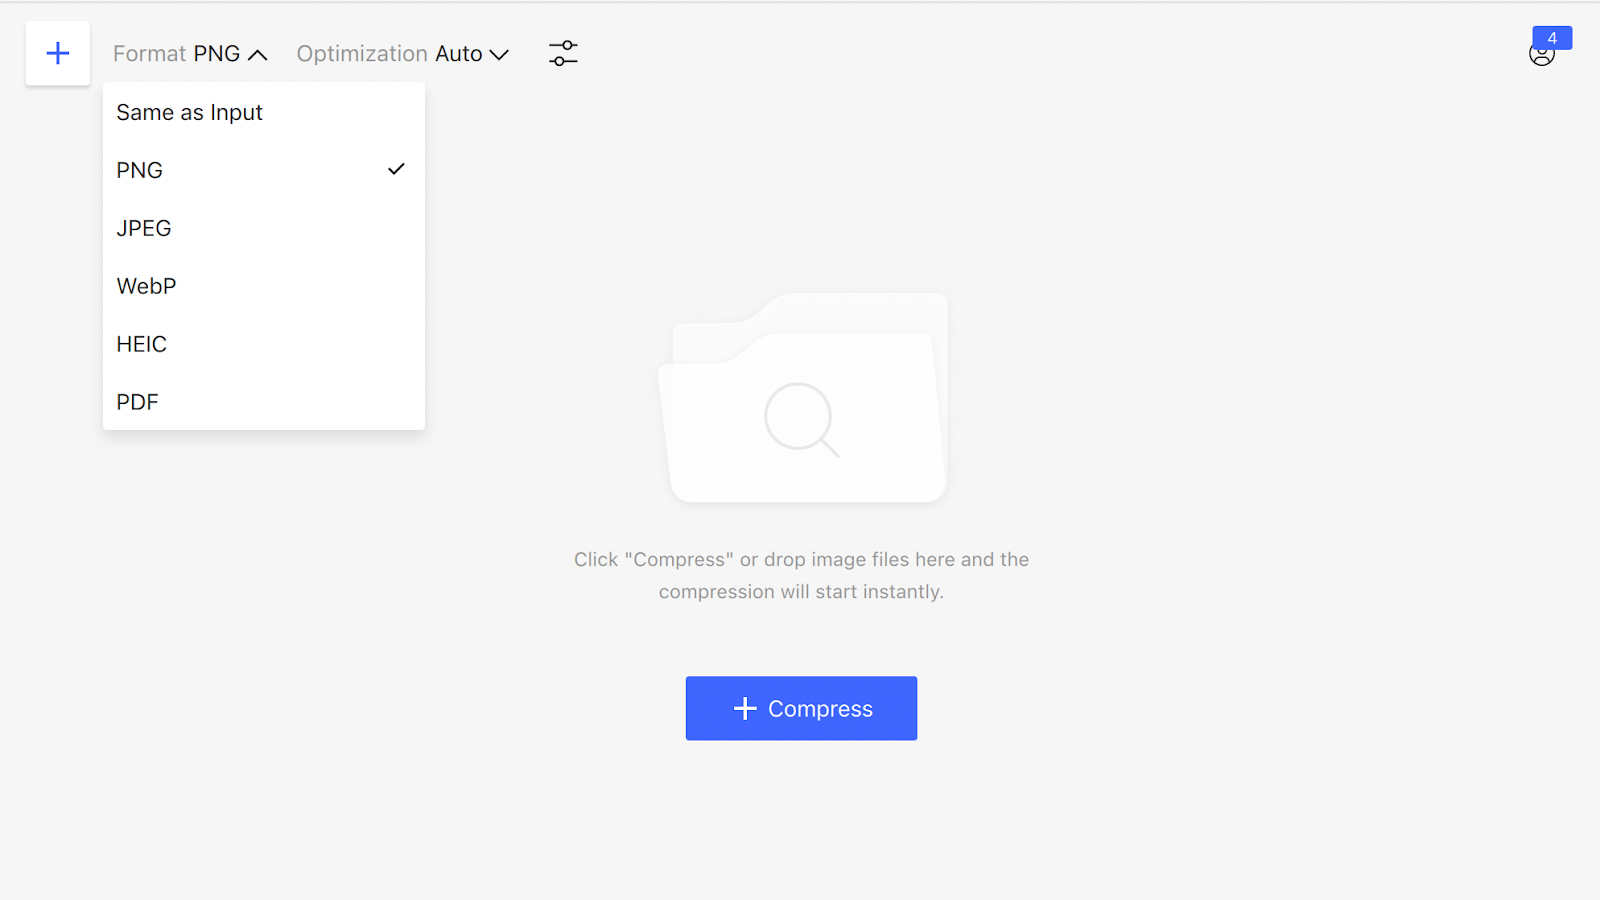
Open 4K Image Compressor.
-
Select the output format and compression value.
-
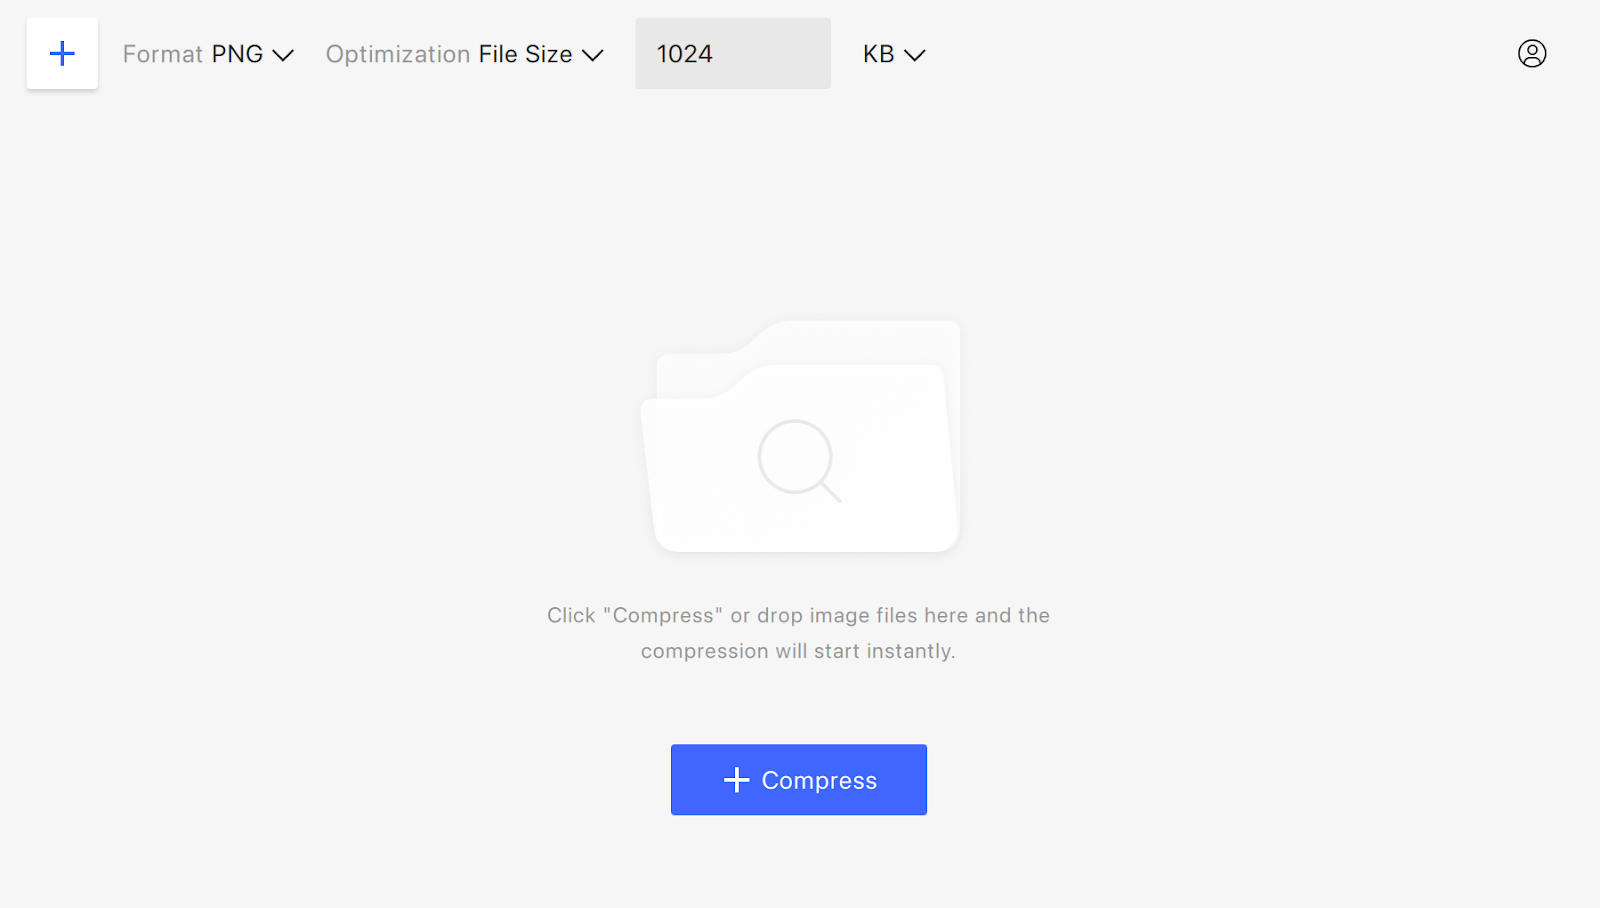
In the Optimization tab, choose File Size and set the number of kilobytes or megabytes you want to reduce the image size to. Here, you can also choose bytes and percentage of the compression.
-
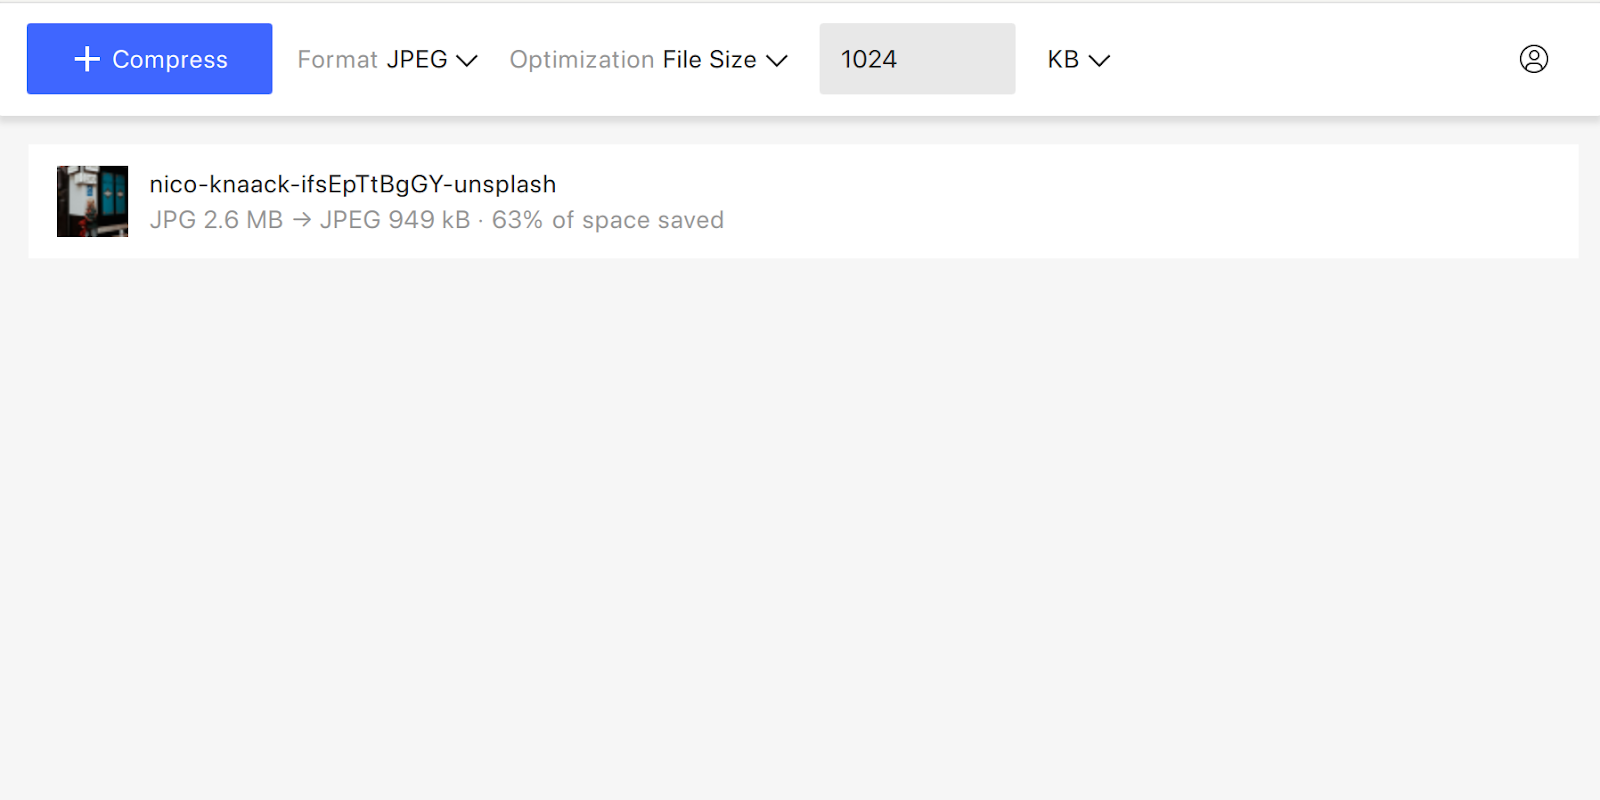
Click the Compress button, select your image, and click Open.
-
Hover over the compressed image preview and click the folder icon to locate the file.
Resize an Image Using Preview (Mac)
macOS comes with Preview, which a user-friendlier analog of Photoshop and a versatile tool for simple image edits:
-
Right-click the image file and select Open with Preview.
-
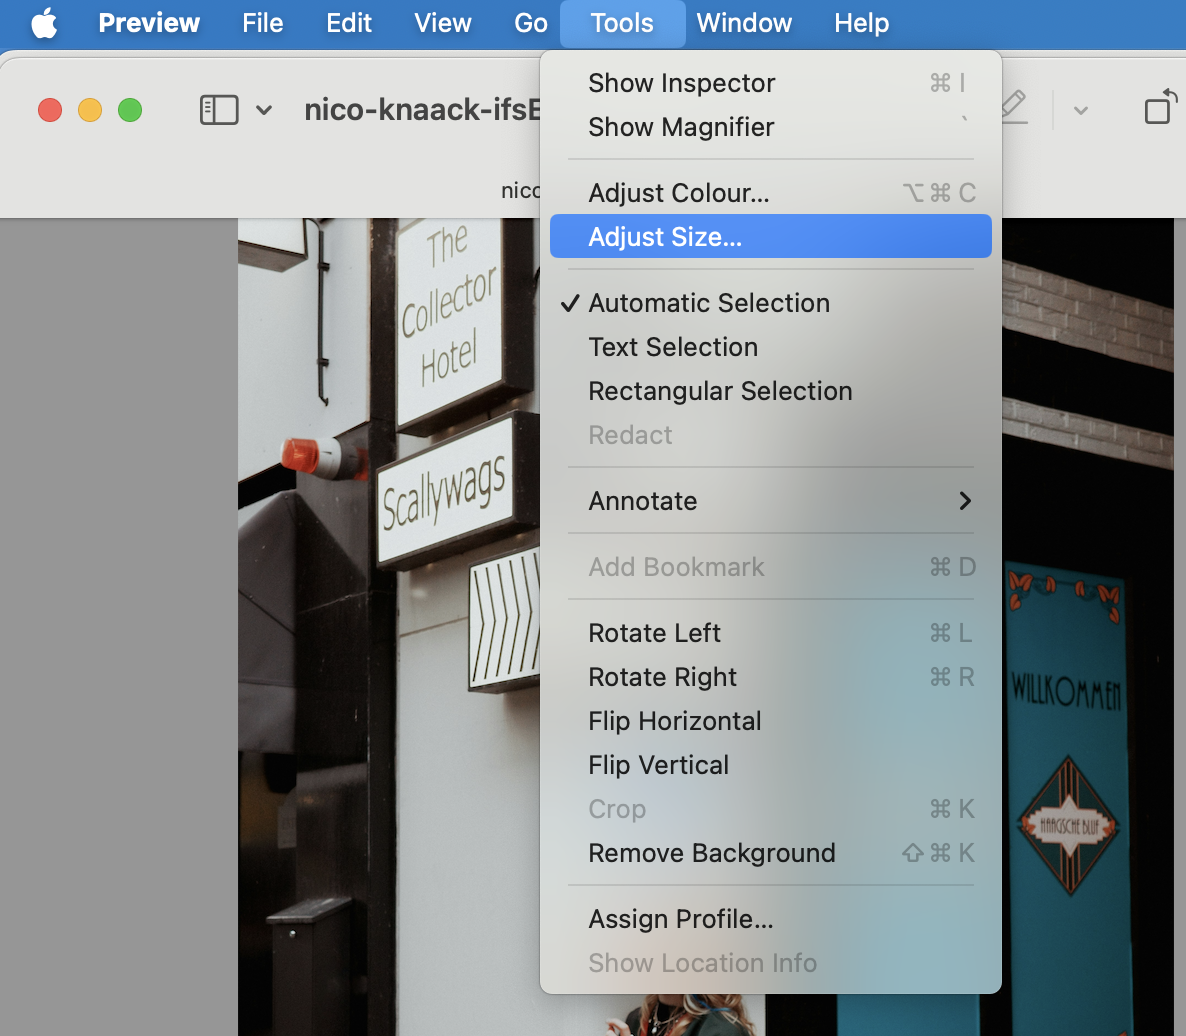
In Preview, go to the Tools menu and select Adjust Size.
-
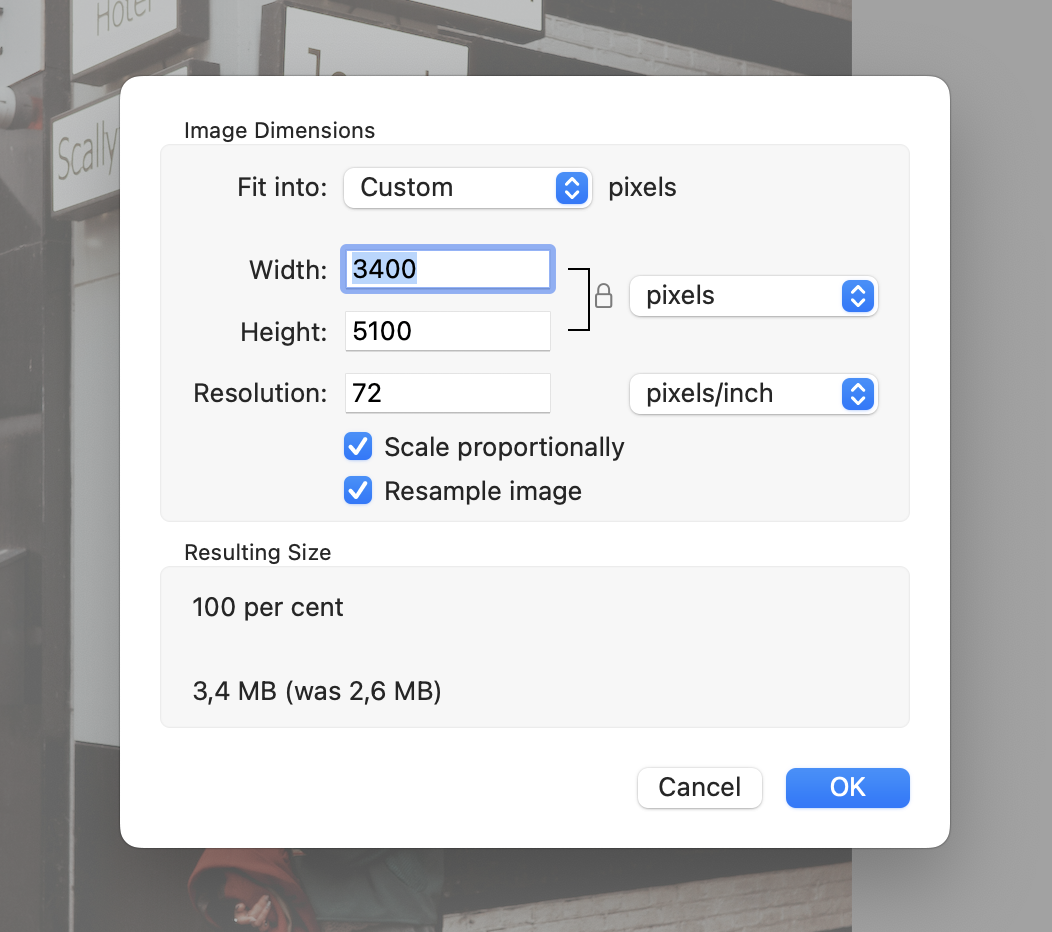
Enter the desired width and height. Make sure to switch the size type (e.g., inches to pixels) if necessary.
-
Ensure the aspect ratio is locked to prevent distortion.
-
Click OK to confirm and then save the resized image by selecting File > Save.
Resize an Image Online Using Pixlr X
Pixlr X is a free web-based tool suitable for quick edits:
-
Go to the Pixlr X website.
-
Click the Open image button and choose your image.
-
Select the Layout and Template button, then choose Smart resize.
-
Input your desired width and height, and apply the changes.
-
Click the Save button, choose the file type and quality, and save it to your computer.
How to Resize an Image: Wrapping Up
As you can see, there are plenty of tools that can get the job done. Which one to choose—it’s up to you! All the options we’ve listed are tested and hand-picked by us, so you can use any of them, depending on your OS, output format, end goal, and tech skills.
 SHARE ON TWITTER


Thanks for feedback
Your comments will appear here shortly. Please spread the word about us in social networks.