

Uploading images to WordPress without optimizing them first can drastically slow down your website. Many new bloggers skip this step, unknowingly affecting their site's performance. The solution? Add image optimization into your routine to ensure faster load times.
This guide will show you how to properly optimize images for the web without losing quality, and we’ll also recommend some handy WordPress plugins that can handle the process automatically.
What Is Image Optimization?
Why include images in your content in the first place? Well, images enhance your content, grabbing attention and adding visual appeal. When used effectively, they can spark curiosity, encouraging more clicks to your site and boosting your search rankings.
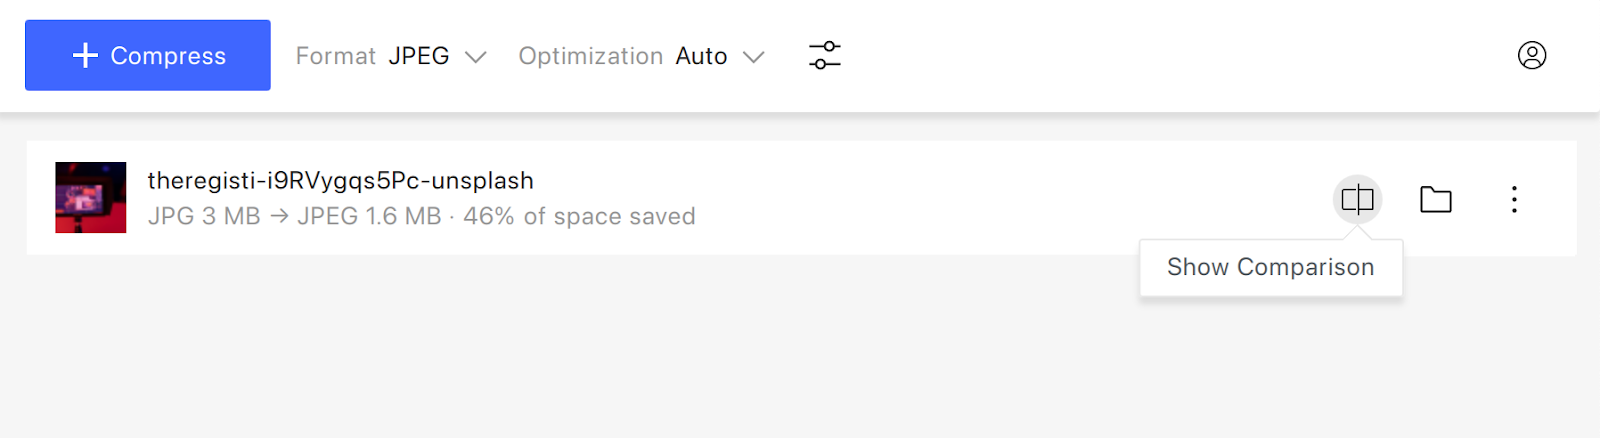
Image optimization involves reducing file sizes while maintaining image quality, making your site faster and more efficient. With the help of various plugins and tools, you can automatically compress images by up to 80% without any noticeable quality loss. As a result, your images can be significantly smaller, with no compromise in visual clarity—just like in this case, where an image is 52% smaller yet looks the same.
How Does Image Optimization Work?
In a nutshell, image optimization relies on compression techniques. There are two types of compression: lossless and lossy.
Lossless compression reduces the file size without affecting the image quality at all, making it perfect for those who want to preserve every detail. On the other hand, lossy compression slightly reduces quality, but the change is typically so minor that visitors won’t notice. Both methods aim to shrink image file sizes, helping your website load faster.
What Are the Benefits of Image Optimization?
Optimizing your images offers several advantages, with the most important being:
-
Faster website speed
-
Better SEO rankings
-
Higher conversion rates for sales and leads
-
Reduced storage and bandwidth usage (which can lower hosting and CDN costs)
-
Quicker website backups (resulting in lower backup storage costs)
Since images are the second heaviest element on a webpage after videos—making up 42% of an average page’s weight, according to the HTTP Archive—optimizing them is crucial. Faster websites not only rank higher in search engines but also drive better user engagement and conversion rates.
Keep in mind that Google and other search engines prioritize faster websites in their SEO rankings. By optimizing your images, you’ll improve both your site’s speed and your WordPress SEO, giving your business a competitive edge online.
6 Easy Methods to Optimize Images for WordPress
The key to effective image optimization for web performance is striking the perfect balance between file size and image quality. By fine-tuning this balance, you can reduce your image size by up to 80% without compromising the overall look.
Let’s break down each factor and explore how they work together to achieve this.
Change Image File Format
For most website owners, the key image formats to focus on are JPEG, PNG, WEBP, and GIF. Selecting the correct file type is essential for optimizing images effectively. For conversion, you can use 4K Image Compressor (we'll show you how it works below).
Understanding the difference between these file types will help you choose the right one for your needs. JPEGs, WEBPs and PNGs are the three most commonly used formats on the web, consisting of pixels that stretch when resized. However, they have different strengths—JPEGs excel at balancing size and quality, while PNGs maintain higher quality for more basic images, and WEBP can handle transparency like PNG, while keeping file sizes smaller than both PNG and JPEG.
When to Use PNGs
PNG files are excellent for web content, but they serve a different purpose than JPEGs. One of their key advantages is the ability to support transparent backgrounds, making them highly versatile for designing web graphics, such as logos and icons.
PNGs use a "lossless" format, meaning no data is lost when the file is compressed. This ensures that the image quality remains high, even after optimization. However, this also means that PNG files are generally larger and don't contribute as much to speeding up page load times.
They’re best suited for web graphics, icons, or when you need very high-quality images, especially when transparency is required. While PNGs may not drastically reduce file sizes like JPEGs, their high quality and versatility make them ideal for certain applications.
When to Use JPEGs
JPEGs are the go-to choice for most photographs and images with many colors or complex details. This format uses lossy compression, meaning some data is discarded to reduce file size. As a result, JPEGs offer much smaller file sizes, making them perfect for use on websites where fast loading times are a priority.
JPEGs are best for:
-
Photos: Any image with lots of colors, gradients, or details, such as landscapes, portraits, and product photos.
-
Web pages with heavy image content: If you're showcasing lots of images, JPEG's smaller file sizes will help keep your site’s speed up.
While JPEGs may slightly reduce image quality during compression, the difference is often barely noticeable, making them ideal for balancing quality and performance on the web.
When to Use WEBP
WebP is a newer image format designed to provide superior compression without sacrificing quality, making it a great option for web content. It supports both lossy and lossless compression, and it can even handle transparency like PNG, while keeping file sizes smaller than both PNG and JPEG.
You should use WebP for:
-
Web performance: If you're focused on speeding up your site, WebP images offer better compression than both JPEG and PNG, resulting in faster load times.
-
Transparency: Like PNG, WebP supports transparency, but with smaller file sizes.
-
Animations: WebP can also replace GIF for animations, providing smaller files with better quality.
Overall, WebP is ideal for modern websites that need high-quality images with faster loading times. However, it's important to ensure that your users’ browsers support WebP (most modern browsers do). For websites focused on performance, WebP is a great alternative to both JPEG and PNG.
Compress an Image
Image compression is a critical factor in image optimization, significantly impacting website performance. Various types and levels of compression are available, with settings differing based on the tool you’re using.
Most image editing software, such as Adobe Photoshop, ON1 Photo, or GIMP come equipped with built-in image compression features. Additionally, you can save images normally and then utilize web tools like 4K Image Compressor, TinyPNG or JPEGmini for straightforward compression.
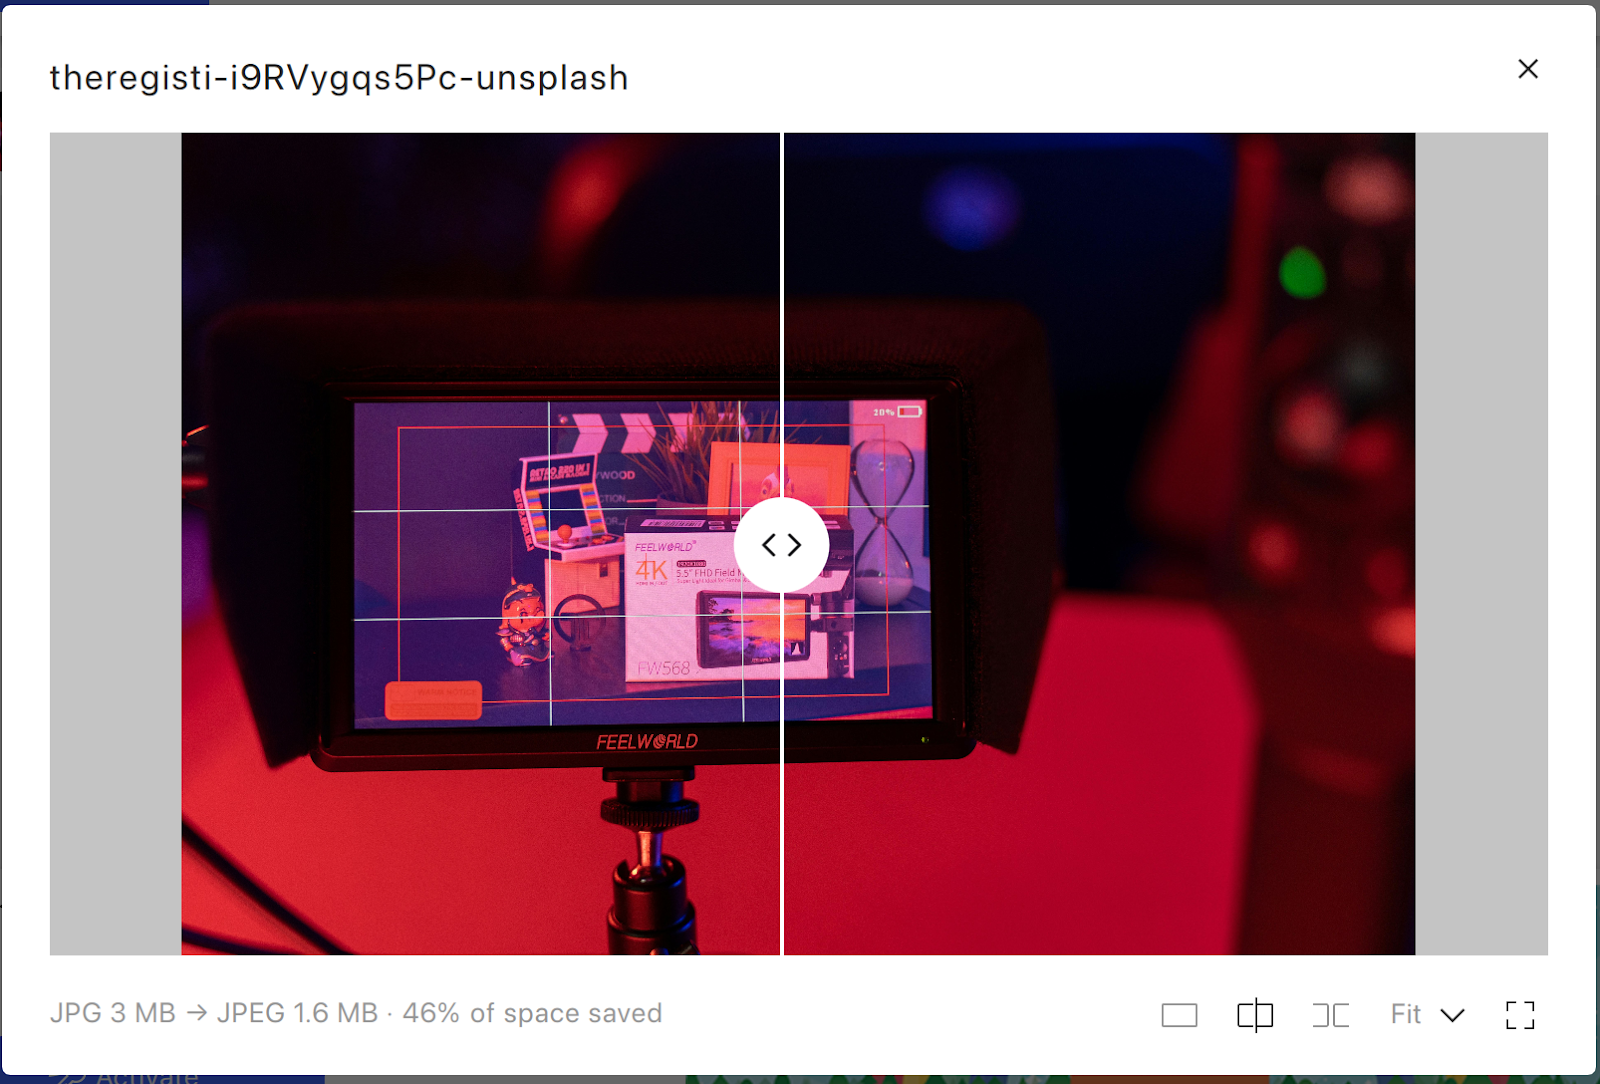
Let’s see how to optimize an image for WordPress with 4K Image Compressor:
4K Image Compressor is an easy-to-use desktop application, compatible with Ubuntu as well as Windows and macOS devices. It can compress images and PDF files (even in batches) and convert images into various formats. Let’s see how it works:
-
Install 4K Image Compressor on your device.
-
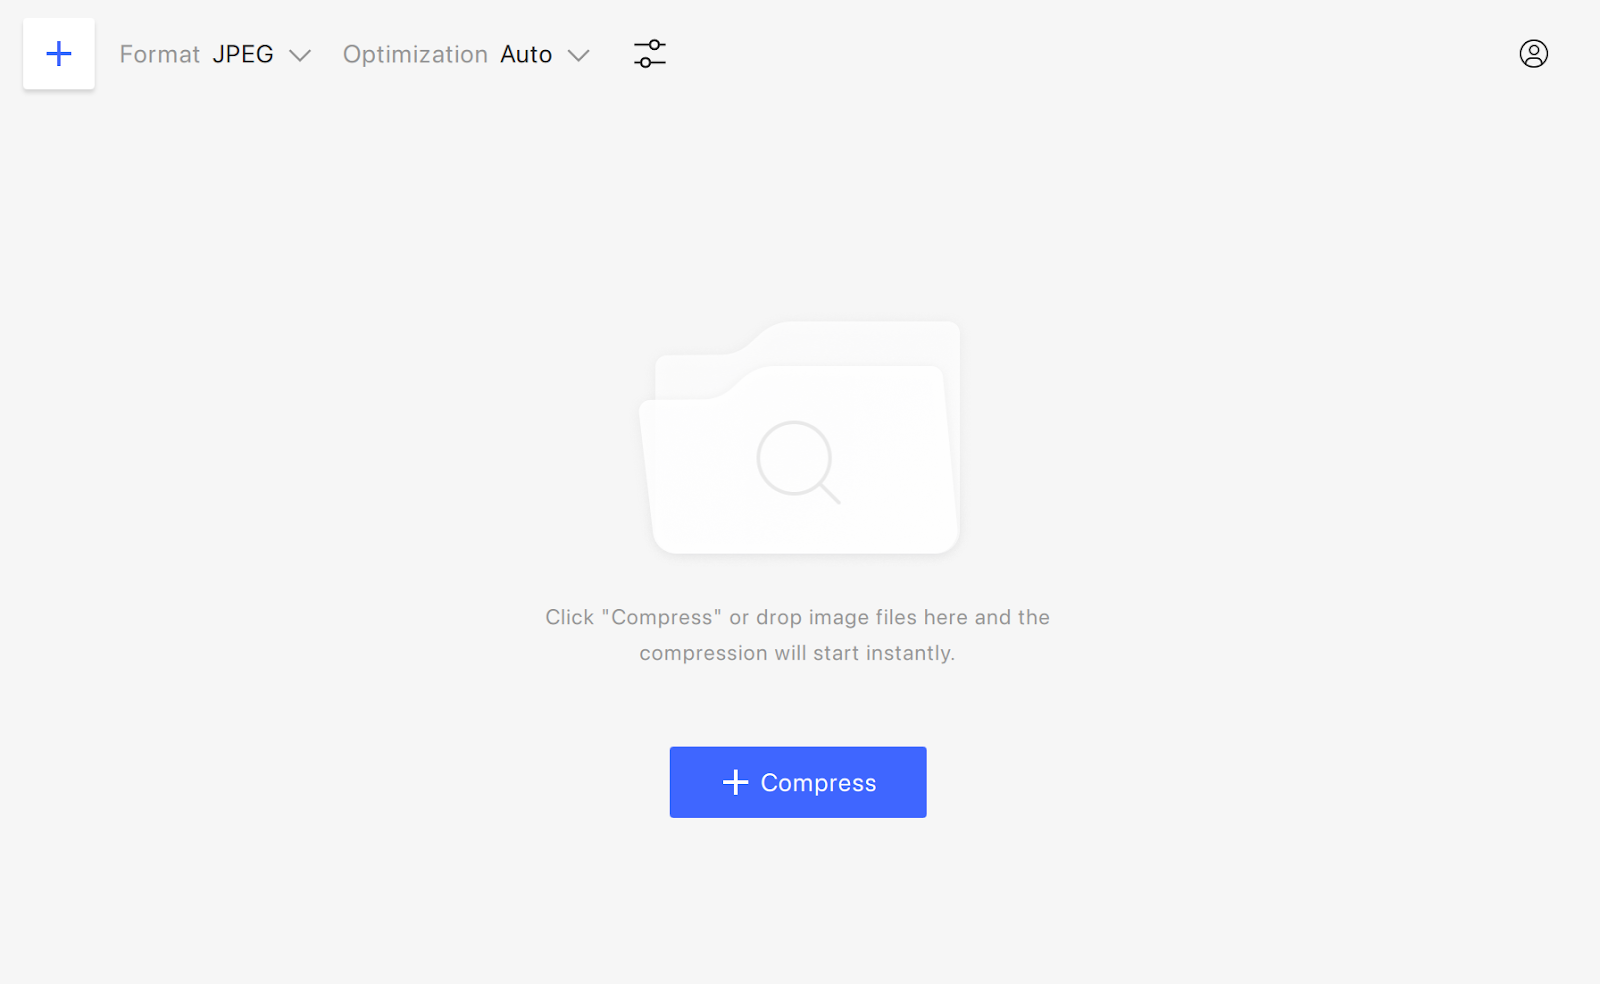
Launch the app.
-
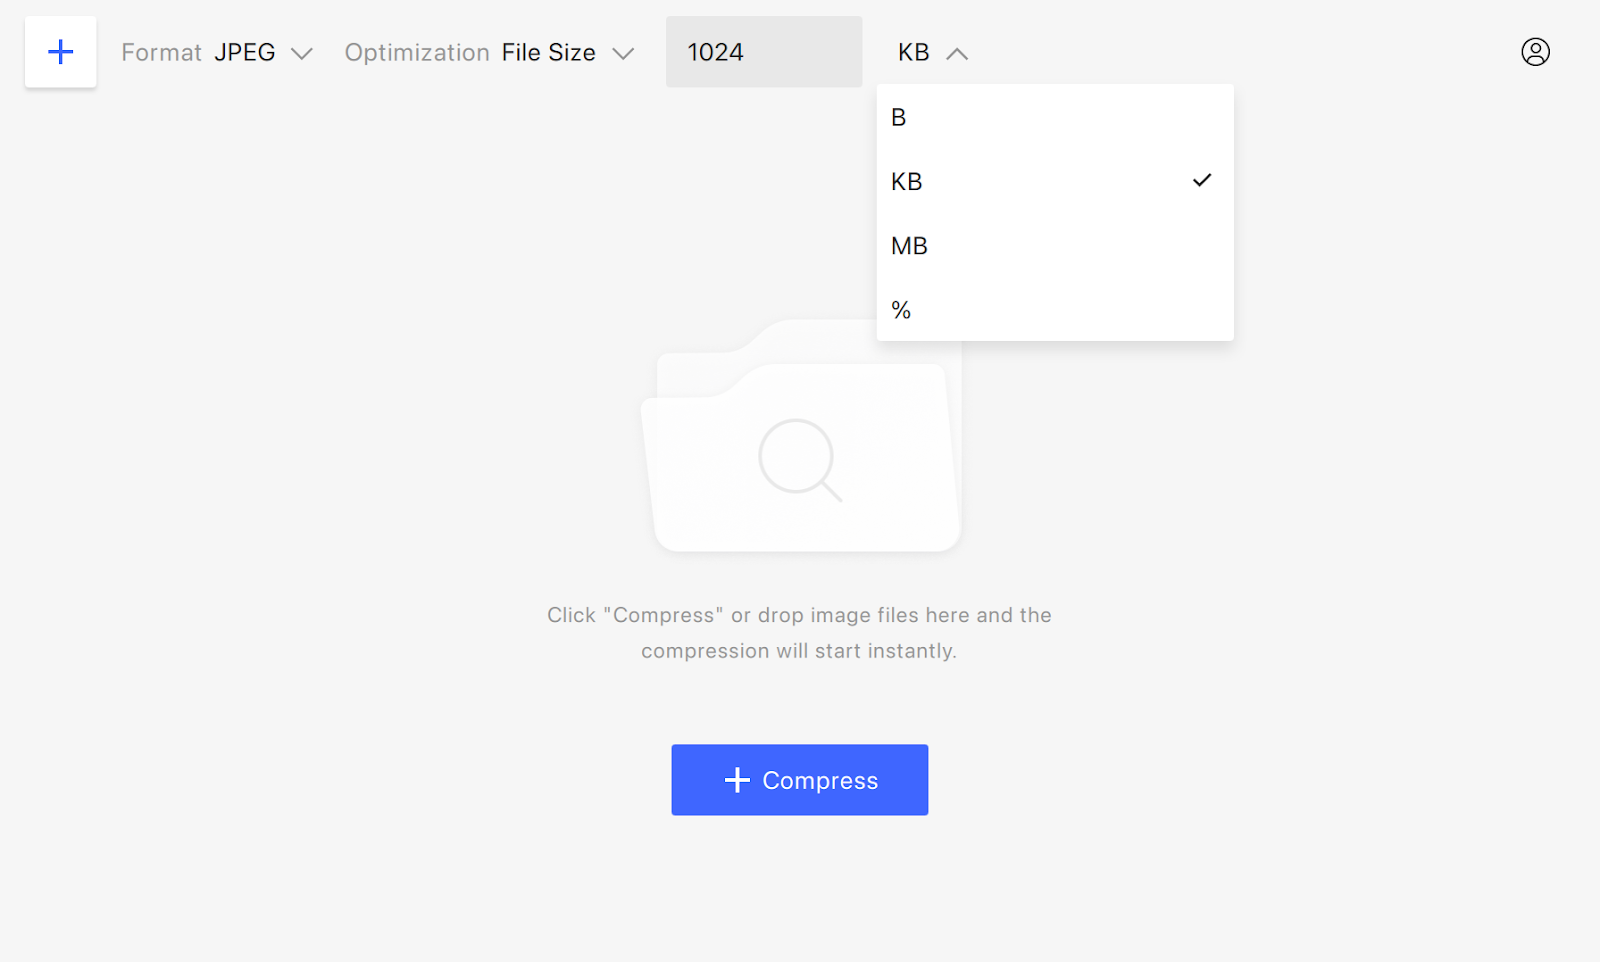
Choose the Format of the output file.
-
Select the Optimization type. You can choose Auto, Lossless (unavailable for JPEG compression), and File Size. The latter setting implies that you can compress an image by a certain percentage or a specific amount of MB, KB, or even bytes.
-
Drag and drop an image and press Compress.
-
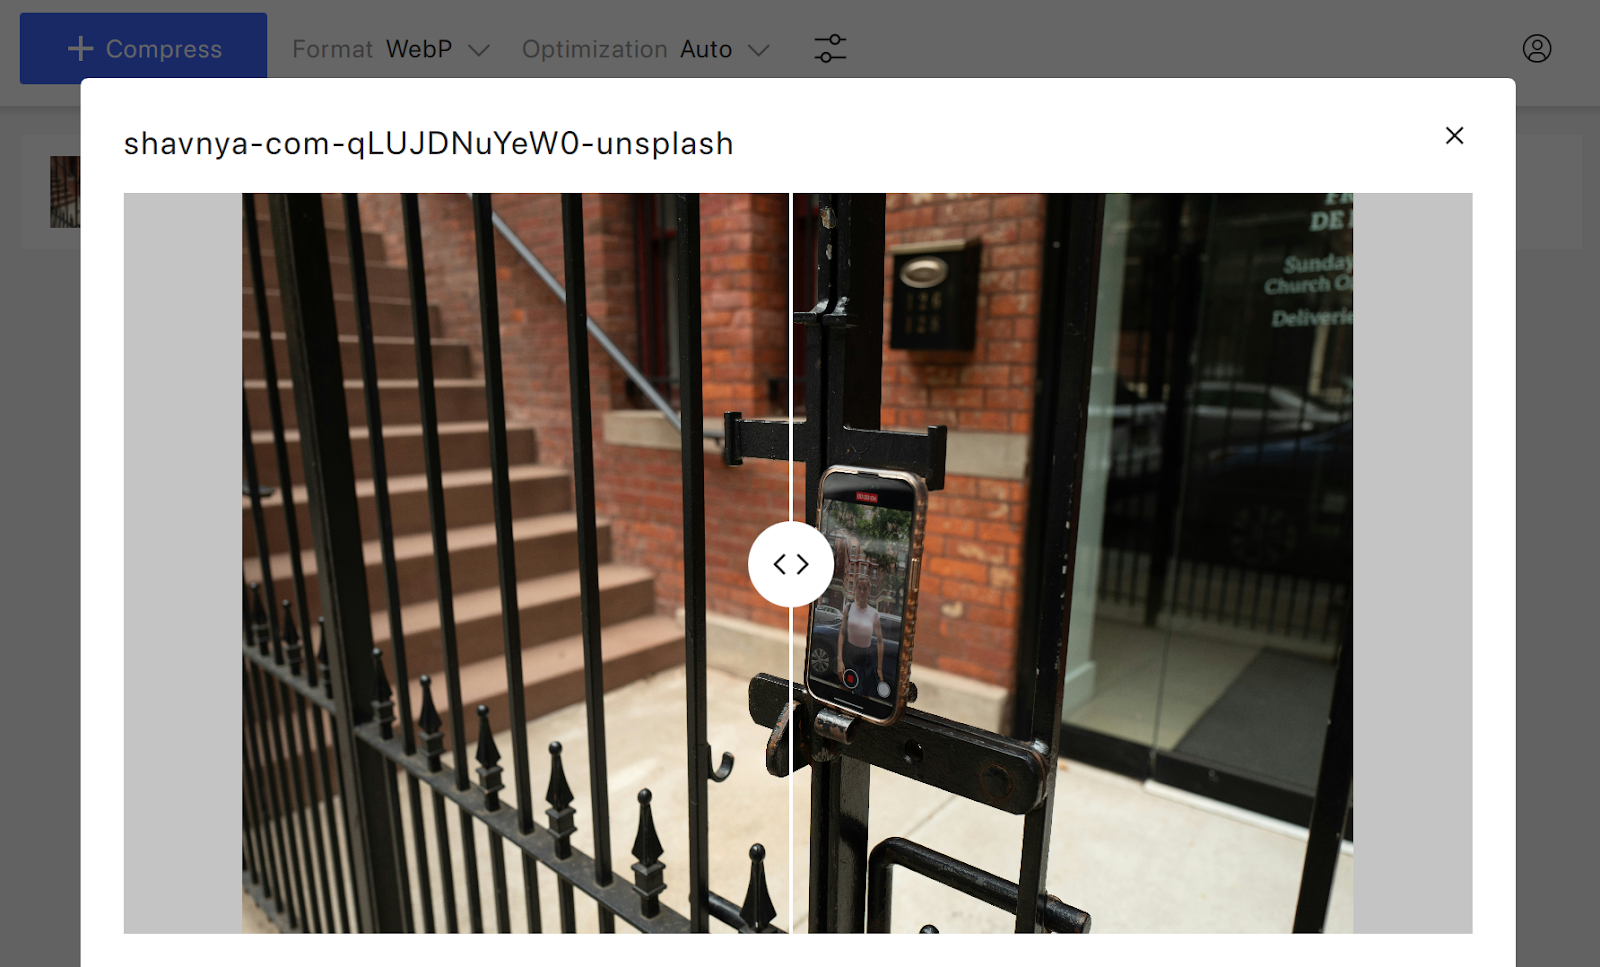
Press Show Comparison to make sure no quality is lost.
-
Click on the image right in 4K Image Compressor to open the resized file.
Change Image Dimensions
When you import a photo from your phone or digital camera, it typically comes with a high resolution and large dimensions (height and width). While these high-quality photos are great for print or desktop publishing, their large sizes can be problematic for websites.
Reducing the image dimensions to more reasonable sizes can significantly decrease file size. You can easily resize images using image editing software on your computer in tools like Adobe Photoshop, Preview (Mac), Pixelmator Pro (Mac), Photos App (Windows), or GIMP (Ubuntu). We covered this in more detail in our another article dedicated to image resizing.
Serve Images Through a CDN
A content delivery network (CDN) is a global network of servers designed to accelerate the delivery of your website’s content, including images, videos, and stylesheets. By utilizing a CDN on your WordPress site, you ensure that visitors receive data from a server that is geographically closer to them, which helps reduce loading times. For instance, if a visitor is located in Japan, they will access content from a nearby server, significantly speeding up the loading process.
You can set up a CDN independently, such as by integrating Cloudflare with your WordPress site. Alternatively, many managed WordPress hosting providers, like Hostinger, offer CDN services as part of their packages. If you're on a Business plan or higher with Hostinger, you can activate the CDN by following these steps:
-
Log in to hPanel, go to Websites, and click Manage next to your domain.
-
In the sidebar menu, navigate to Performance → CDN.
-
Select Enable to activate the CDN.
Next, click the arrow next to Flush Cache and choose the Website Optimization tab. Here, you’ll find options to enable WebP image compression, CSS and JavaScript minification, and Smart image optimization.
Keep in mind that CDN propagation—the process of updating and distributing your content across all servers in the network—may take 24 to 48 hours to complete.
Clean Up Your WordPress Media Library
As your WordPress site expands, your media library can quickly accumulate numerous uploaded images. While many of these images may be featured on your site, others may end up unused, such as images from deleted blog posts that linger in your media library. This buildup of unused images can slow down your website, consume valuable space on your hosting server, and complicate media management. Additionally, creating and restoring backups will take longer since more files will be included.
Before you start cleaning up your WordPress media library, it's crucial to create a complete backup of your website. This precaution ensures that you can restore your site to its previous state if anything goes wrong during the cleanup.
You can clean your WordPress media library in two main ways: manually or automatically using a plugin.
Manual Cleanup
To manually delete unused images, follow these steps:
-
Open the WordPress admin dashboard.
-
Go to Media → Library.
-
You can delete images individually or in bulk:
-
To delete an individual image, click on it and select Delete permanently.
-
To delete images in bulk, click Bulk select, choose the unused images, and click Delete permanently.
Automatic Cleanup with the Media Cleaner Plugin
To clean up your media library using the Media Cleaner plugin, do the following:
-
Open the WordPress admin dashboard.
-
Install and activate the Media Cleaner plugin.
-
Navigate to Media → Cleaner.
-
Click Scan. The unused images will be listed as “Seems not in use” under the Issue column.
-
Select the images you wish to delete and click Delete (number of selected images) entries.
By keeping your media library tidy, you’ll enhance your website’s performance and make media management much easier.
Don't Embed Images from External Sources
Another factor that can slow down load times is image redirects, which happen when you embed images from external sources. Fortunately, this issue is easy to fix.
To enhance your website speed and optimize user experience, save the image to your computer or a remote location like the cloud. Then, upload the image directly to your WordPress site. This approach eliminates the need for redirects, resulting in faster loading times and a smoother experience for your visitors.
 SHARE ON TWITTER


Thanks for feedback
Your comments will appear here shortly. Please spread the word about us in social networks.