iPad allows us to surf the Internet, play games, connect with friends, listen to music and watch videos on the go. There are several ways to provide a new supply of content to watch on your tablet. Follow the instructions below to learn to download and move videos to iPad, with and without iTunes.
How to Download and Transfer Videos to iPad with VLC Player
1. Launch 4K Video Downloader Plus. It's available for macOS, Windows, Linux and Android.
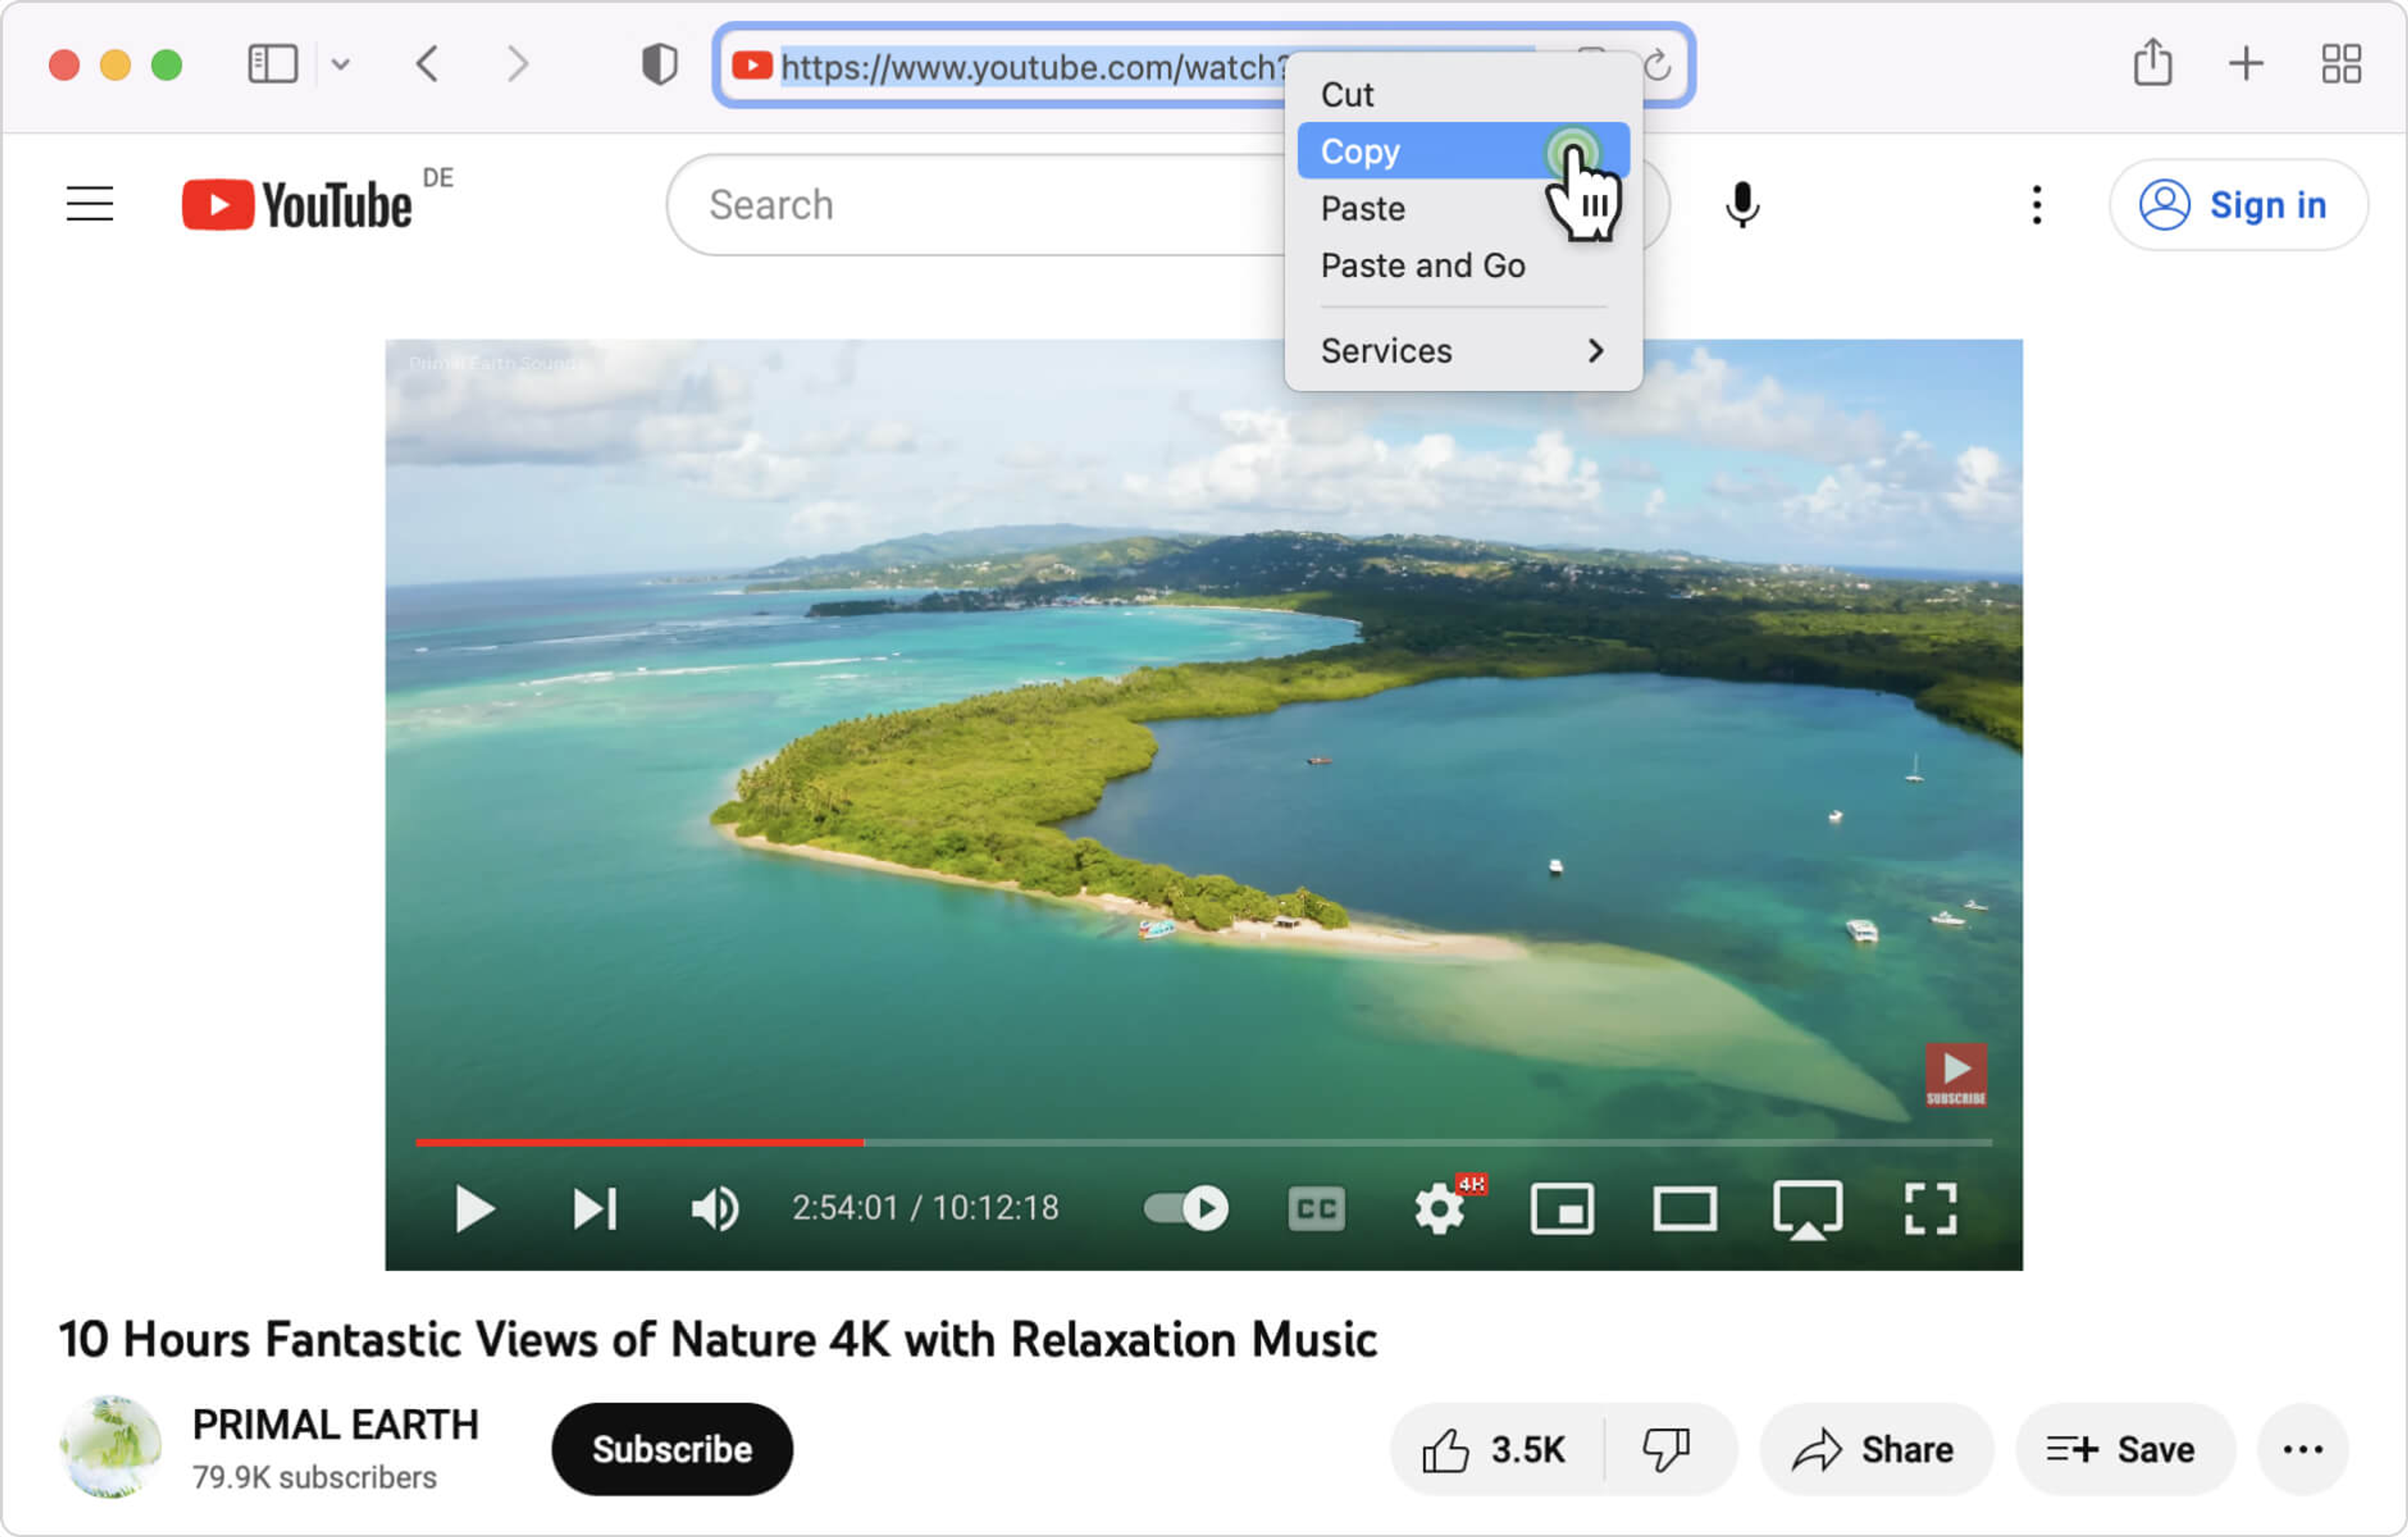
2. Copy the link to the video you want to download. The application supports YouTube, TikTok, Instagram, Vimeo, and other popular platforms.

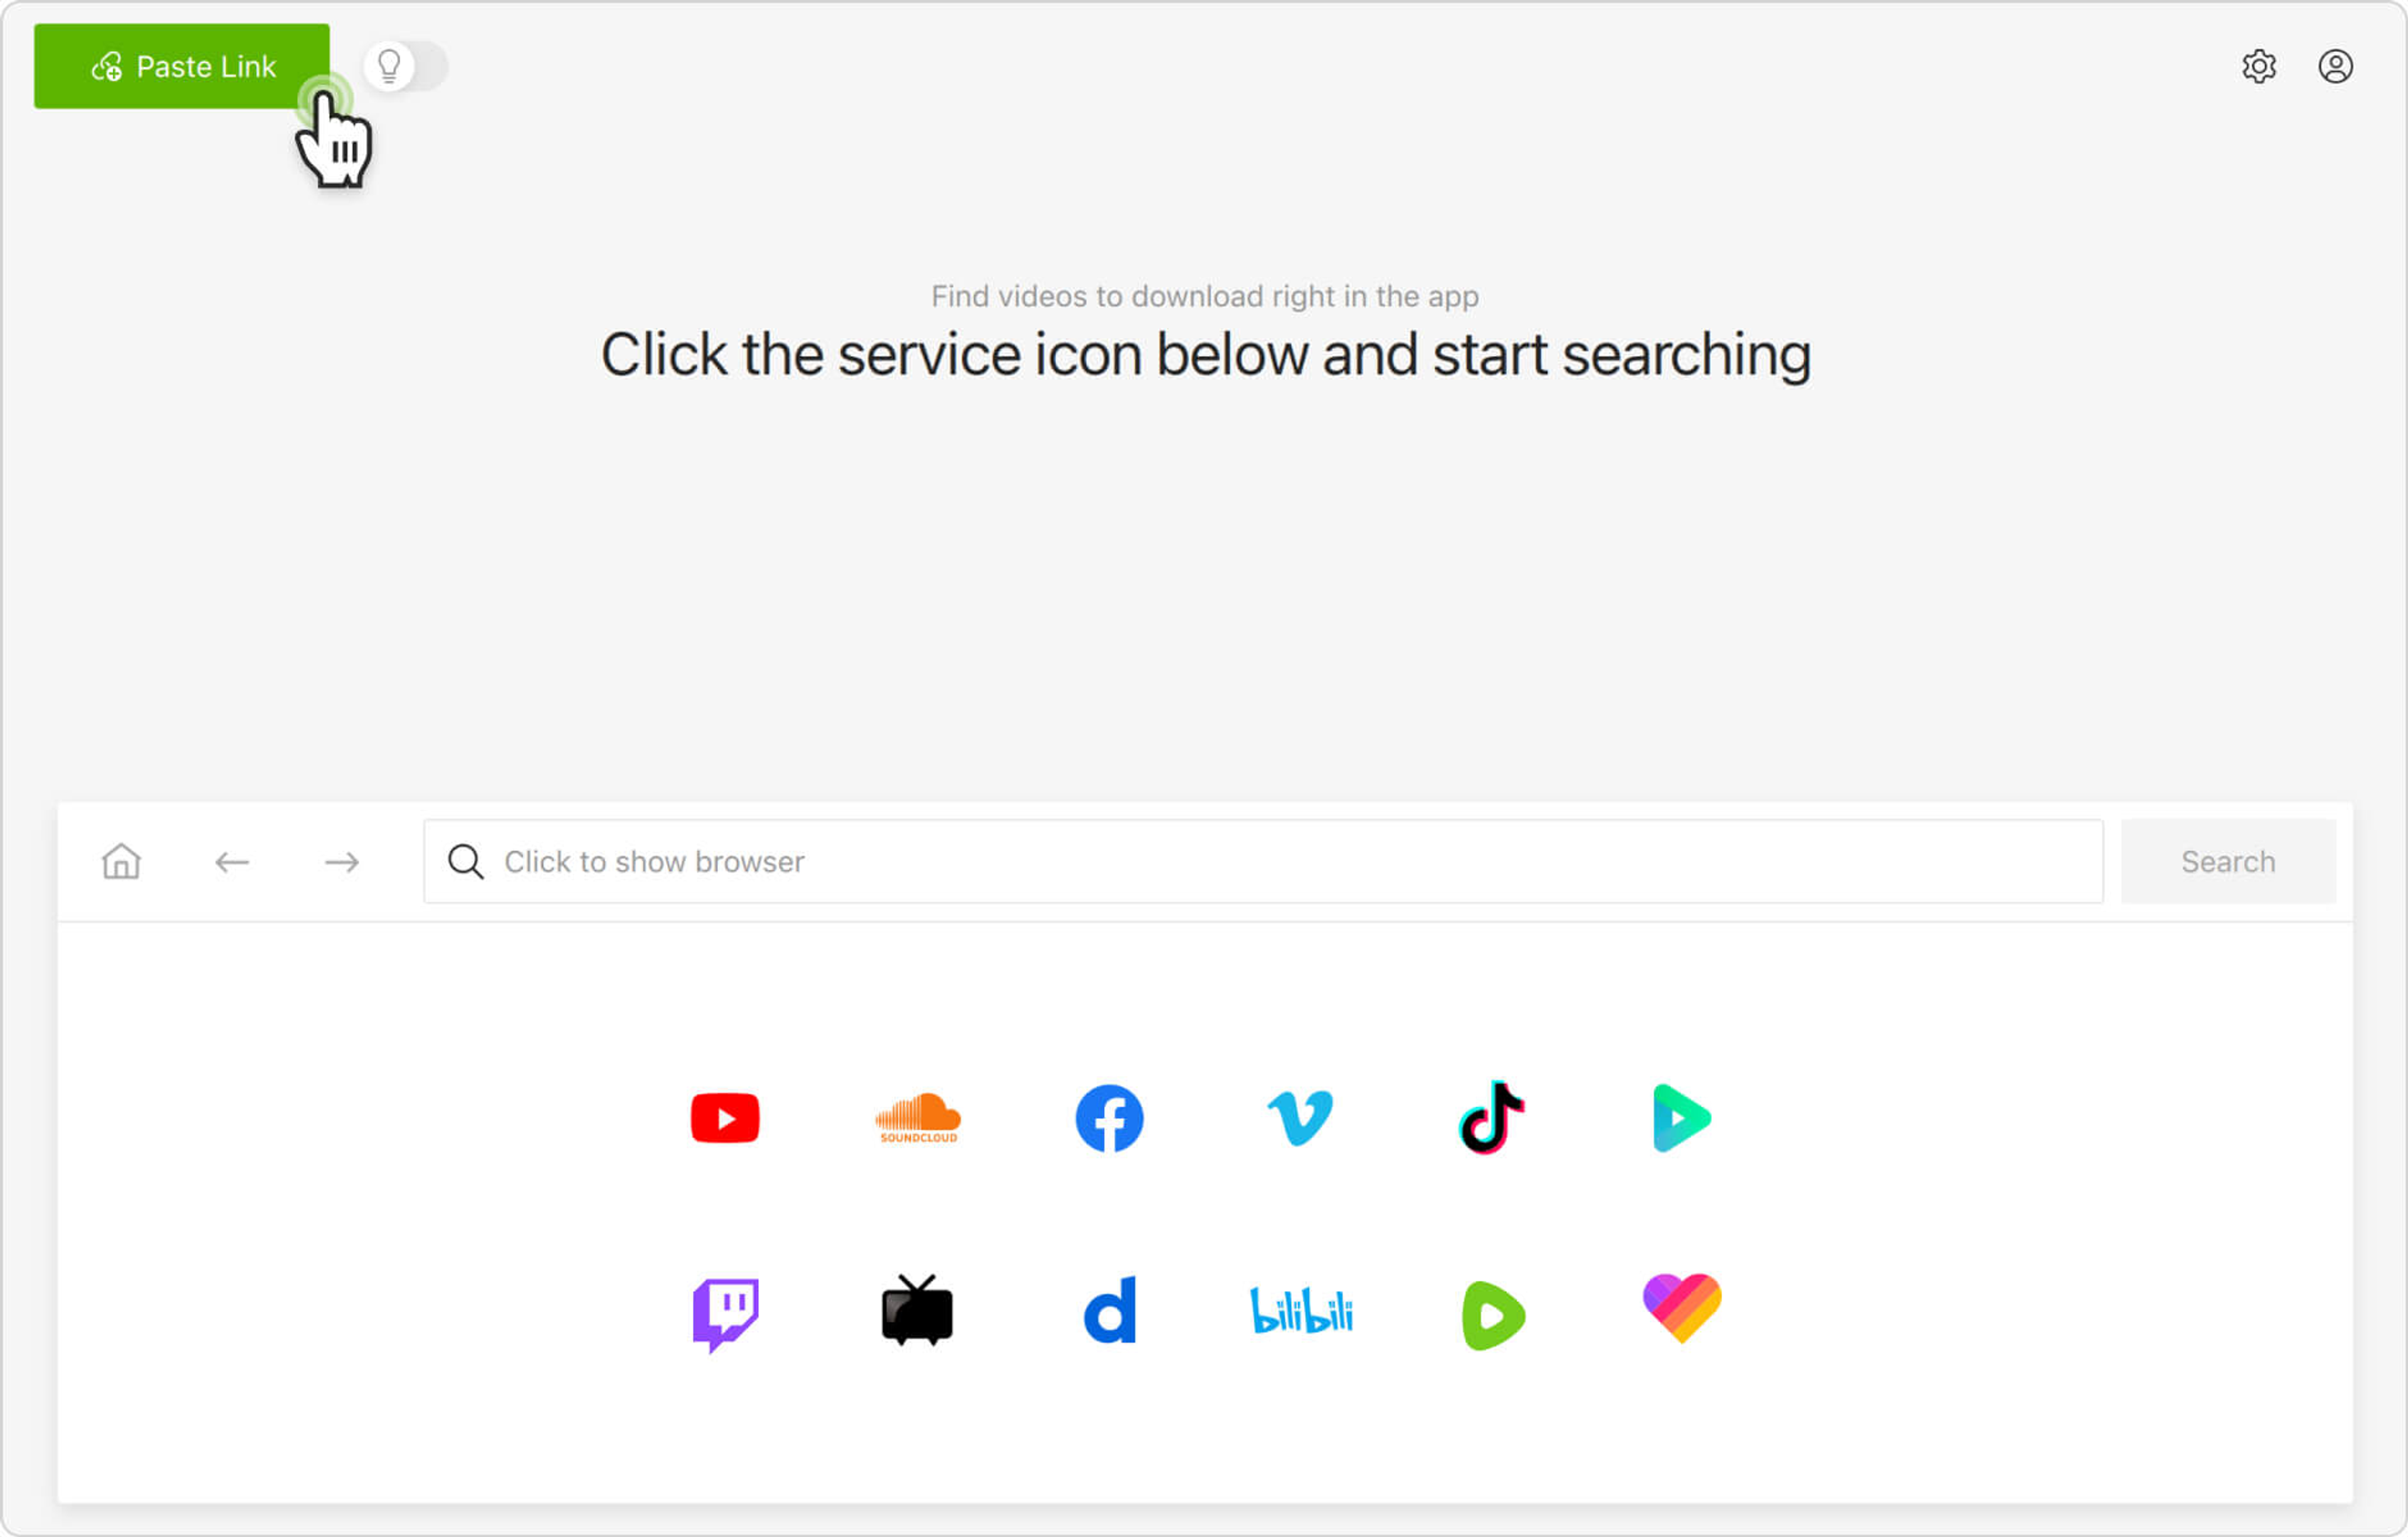
3. Click the Paste Link button.

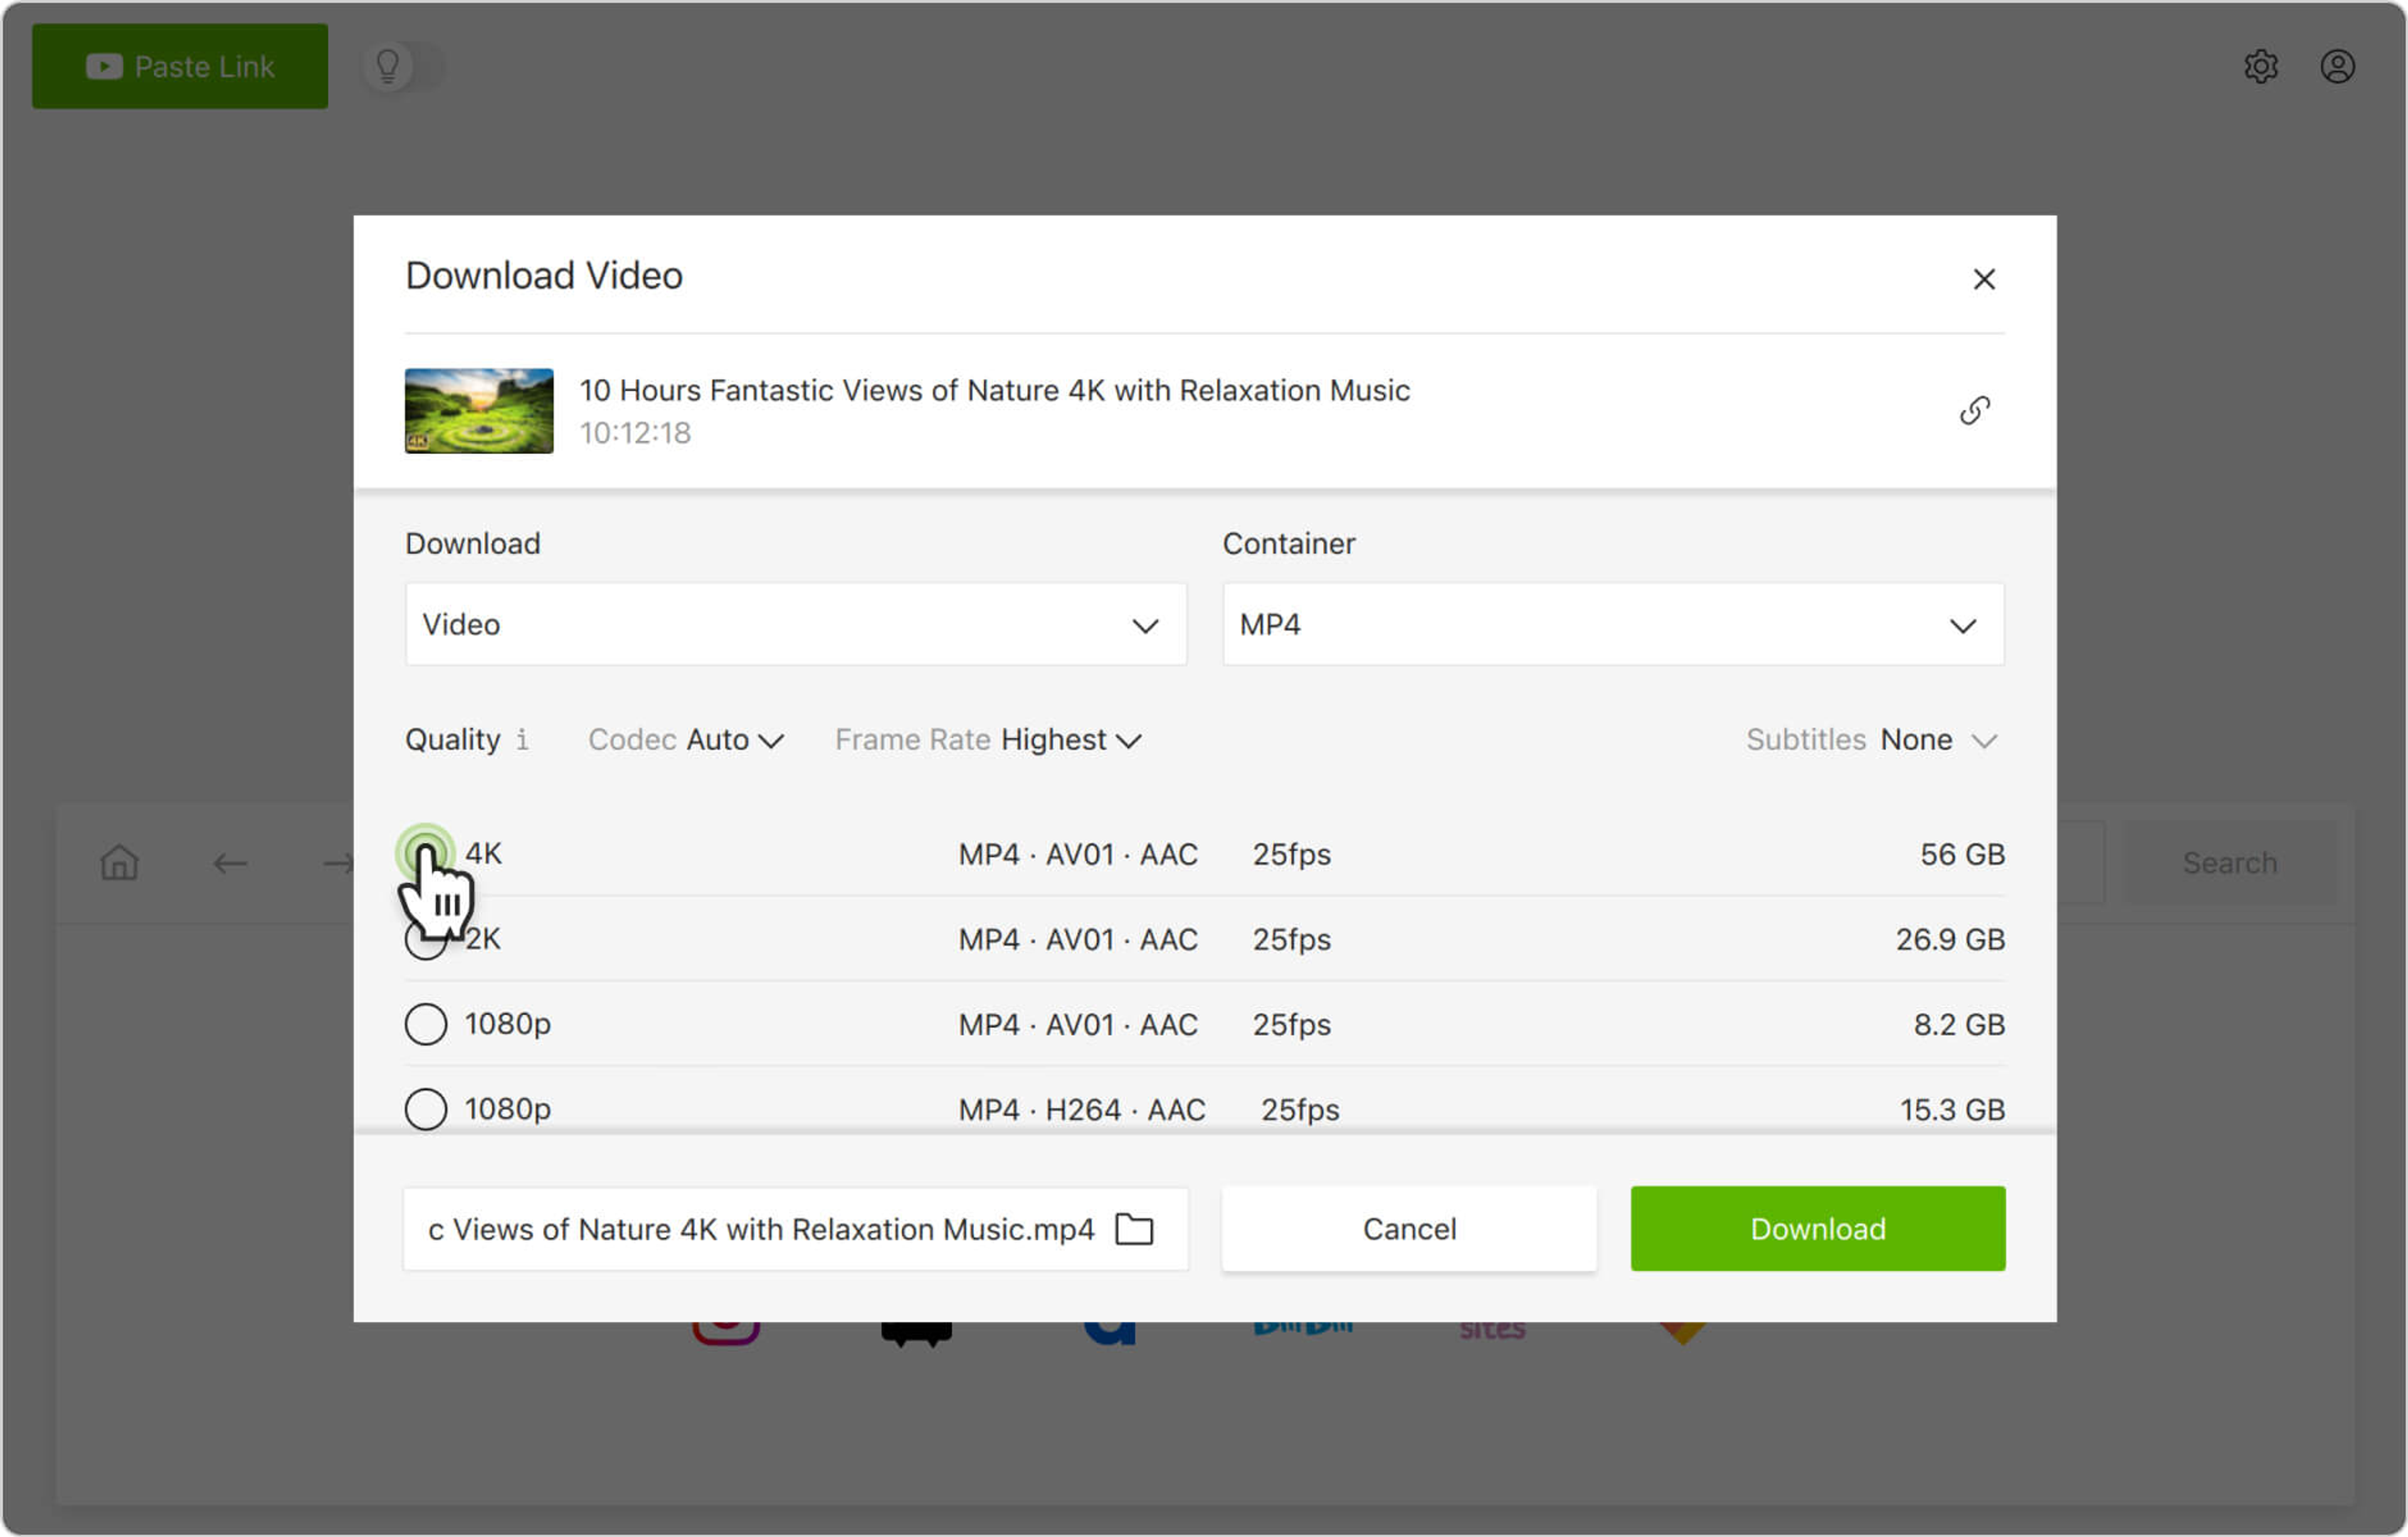
4. Select the MP4 format, then choose the quality and output folder.

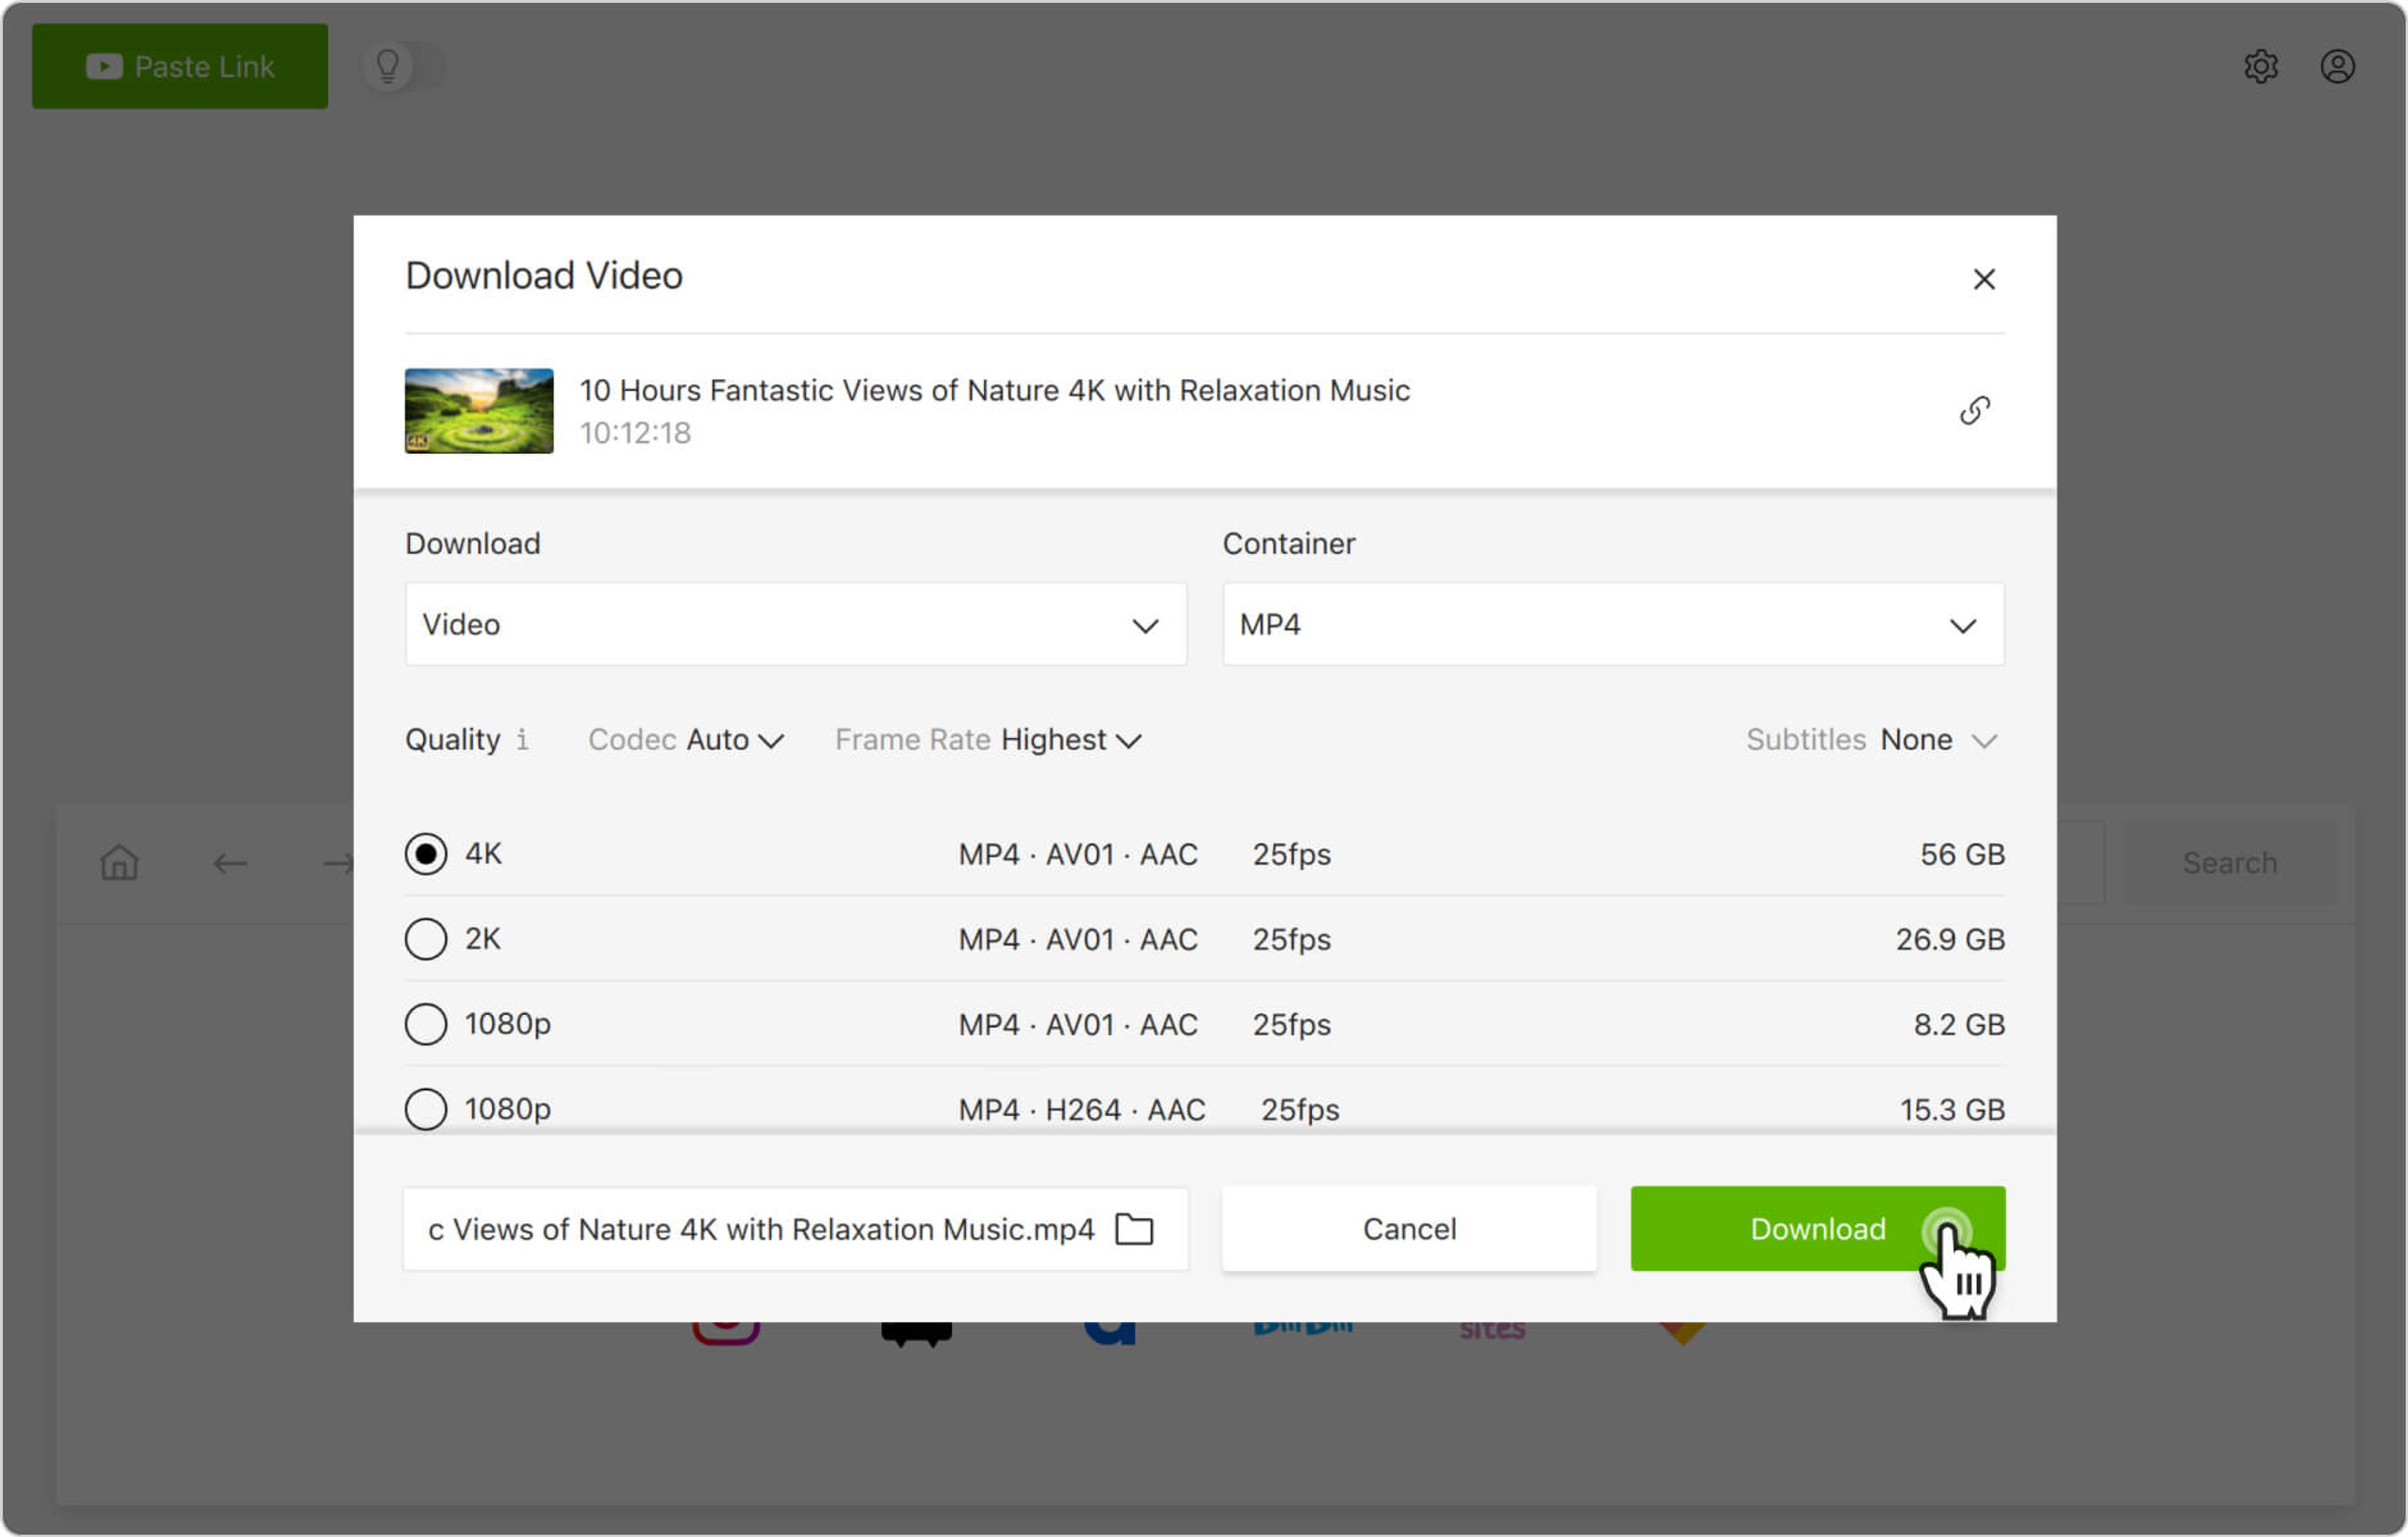
5. Click the Download button.

6. Hover the cursor over the video thumbnail in the application, and click the folder icon to locate the downloaded video.
7. Open the VLC player on your iPad (or iPhone, iPod Touch, Apple TV)
8. Tap on the VLC icon in the top left corner.
9. Enable WiFi Upload in the sidebar menu and remember the IP address below.
10. Open a browser of your choice on the computer.
11. Copy the IP address displayed in the VLC.
12. Enter the IP number into the address bar of your browser.
13. Drag and drop the downloaded videos onto the Sharing via WiFi window. They will automatically start transferring to the iPad wirelessly. All items will be saved in VLC by default.
How to Transfer Videos to iPad with Google Drive
1. Open Google Drive in your browser on the computer.
2. Sign in with your Google account.
3. Click the New button, then choose File upload or Folder upload.
4. Select the downloaded videos and click Upload.
5. Launch Google Drive for iOS on your iPad.
6. Sign in with your Google account within the mobile application.
7. Watch and download the videos to your iPad.
How to Transfer Videos to iPad with iCloud
Note that iCloud has limitations - uploaded video files can’t be longer than 5 minutes and come in higher resolution than 720p. If it doesn’t meet your requirements, use any other transfer method from this instruction.
1. On your iPad, go to Settings > <Username> > iCloud > Photos, then enable iCloud Photos.
2. On your computer, open the iCloud settings > enable iCloud Photo Library > click Upload new photos and videos from my PC.
3. Under the latter option, copy the video files to the folder.
4. After the synchronization is complete, open the Photos app on your iPad to check the videos.
How to Transfer Videos to iPad with iTunes
1. Connect your iPad to the computer with a USB cable.
2. Open iTunes if it doesn’t launch automatically.
3. Unlock the iPad and confirm you trust the computer.
4. Click the device icon and select File Sharing.
5. Select the app you want to share the video files to, for example, iMovie.
6. Drag and drop the videos to the window or click Add File to select the items.
7. Open iMovie and click the download icon.
8. Select iTunes > Import <number> Files. Upload the videos.
After that, your video files will be successfully transferred from PC to iPad.