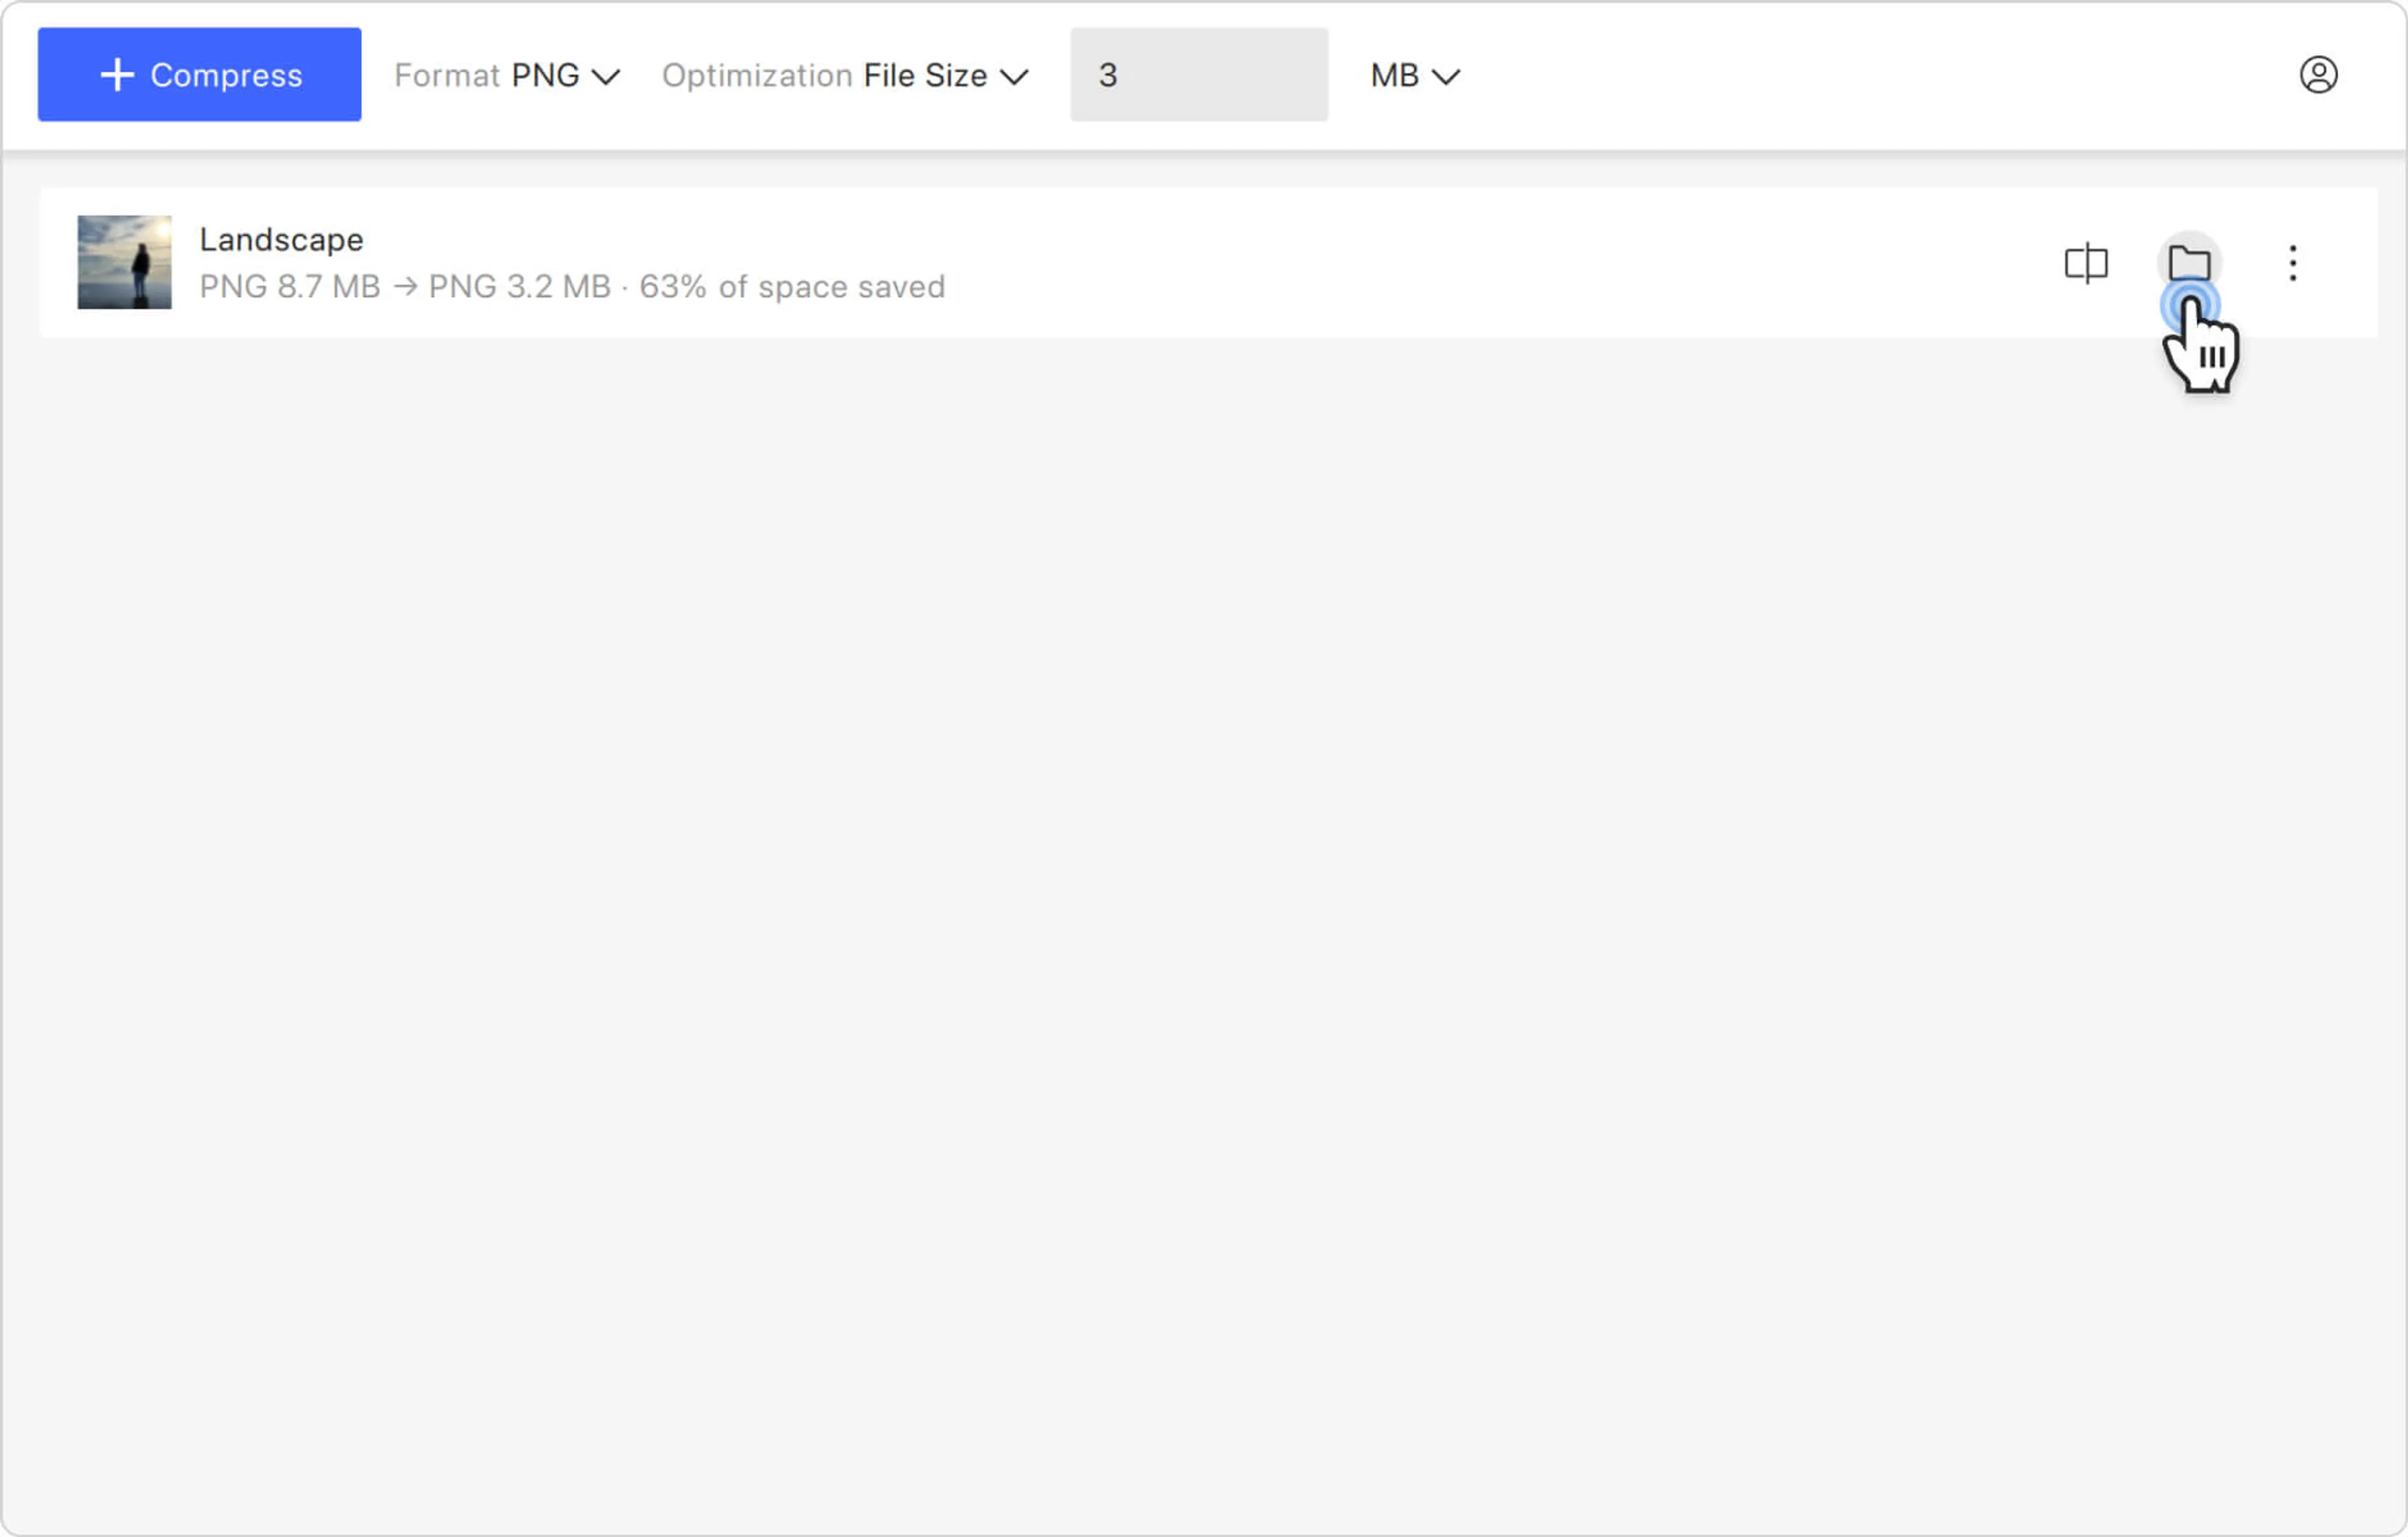
Reducing PNG images to a specific size in megabytes, kilobytes, or bytes can be beneficial for many reasons. For example, smaller PNG files require less space, making it easier to manage and store a large number of images. This is especially relevant for websites, applications, or devices with limited storage capacity. Whatever your reason may be, 4K Image Compressor can help you compress PNG to the size you need. Just follow the steps below.
1. Launch 4K Image Compressor. It’s available for Windows, macOS, and Linux.
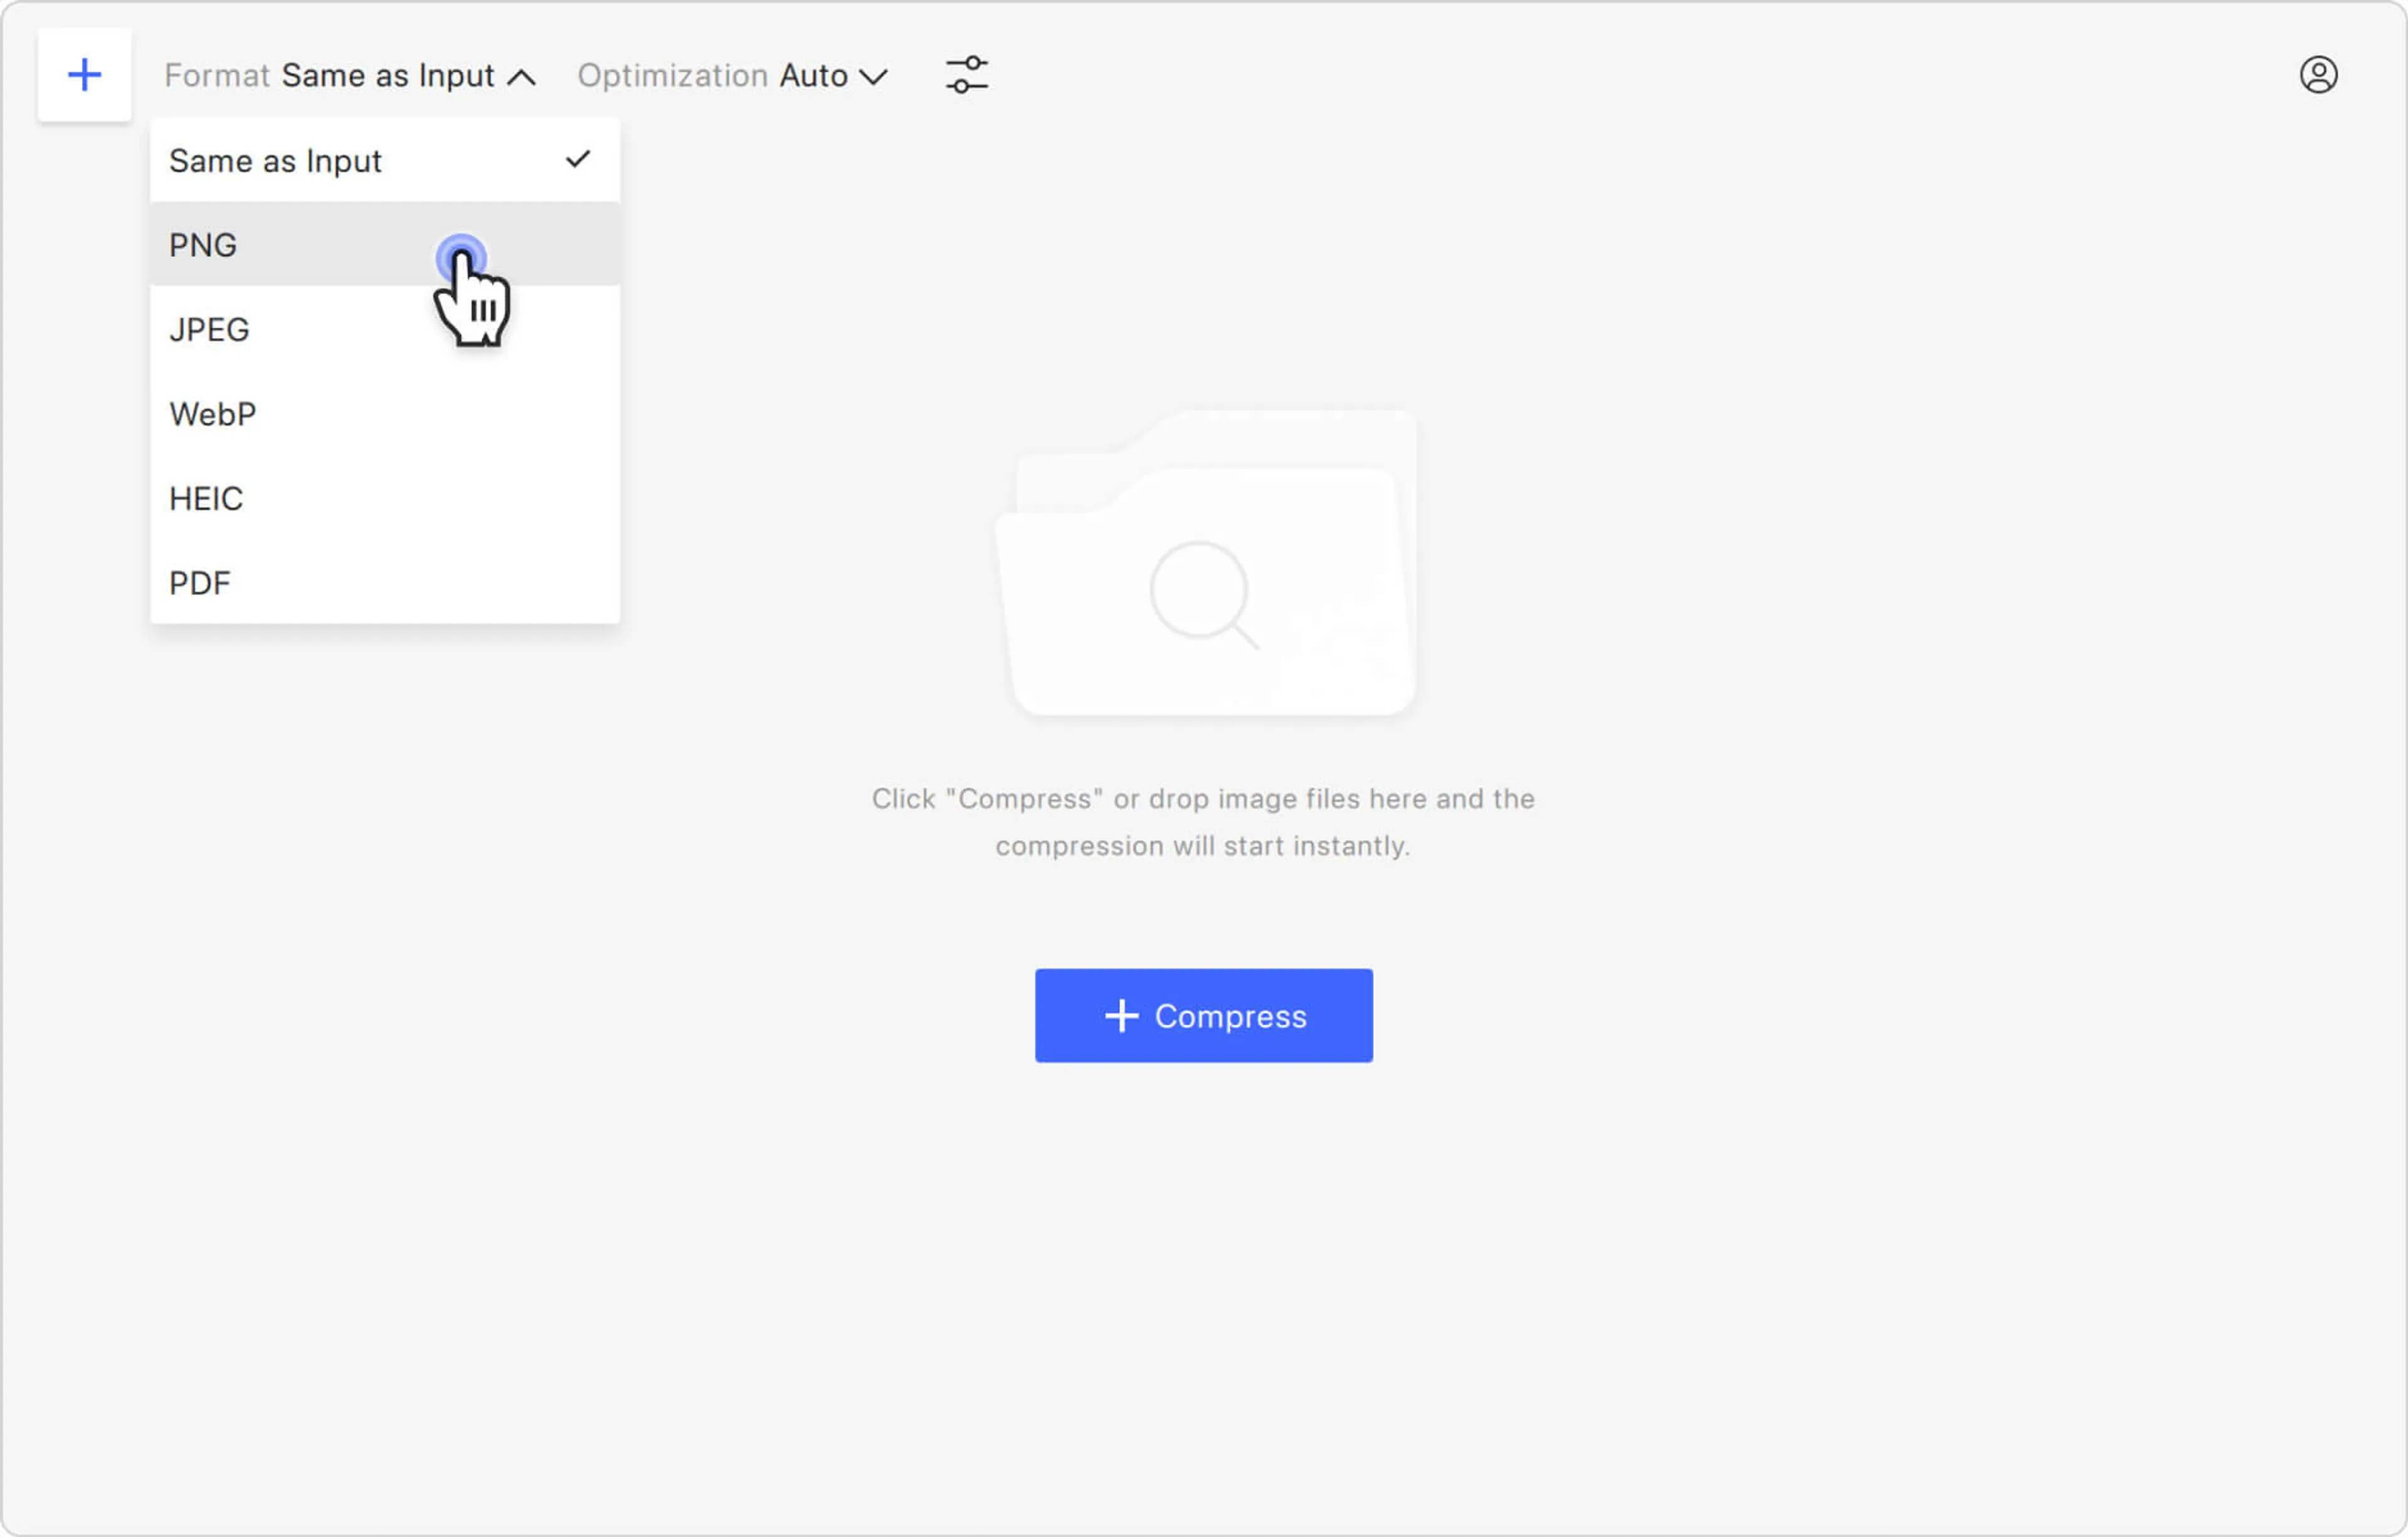
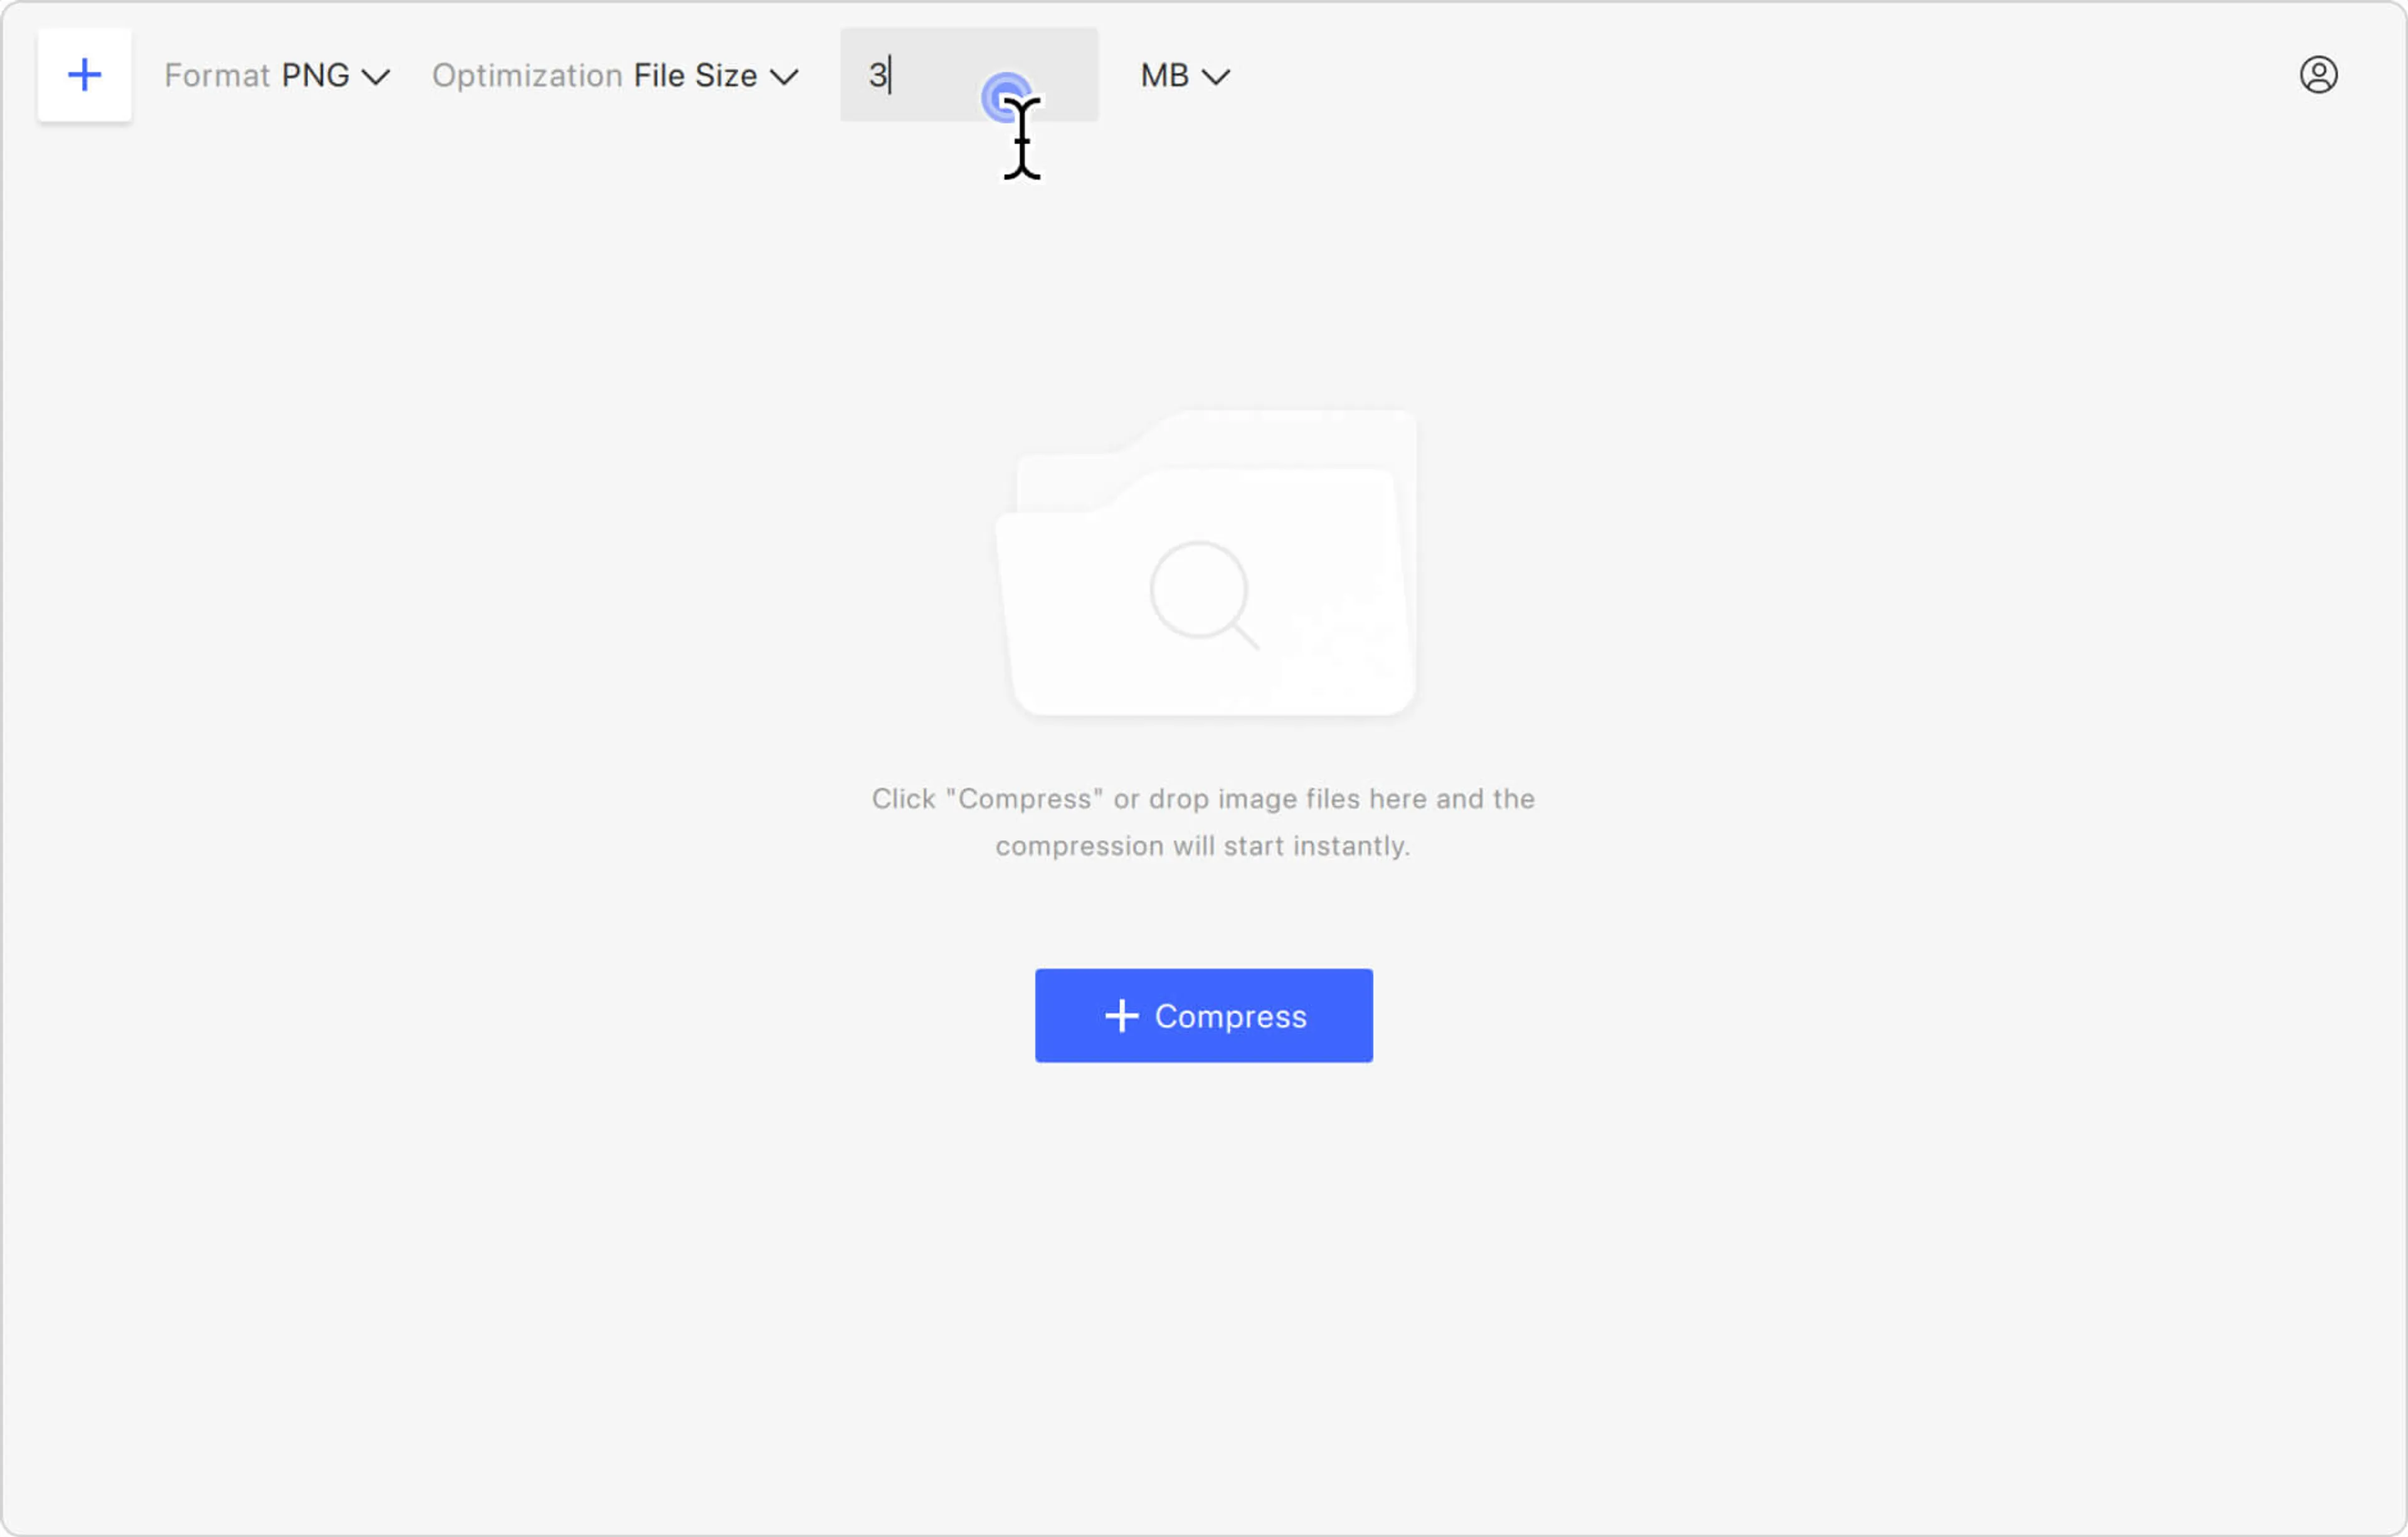
2. Make sure the Format setting is set either to Same as Input or PNG, unless you want to convert your PNG image to another format.
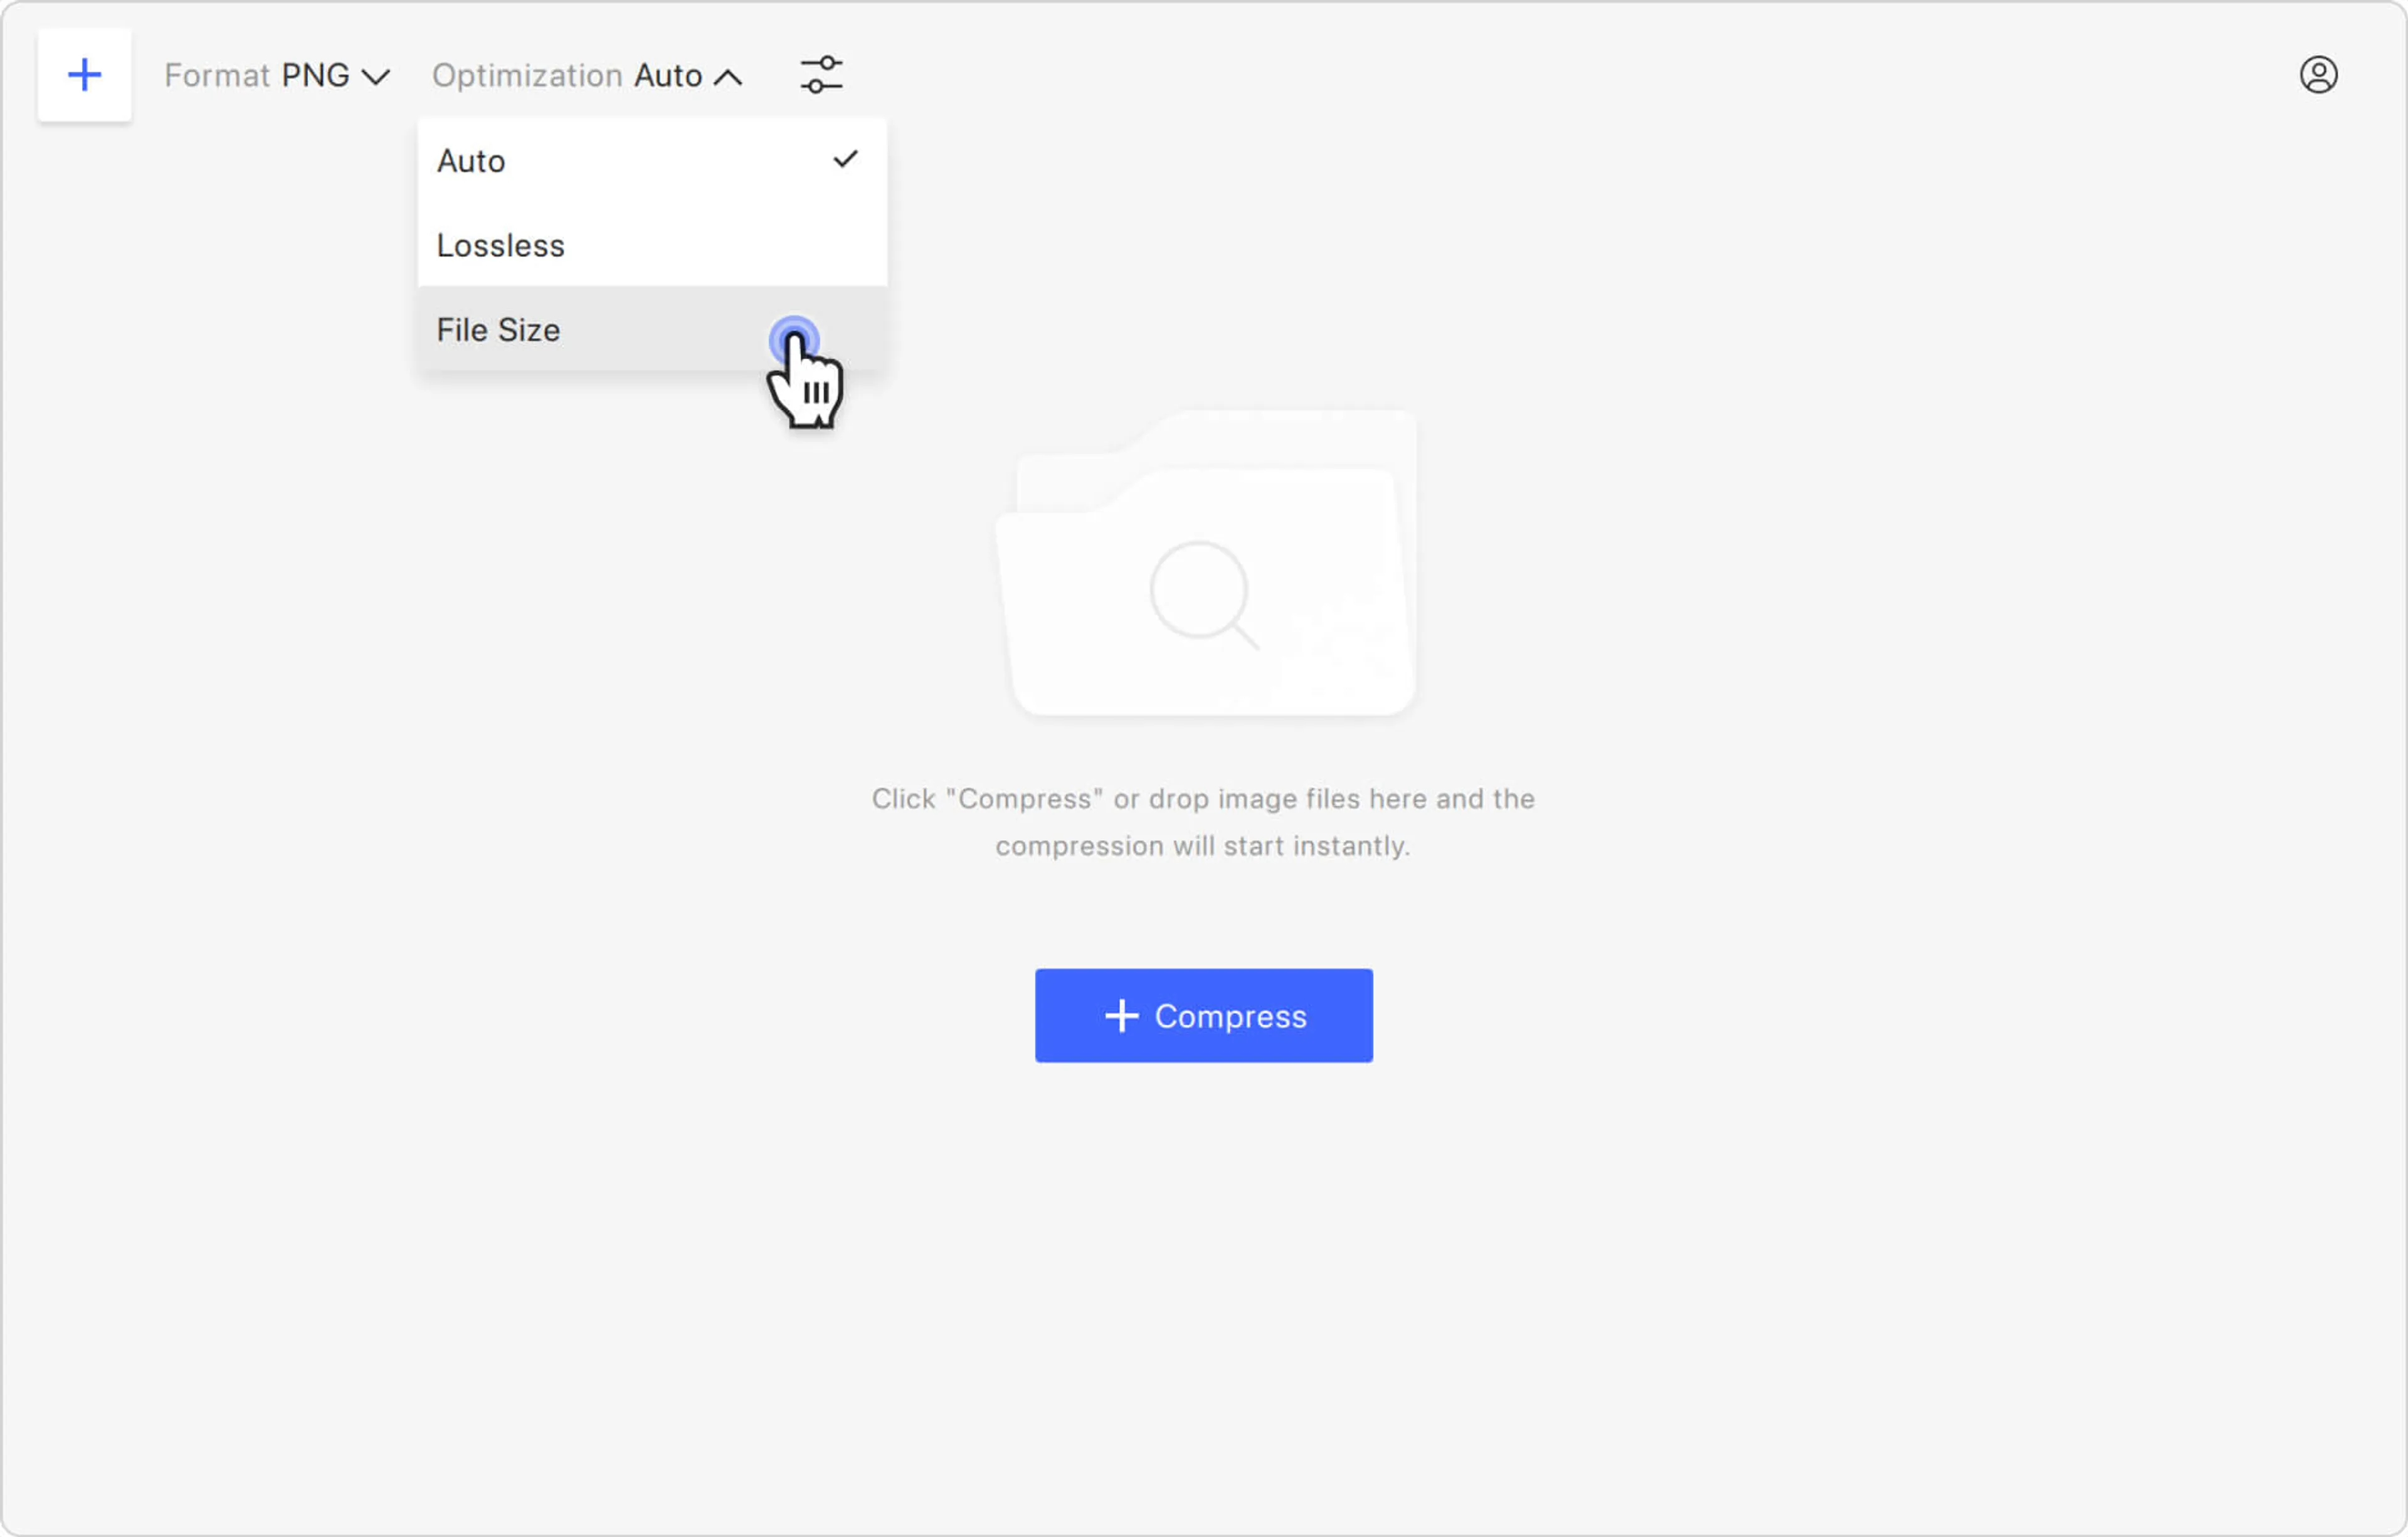
3. Select the optimization type. Click the Optimization section and choose File Size from the list.
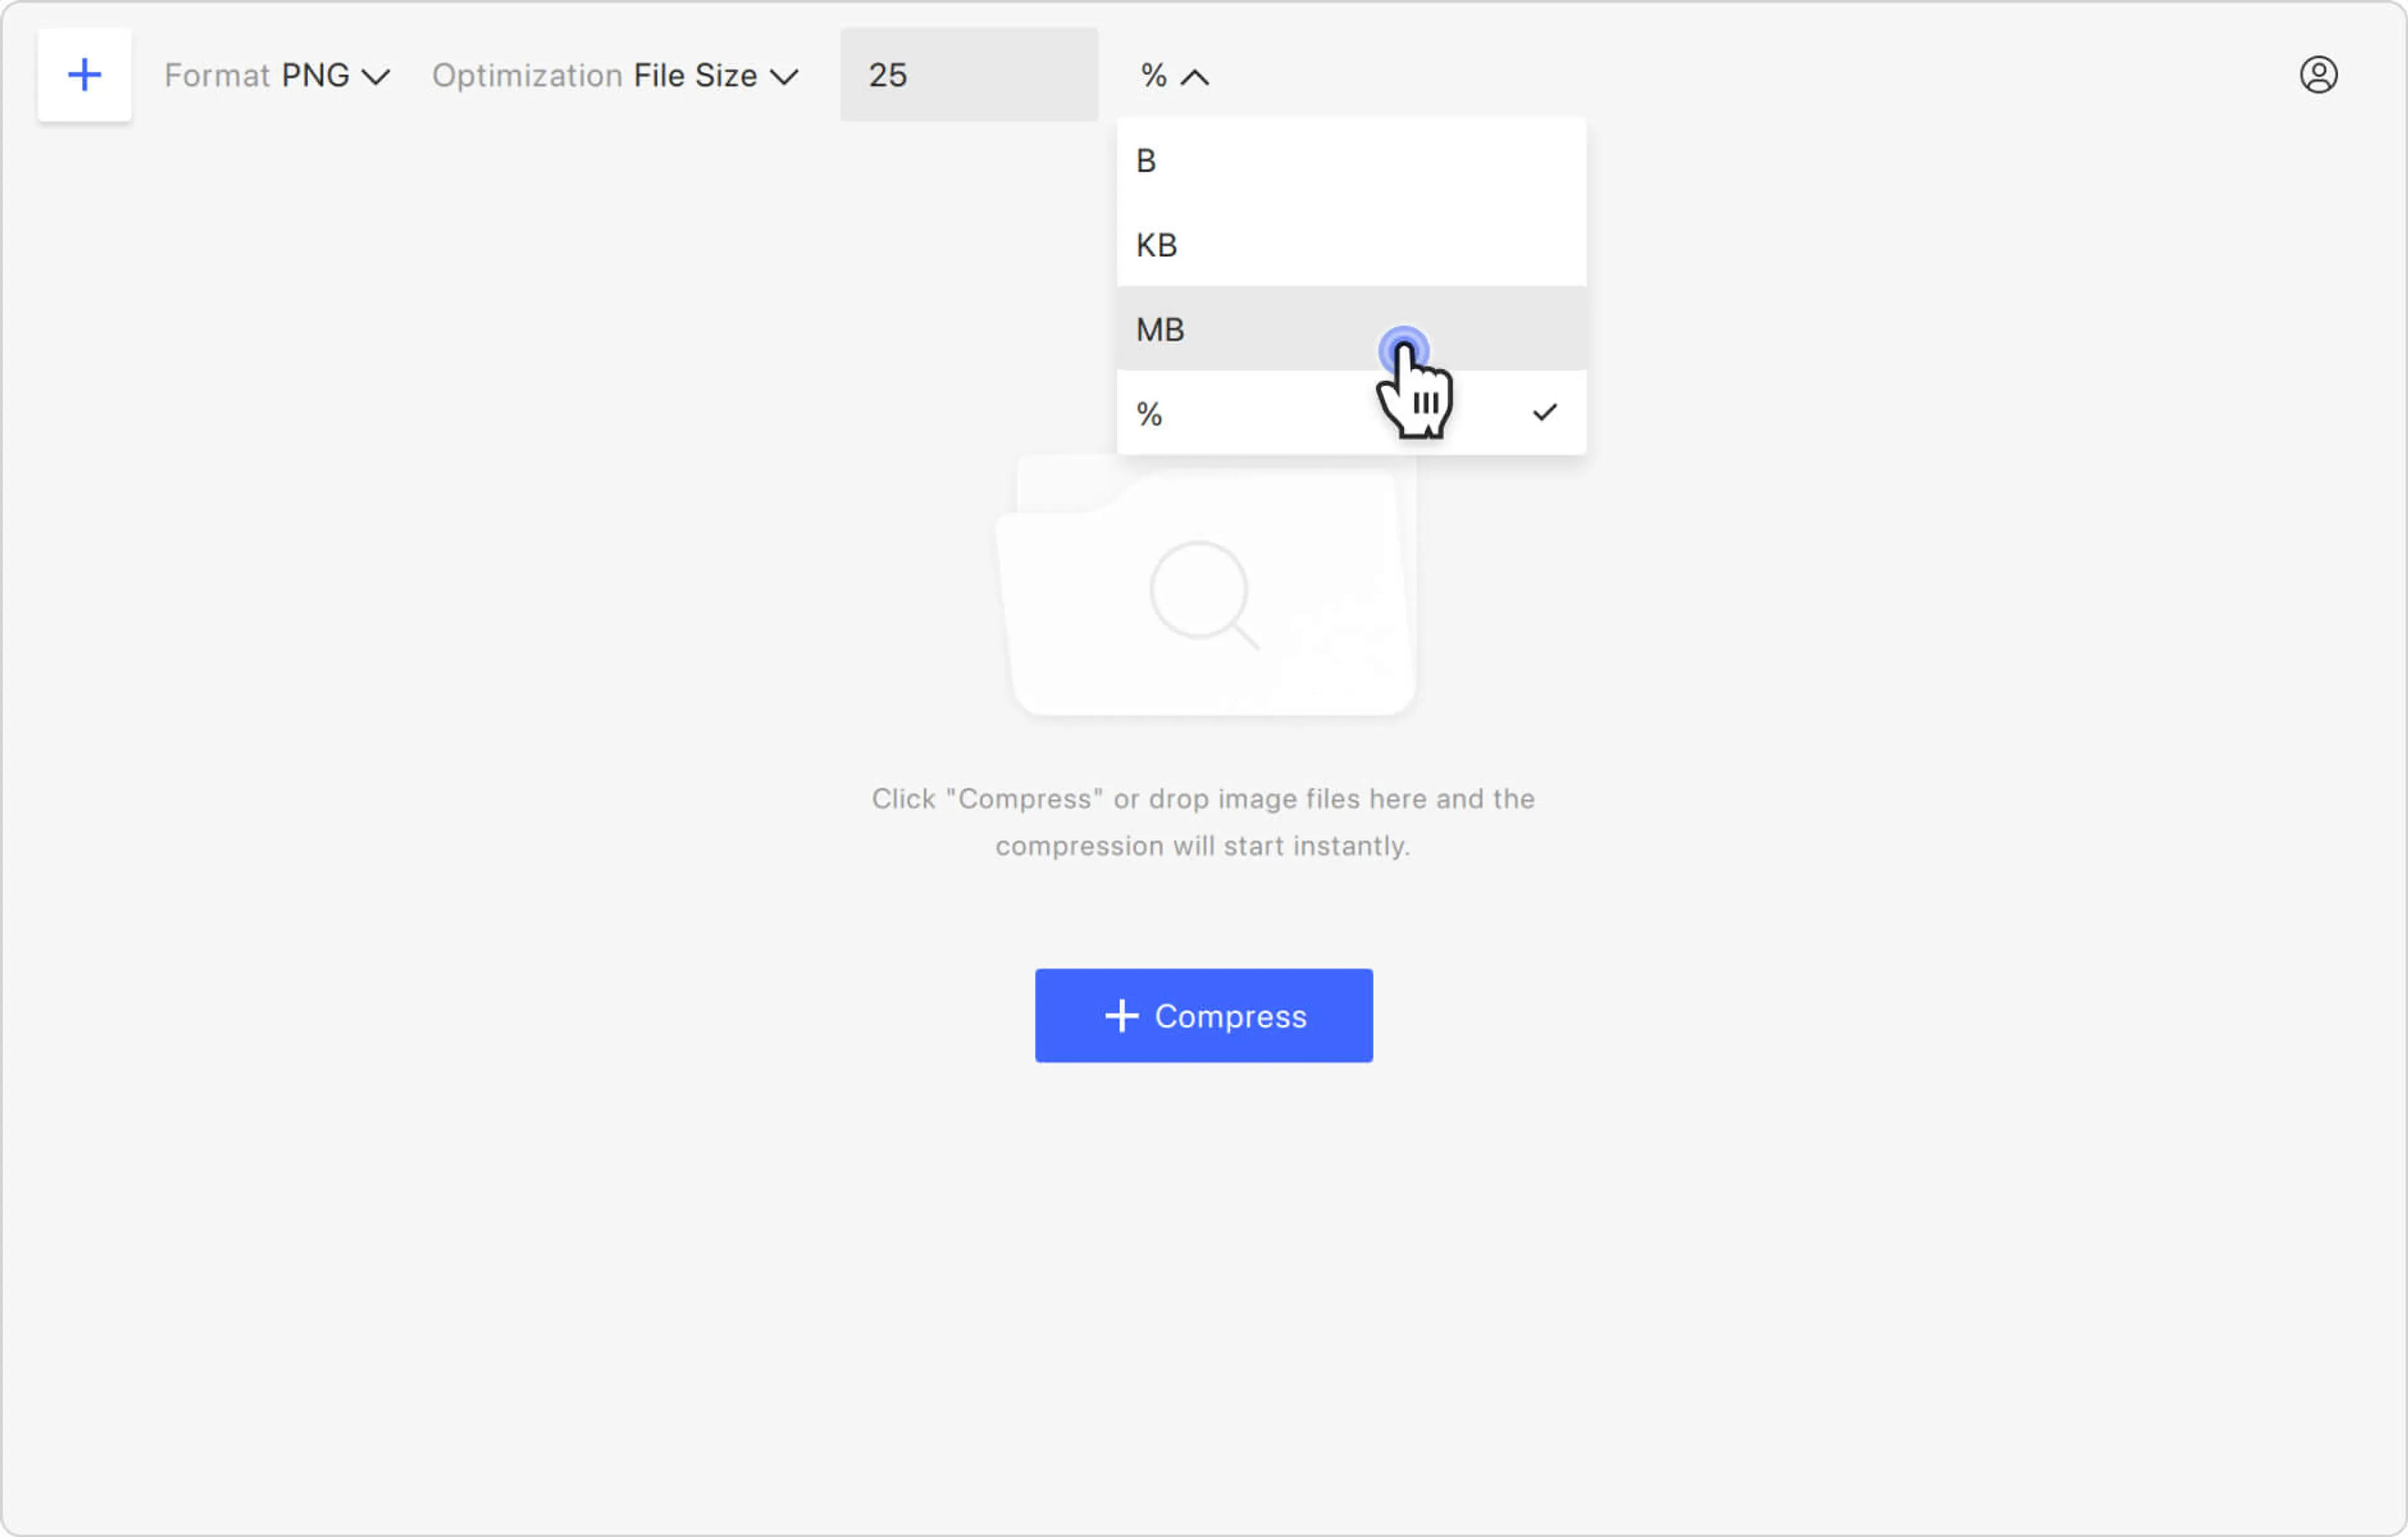
4. Select the compression type. Expand the drop-down menu located to the right of Optimization and select either megabytes (MB), kilobytes (KB), or bytes (B).
5. Specify the compression rate. Type a size value in the designated field.
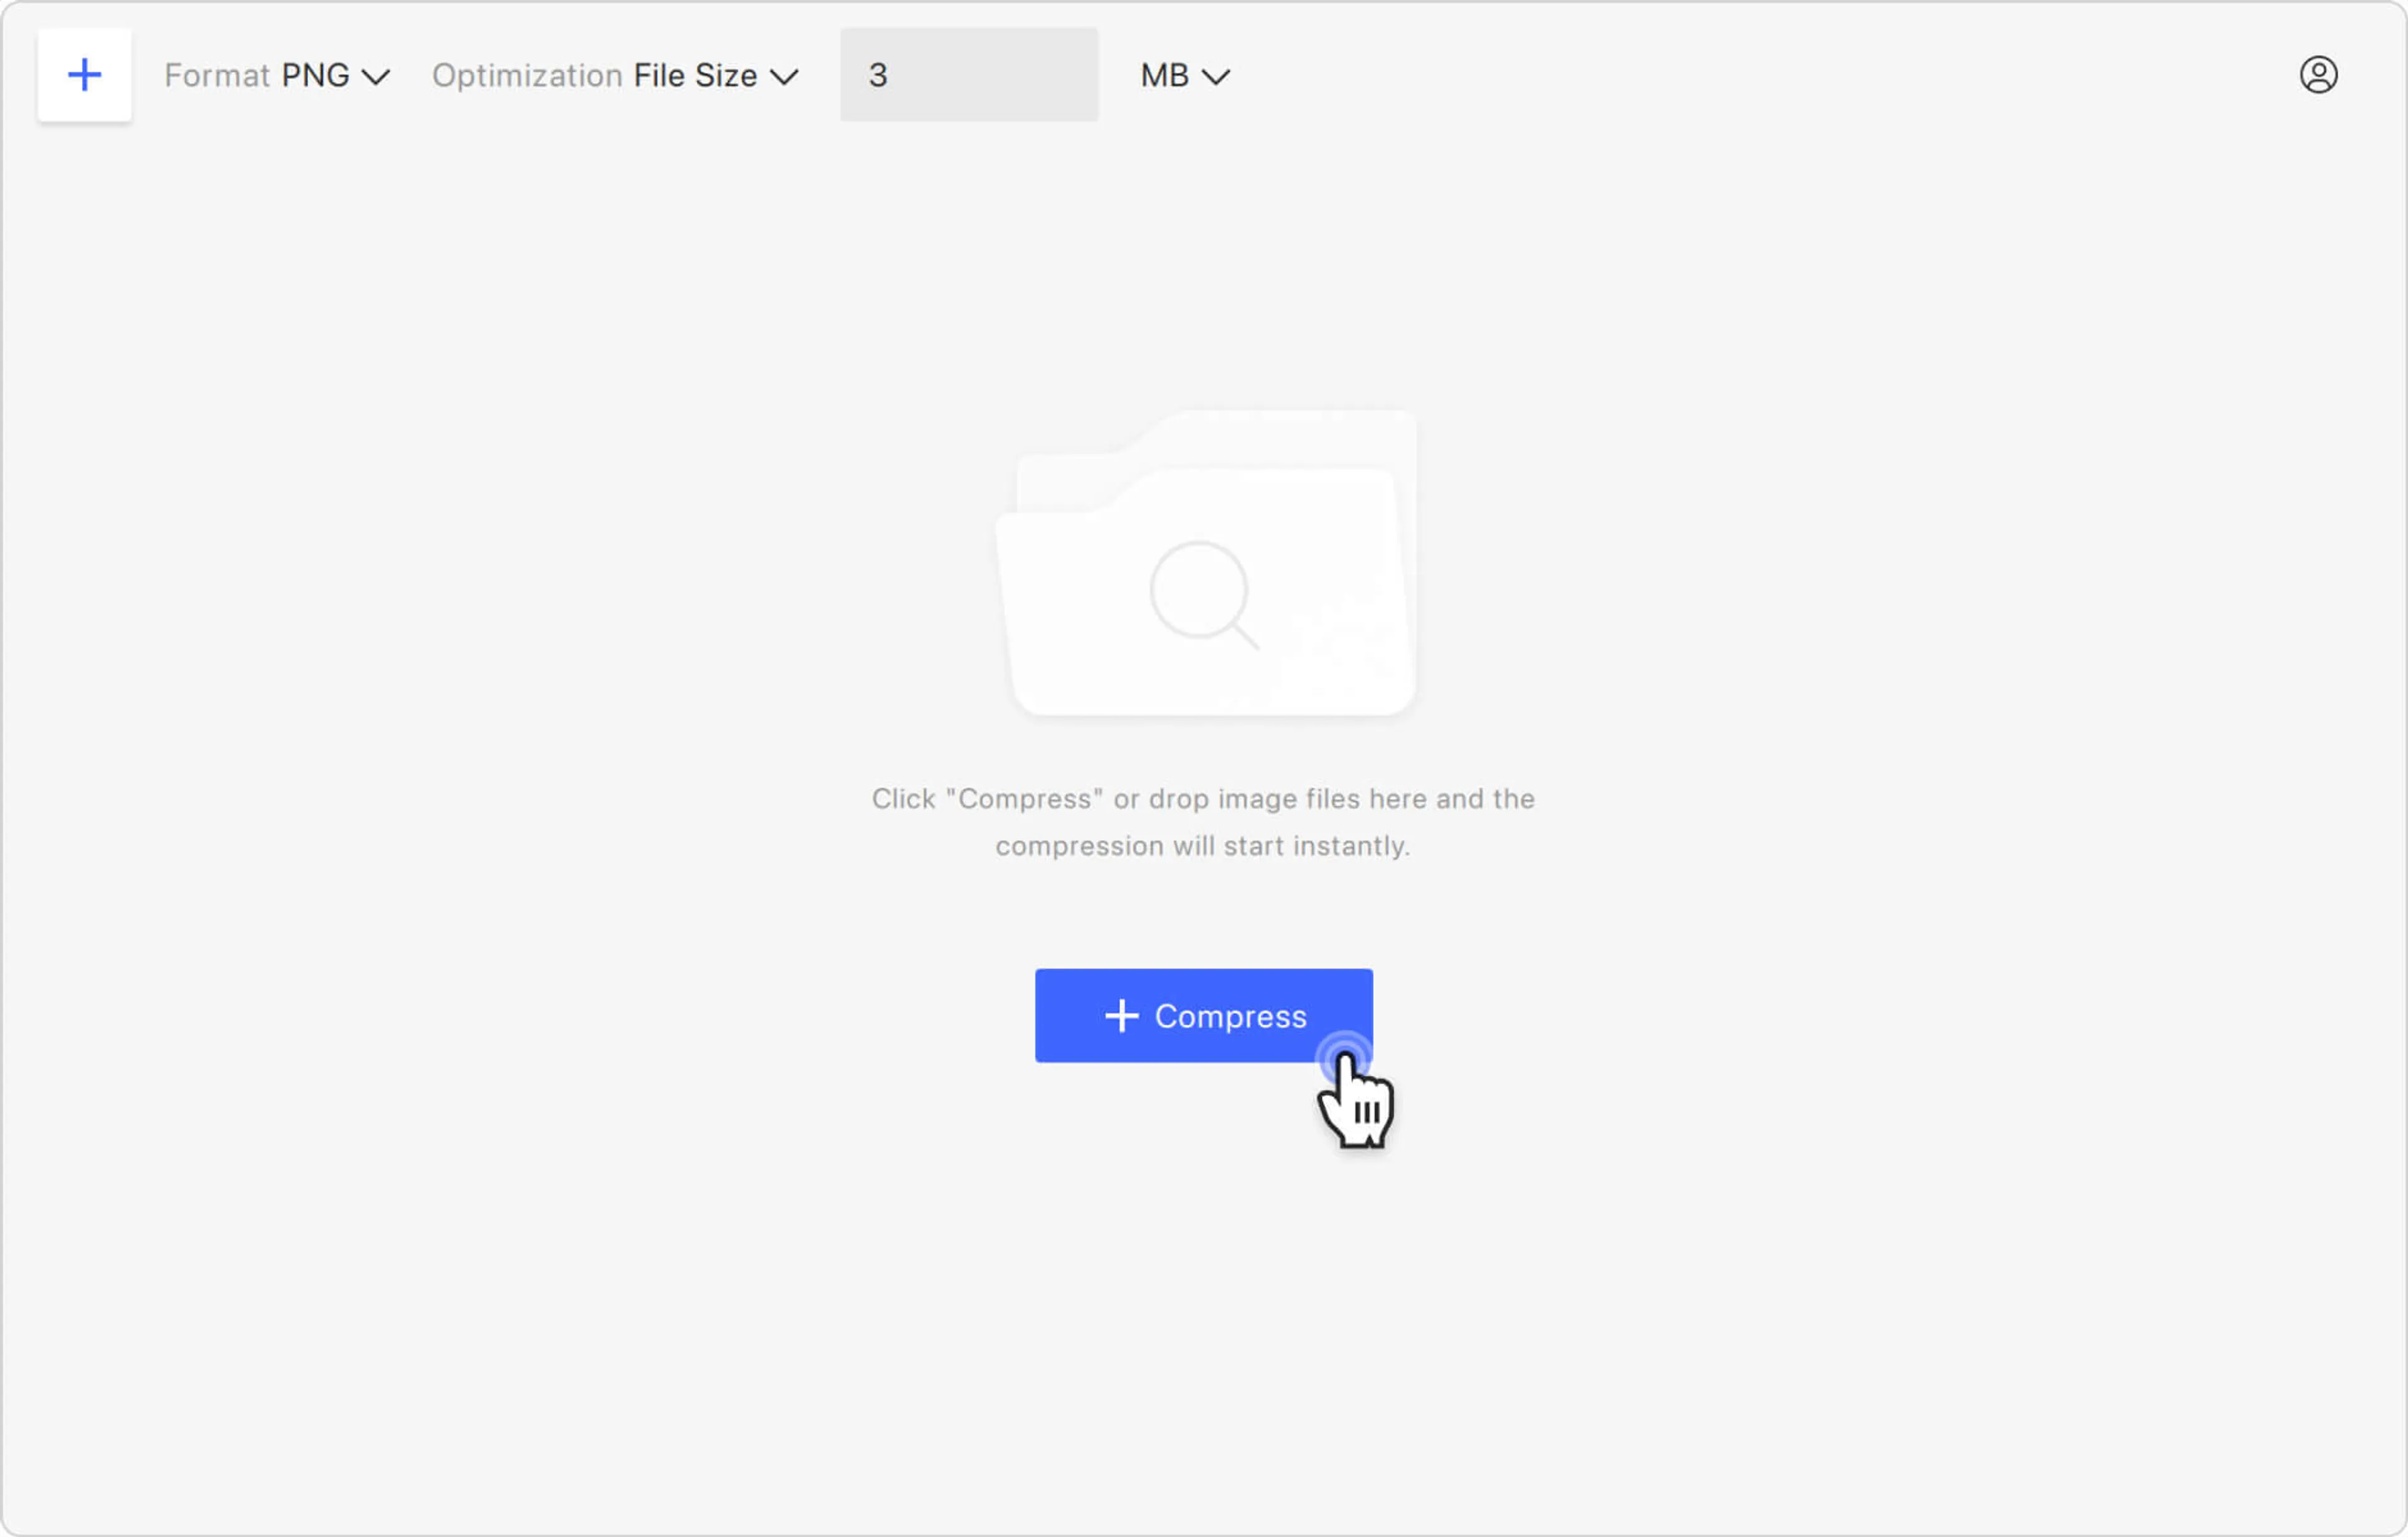
6. Upload your image. Click the Compress button in the middle of the application window to select the file, or simply drag and drop the image. Your PNG will be immediately uploaded and compressed.
7. Find the resulting image. Hover the cursor over the compressed image preview and click the folder icon to find the file on your computer.
