HEIC is a file format for storing and compressing images, which is designed to be a more efficient and advanced alternative to the widely used JPEG format for image compression. HEIC provides top-notch compression while maintaining high image quality, meaning that HEIC files can be smaller in size without sacrificing image clarity. HEIC can use lossless compression, which retains all the image data without any quality loss, making it a good choice for archiving and preserving high-quality images. If you want to make your HEIC images even smaller, you can easily do it with 4K Image Compressor. Follow the steps below.
1. Launch 4K Image Compressor. It’s available for Windows, macOS, and Linux.
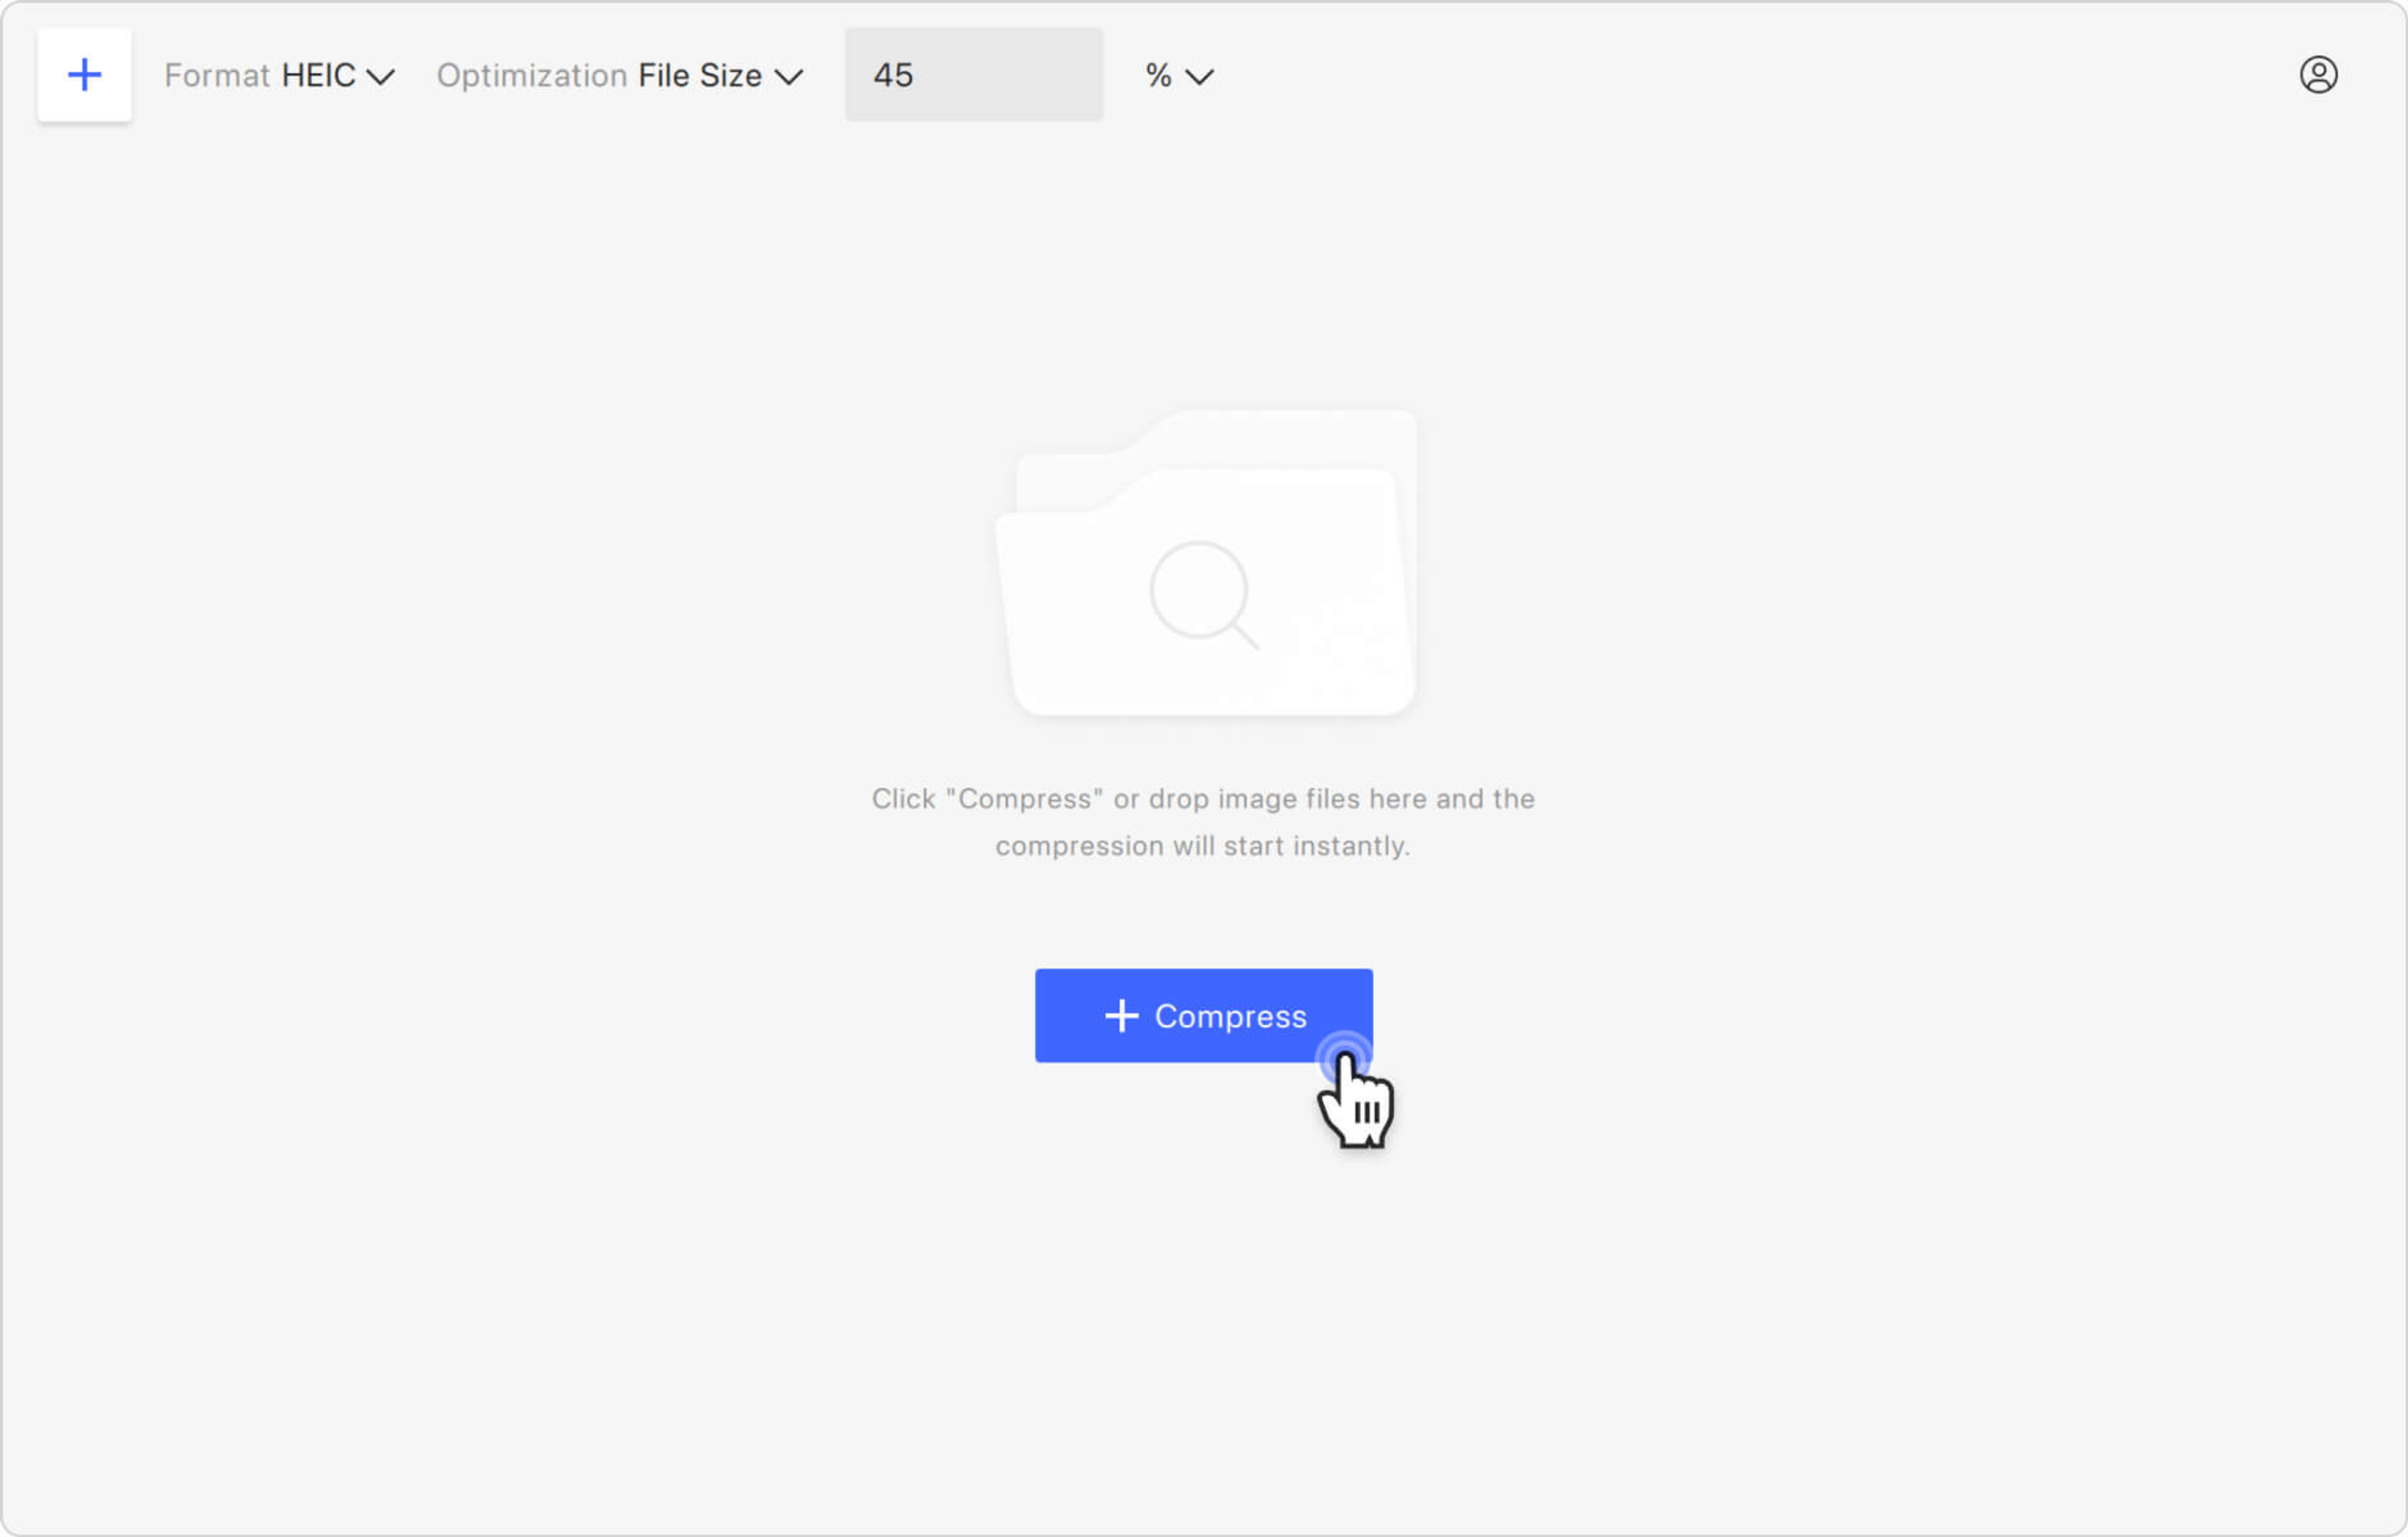
2. Make sure the Format setting is set either to Same as Input or HEIC, unless you want to convert your HEIC image to another format.
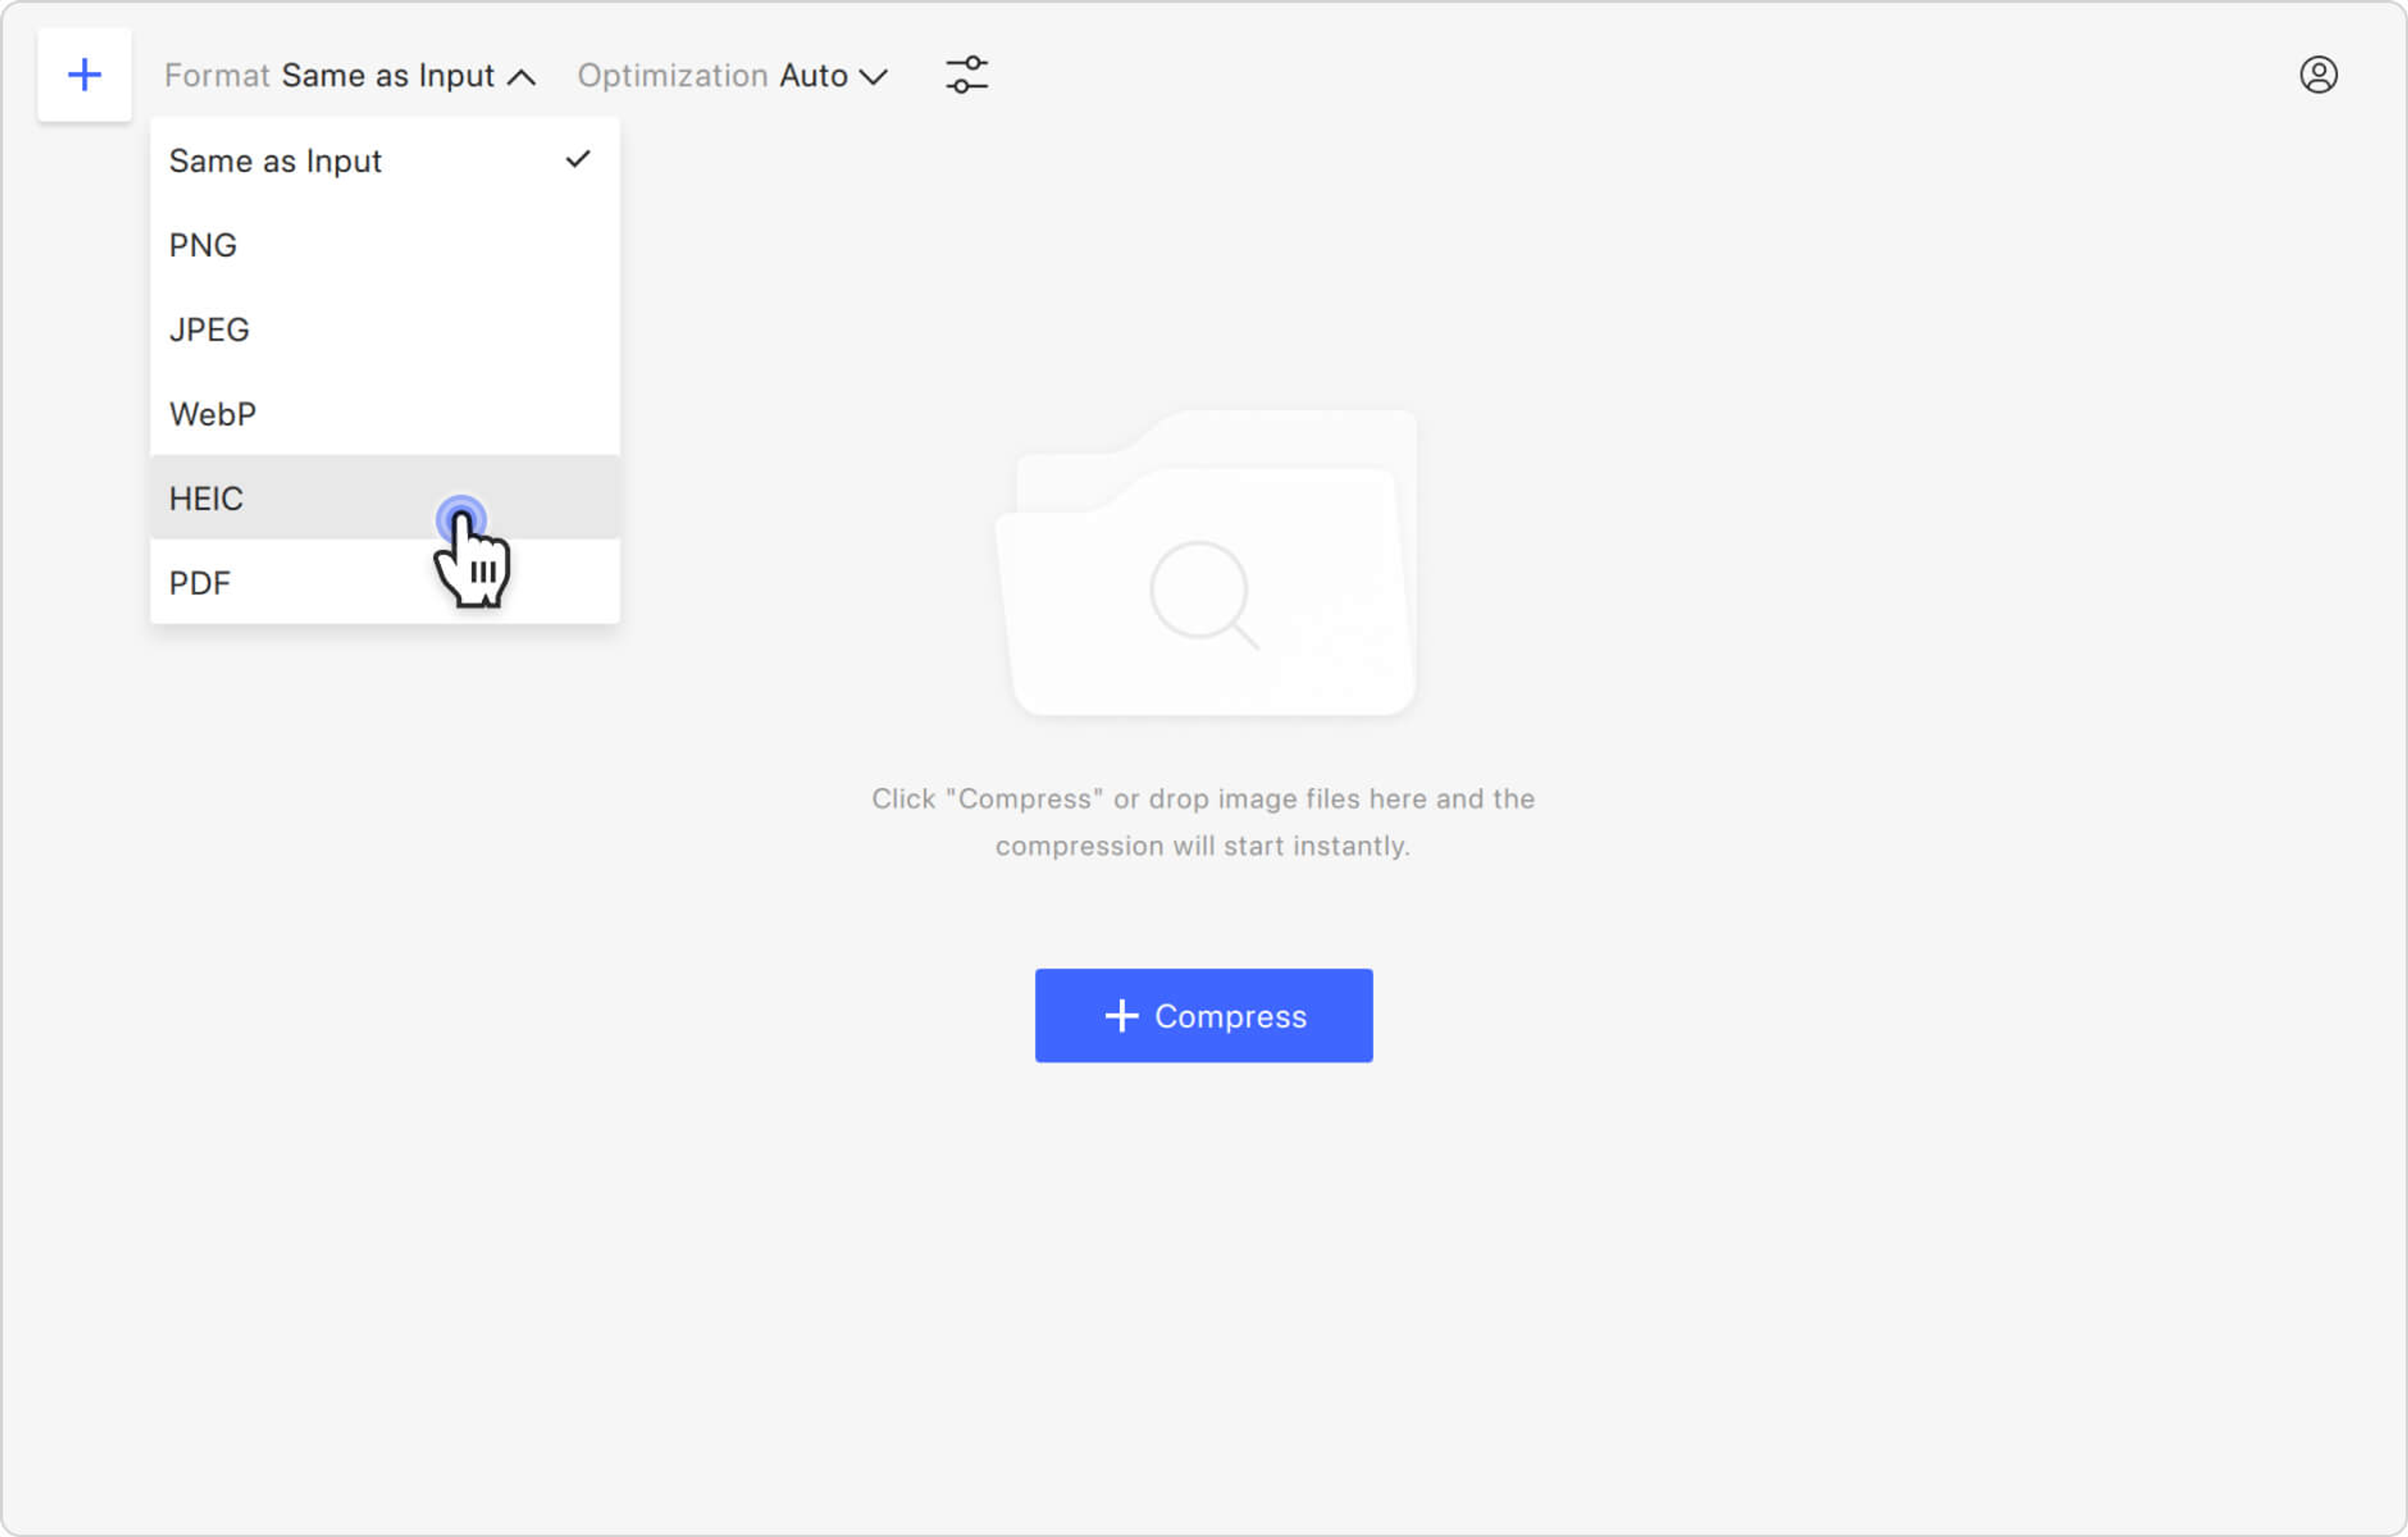
3. Select the optimization type. Click the Optimization section and choose File Size from the list.
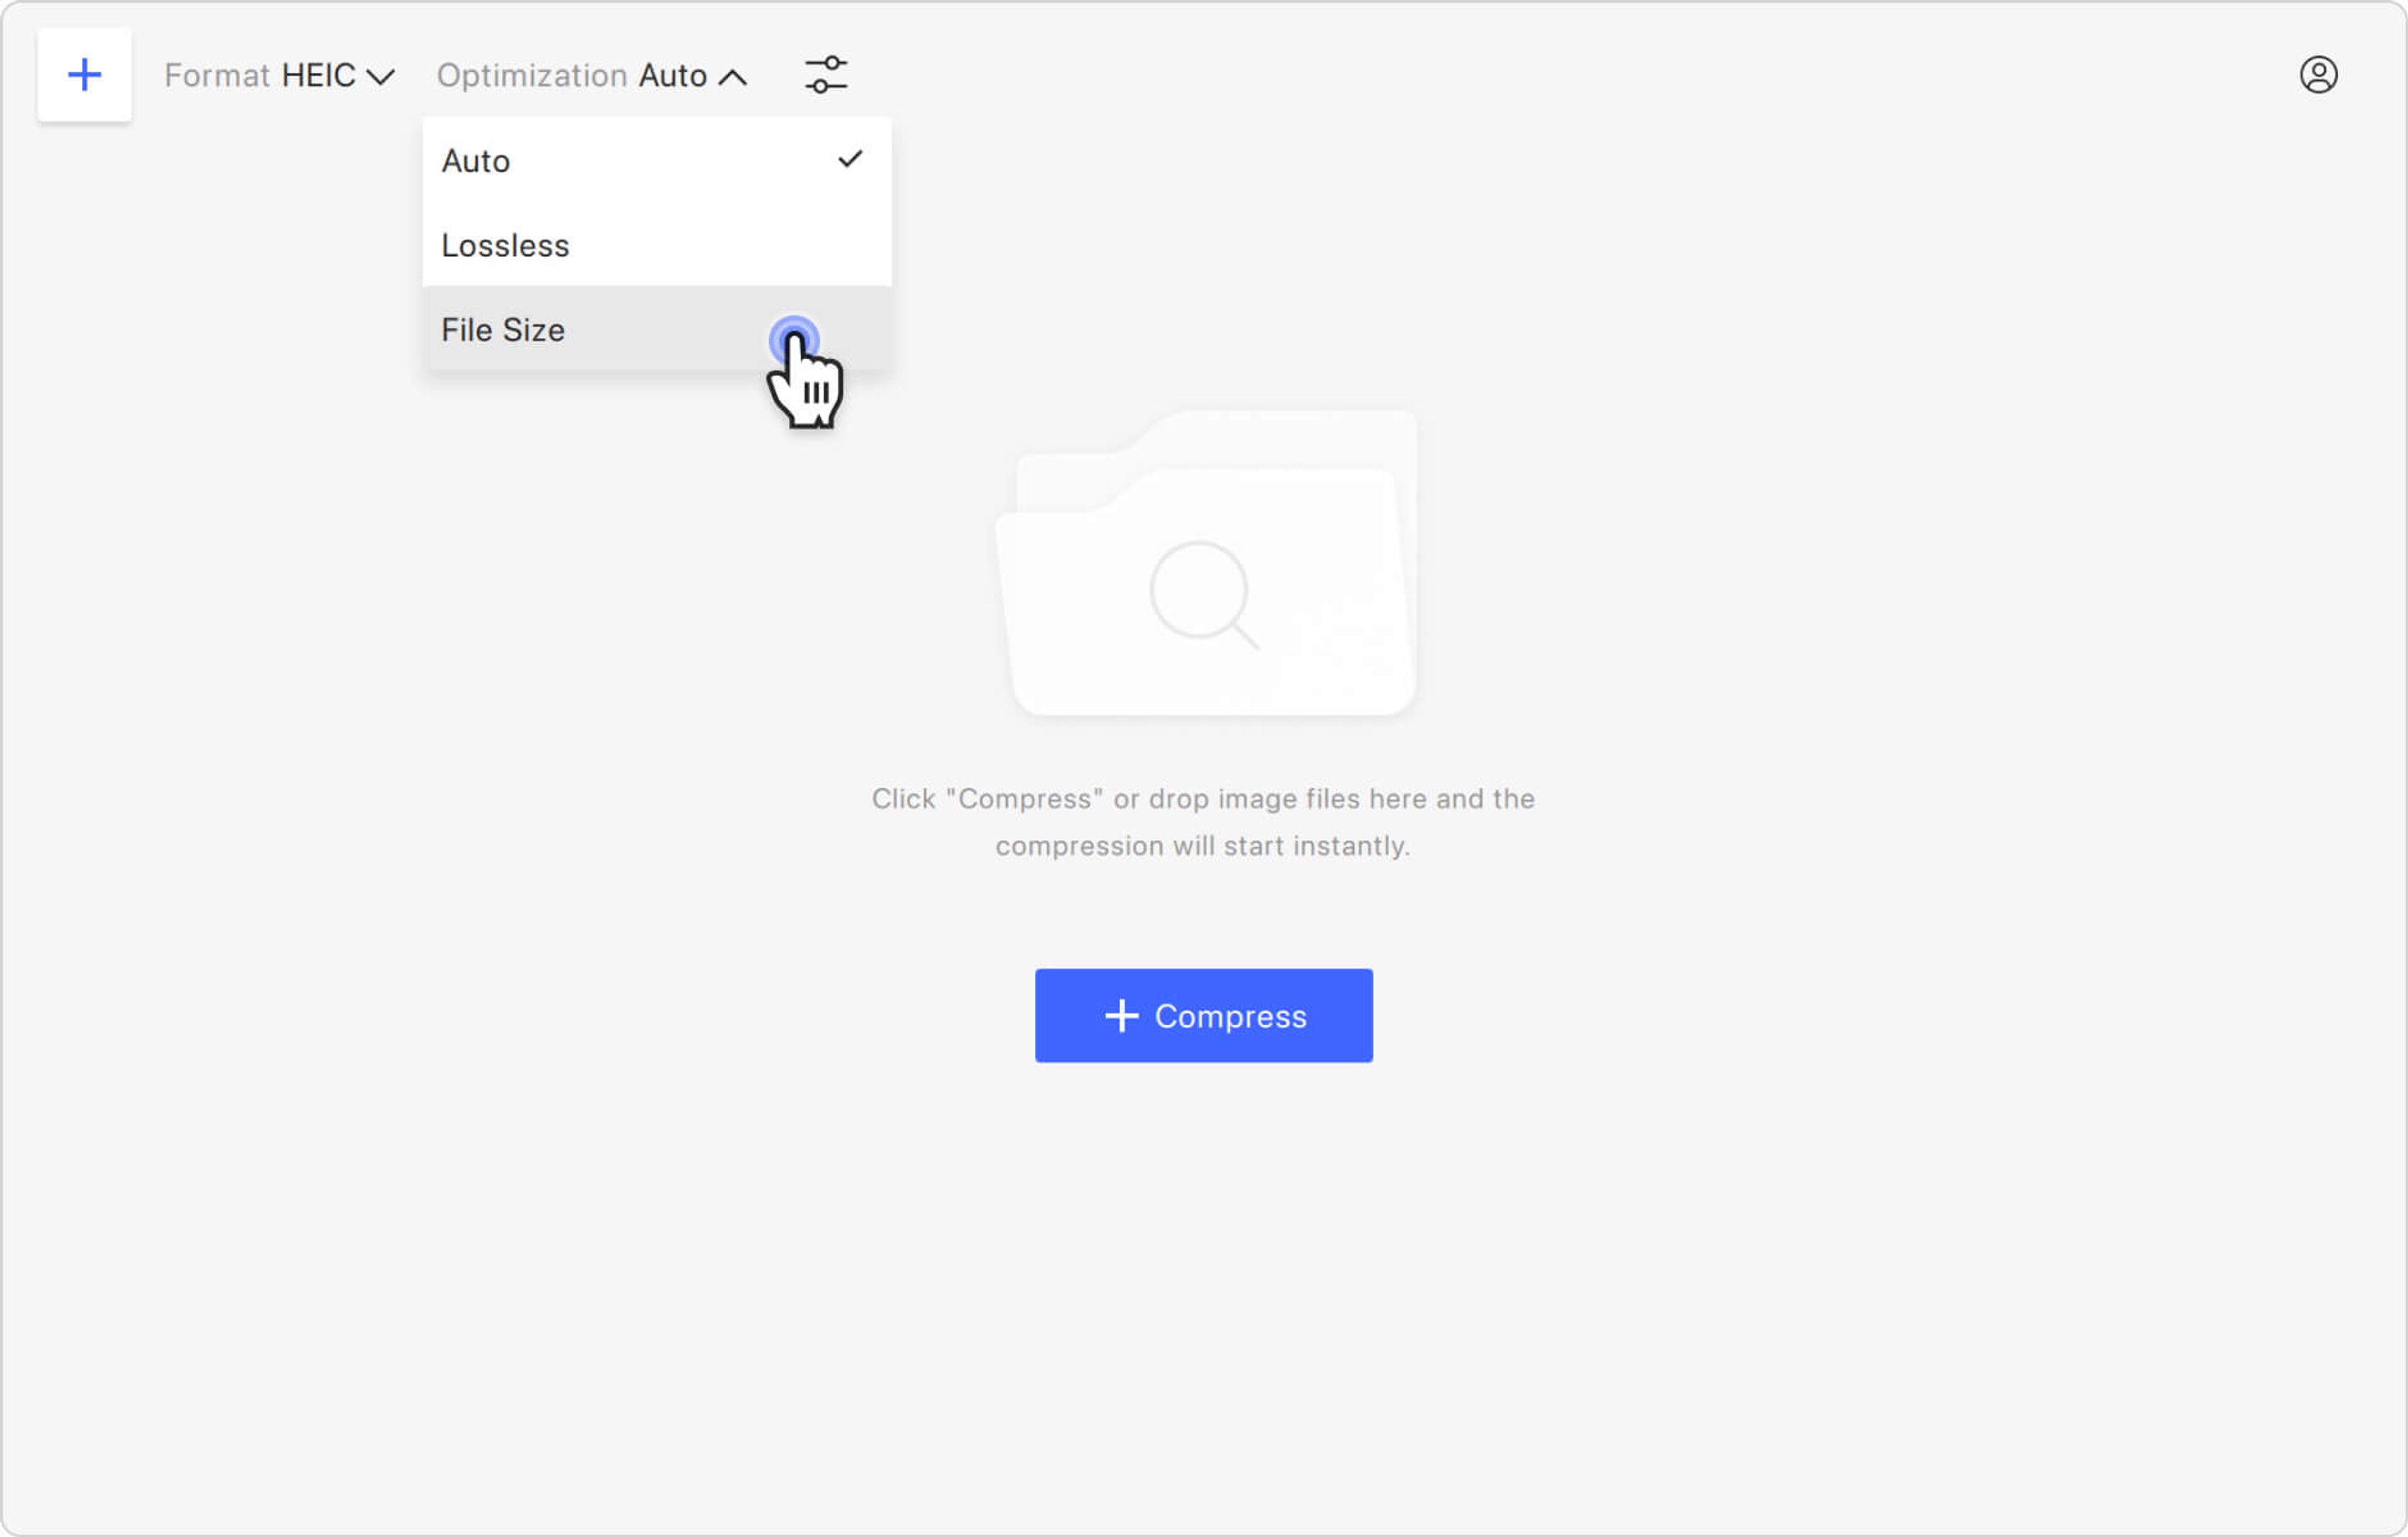
4. Select the compression type. You can choose to compress an image to a specific size or reduce the size by a percentage. Expand the drop-down menu located to the right of Optimization and pick the option you want.
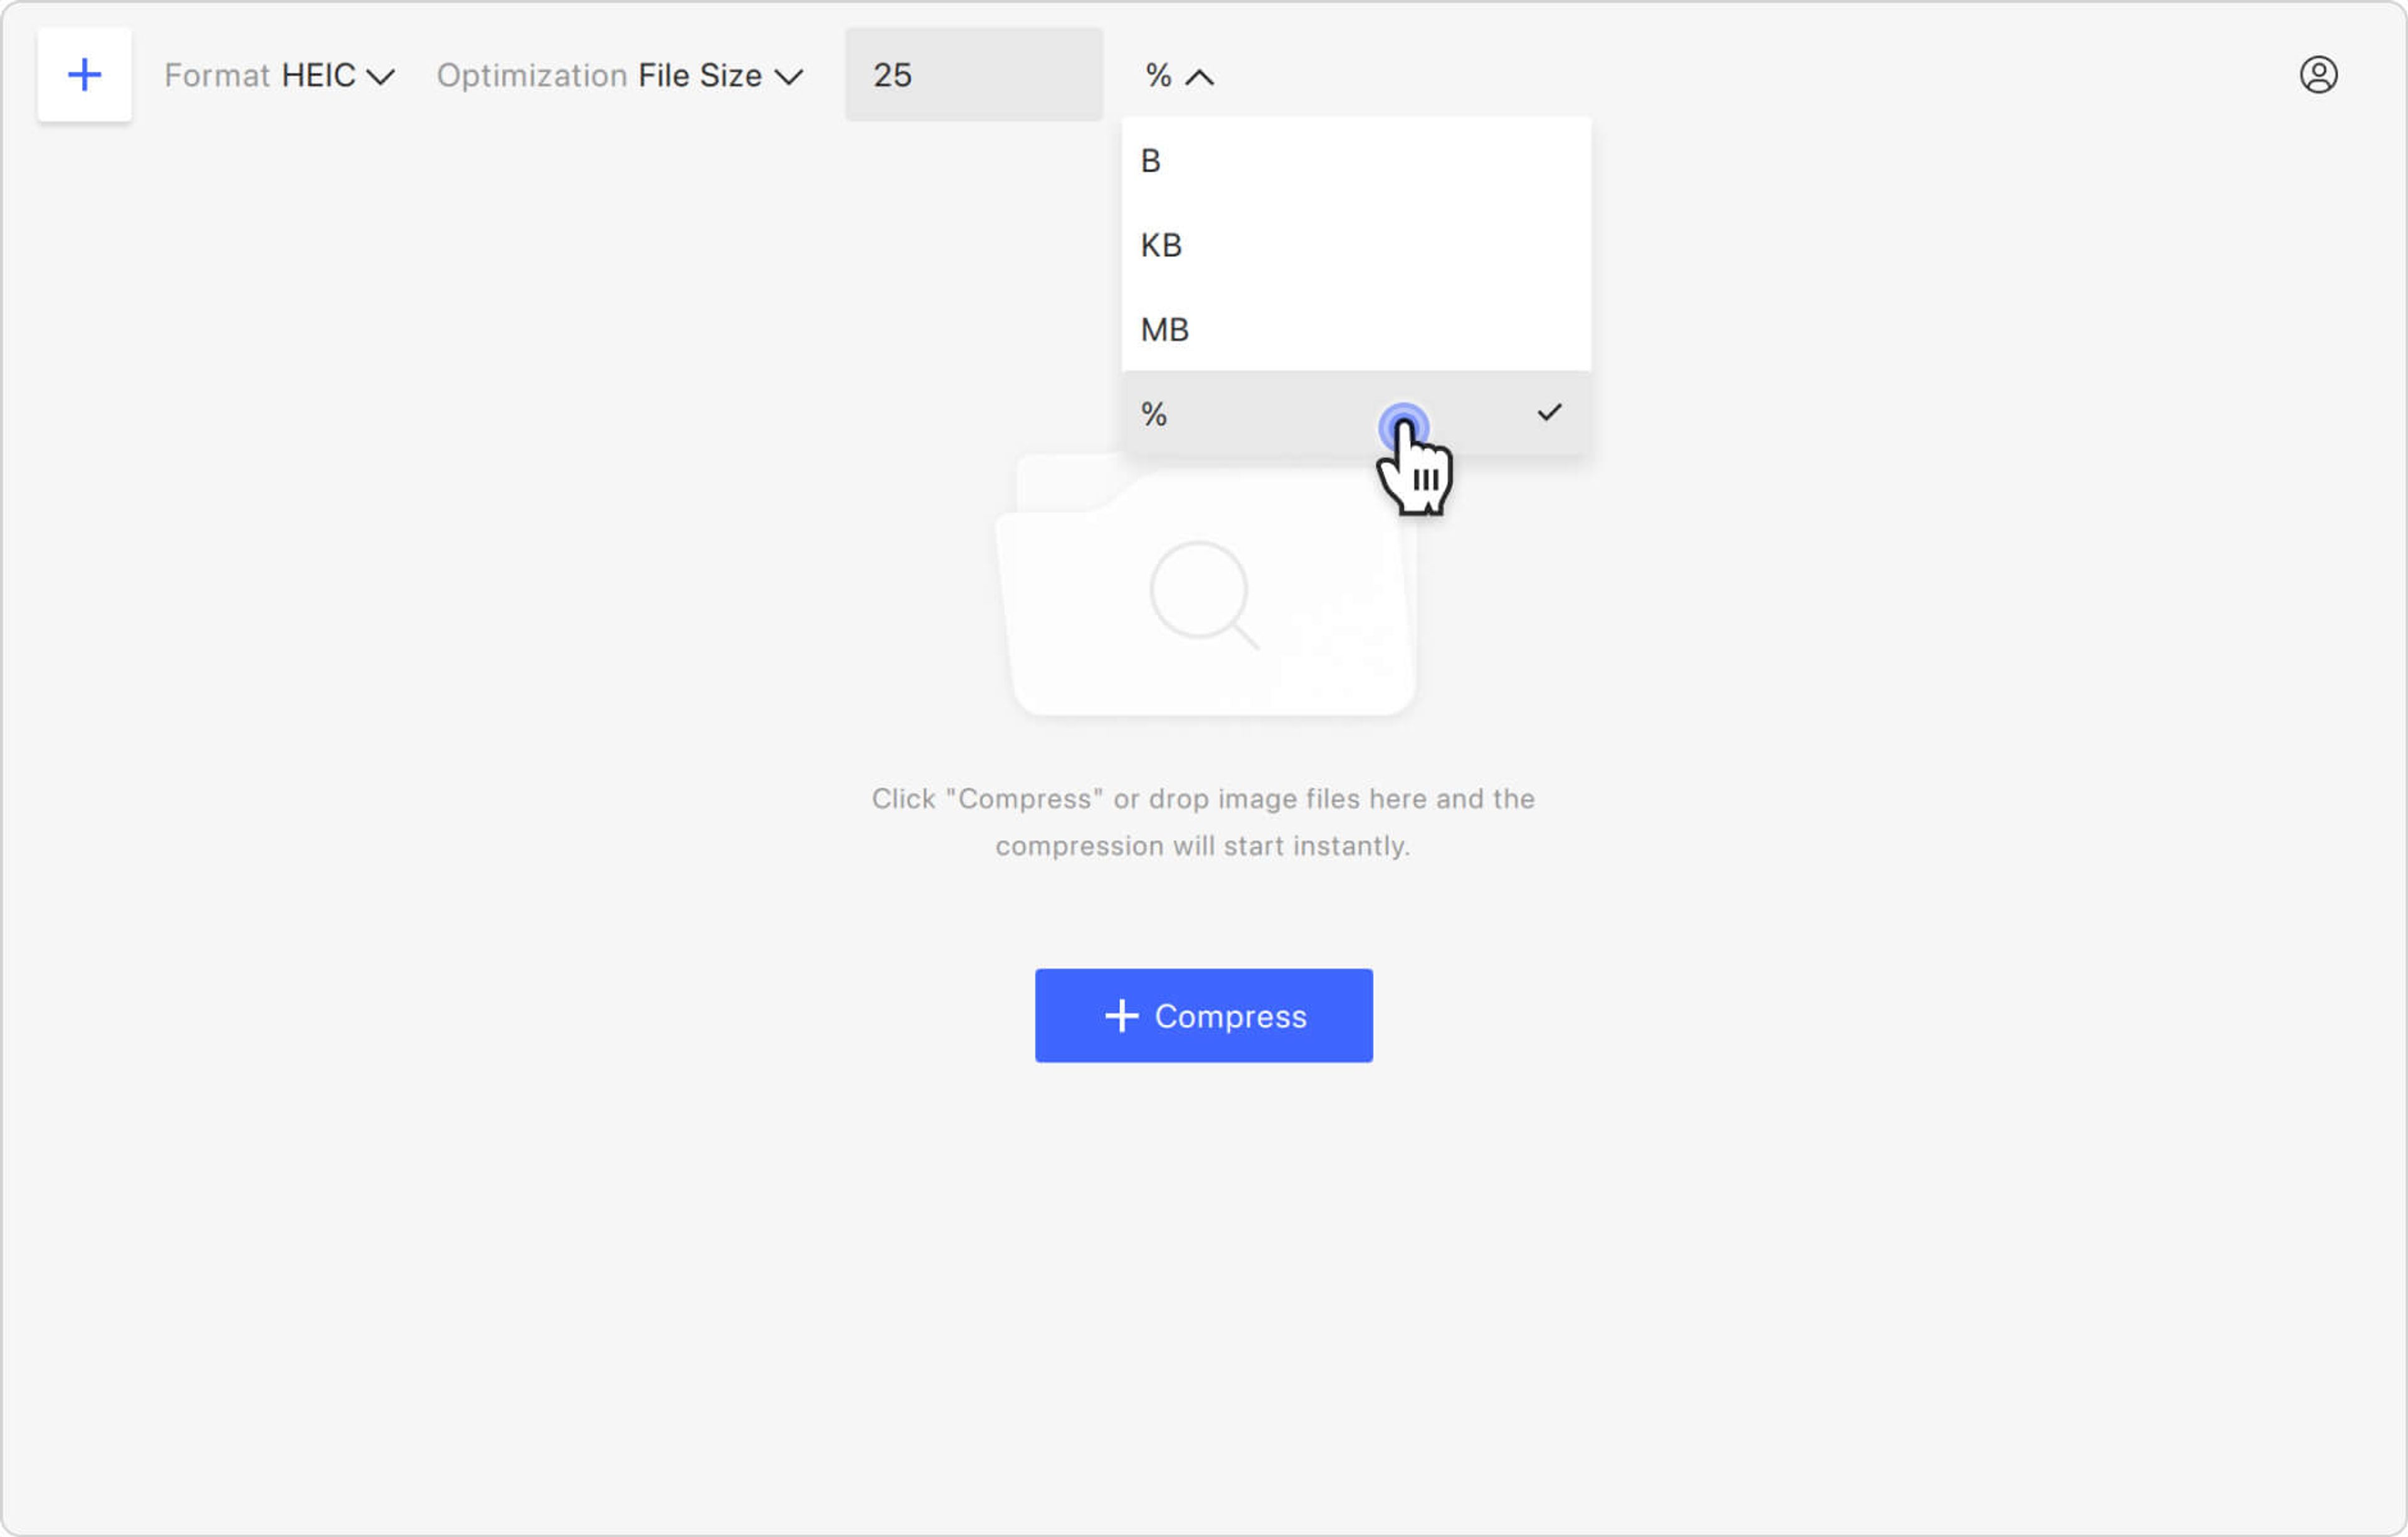
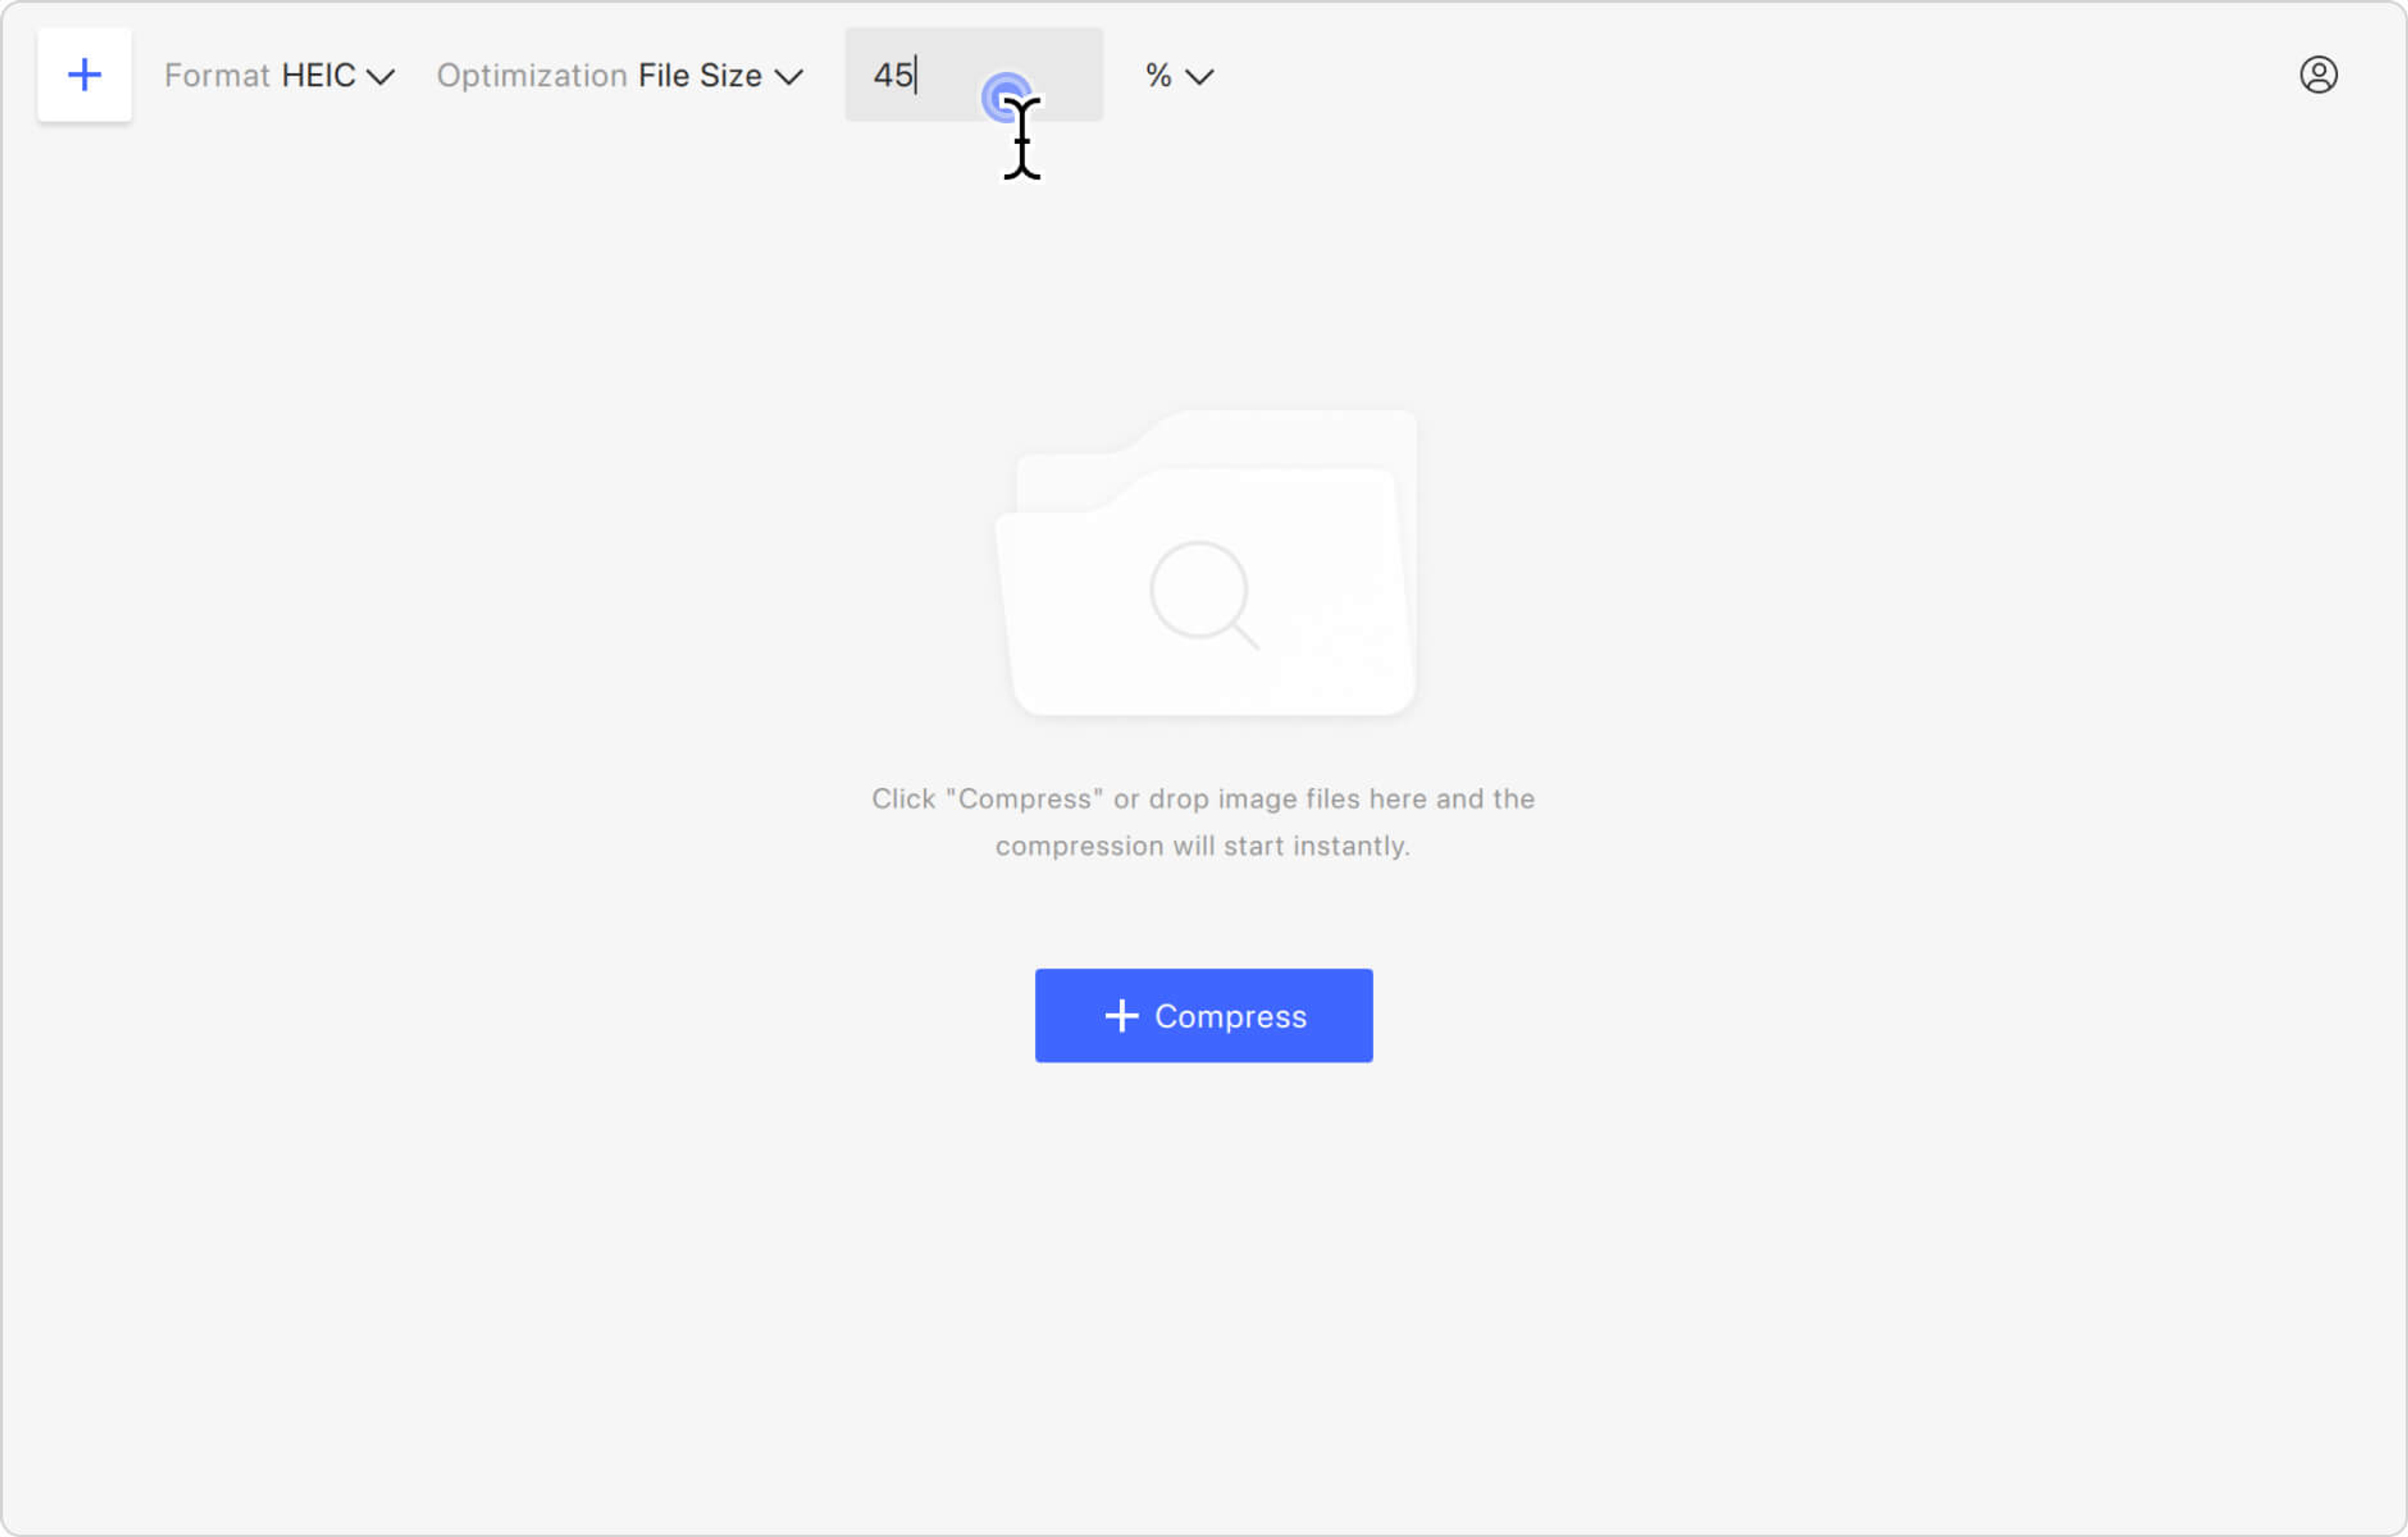
5. Specify the compression rate. Depending on the selected optimization type, enter either a size or a percentage value in the designated field.
6. Upload your image. Click the Compress button in the middle of the application window to select the file, or simply drag and drop the image. Your HEIC will be immediately uploaded and compressed.
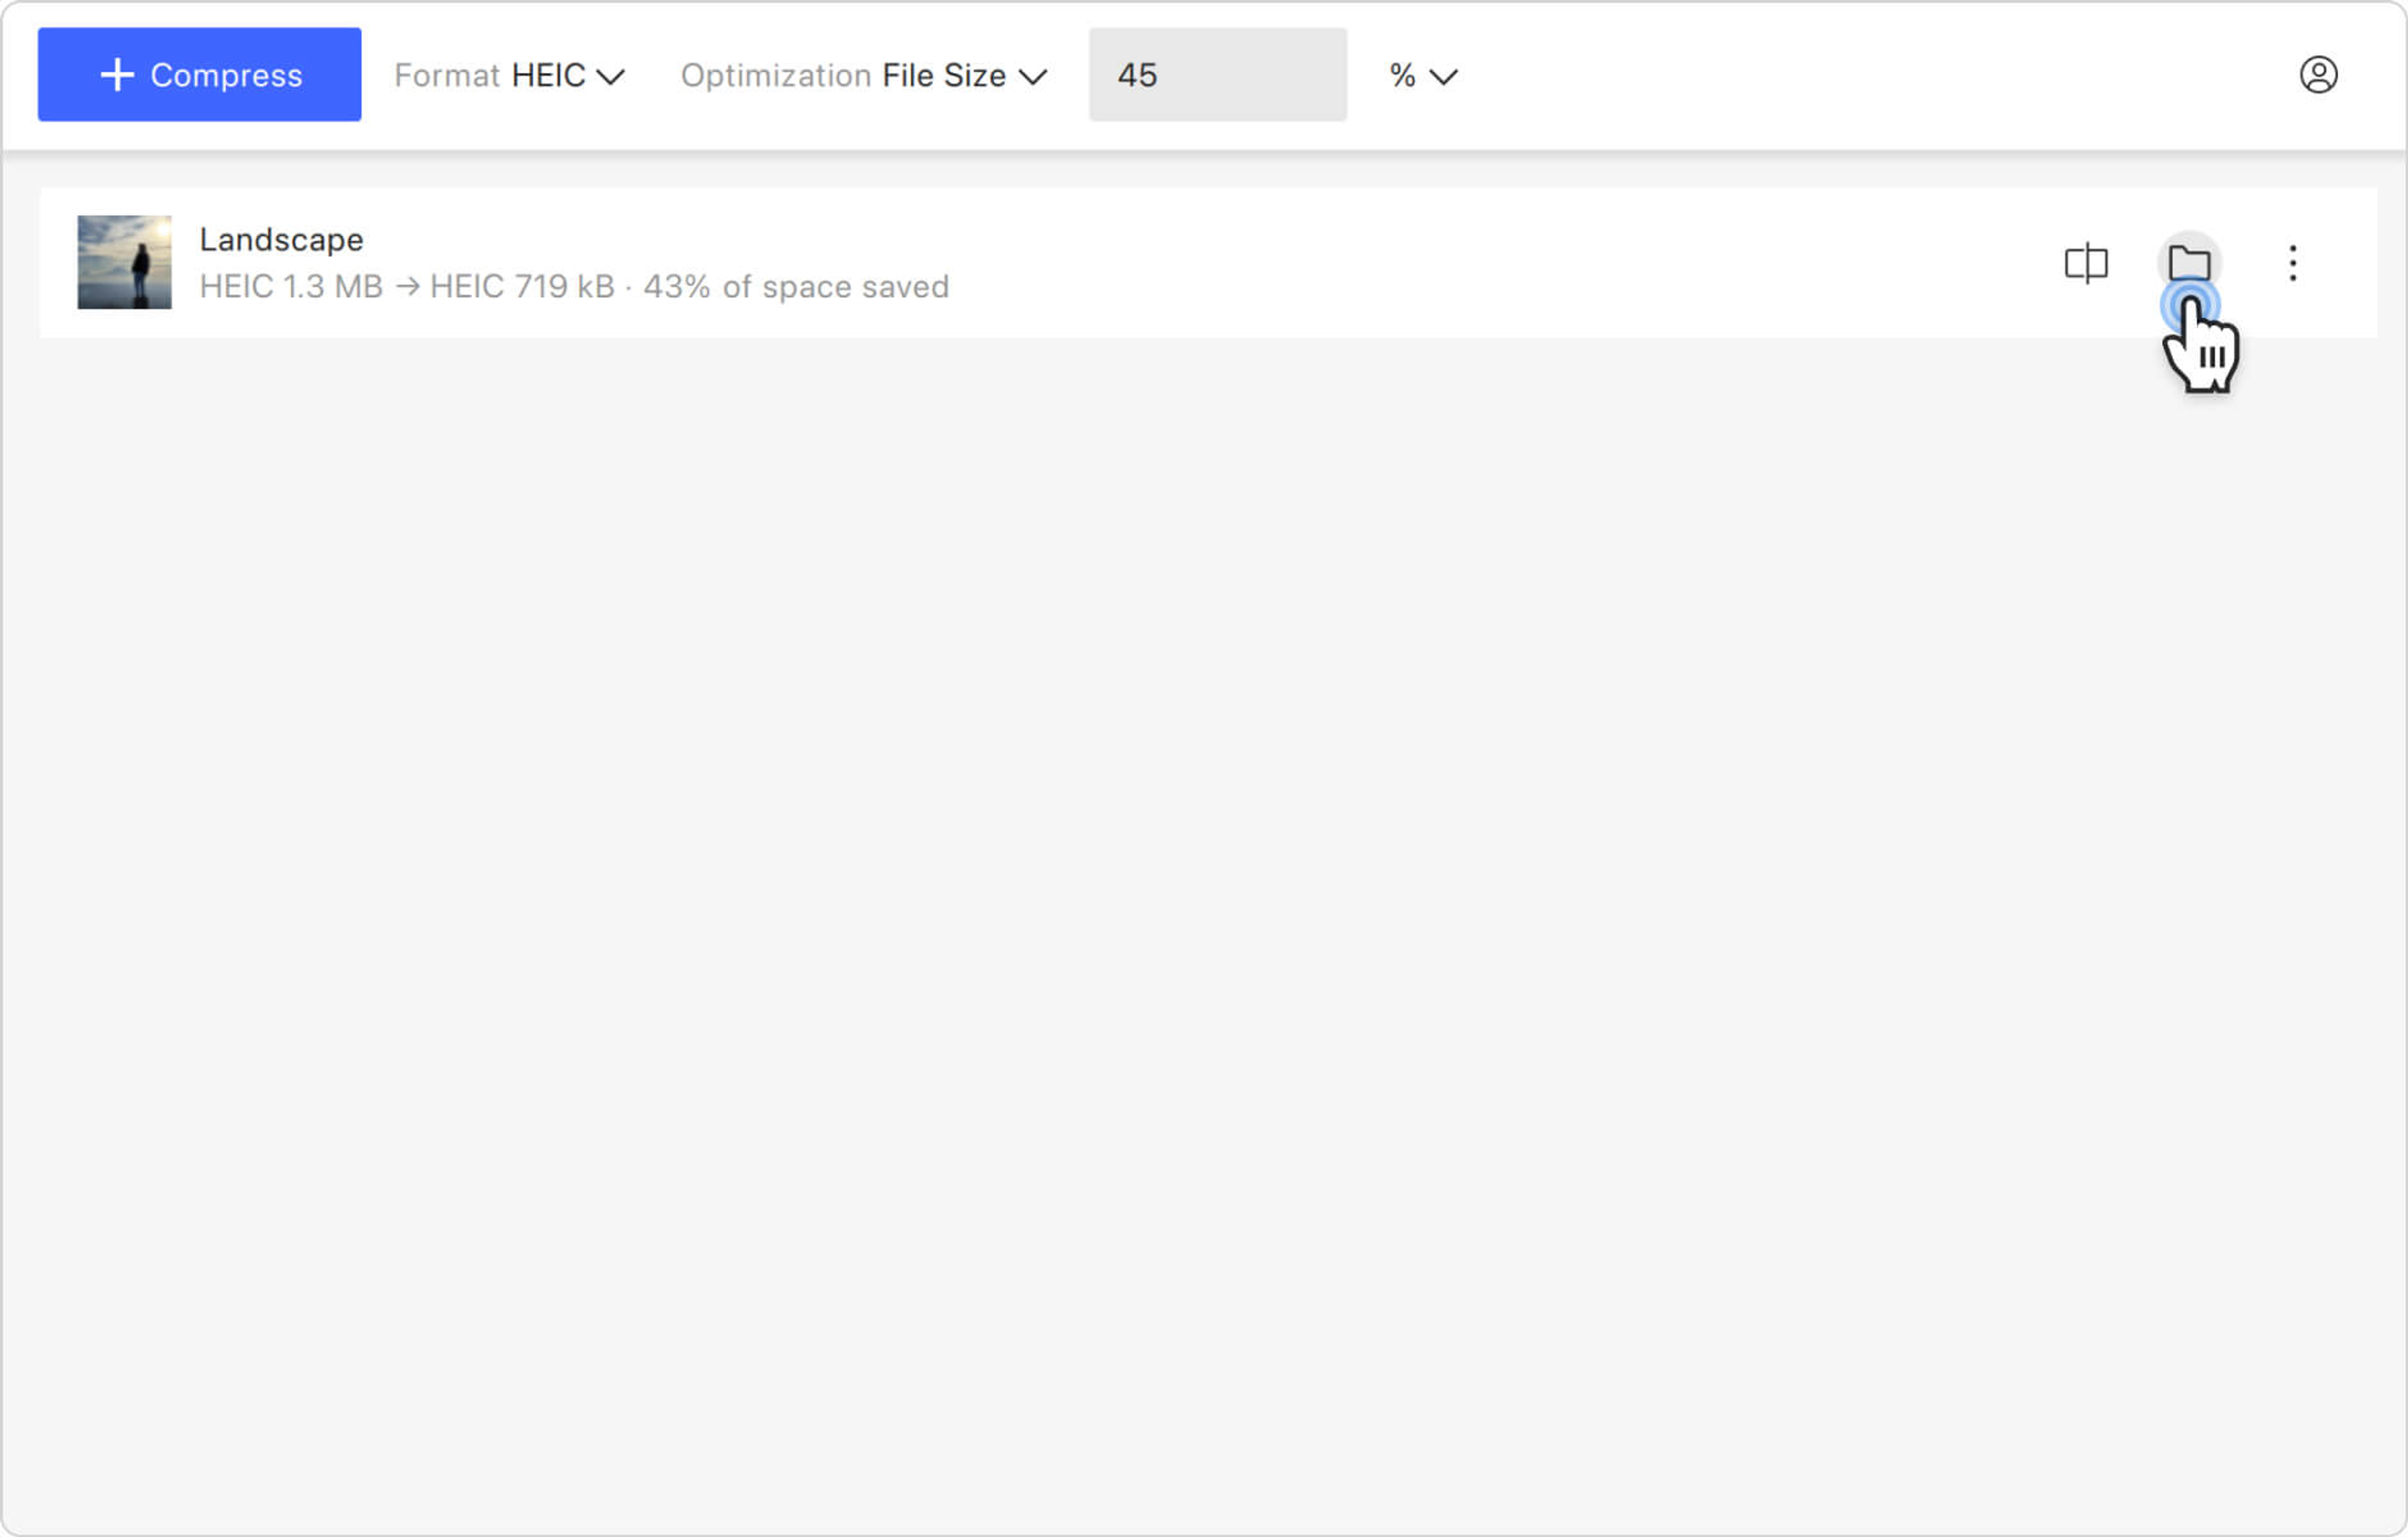
7. Find the resulting image. Hover the cursor over the compressed image preview and click the folder icon to find the file on your computer.
Tip: You can also use 4K Image Compressor to reduce the size of JPEG, compress a PNG file, and resize WEBP.